Advertisement
- 1 Quick Start
- 2 Hardware included
- 3 Tools needed
- 4 Remove the battery
- 5 Charge the battery
- 6 Re-insert the battery
- 7 Choose a location with the view you want
- 8 If using on a flat surface...
- 9 If installing on a wall...
- 10 If installing on the ceiling...
- 11 Mount your camera to the ceiling
- 12 Adjust the camera angle
- 13 Free Ring Protect Plan for 30 days
- 14 Safety
- 15 Documents / Resources
Quick Start
- Download and open Ring app.
Select Set up a Device - Scan QR code with Ring app.
Use this code or the one on your device to continue setup.
![]()

Hardware included

Tools needed

Remove the battery
 Remove protective film from device. This ensures your device works properly.
Twist the battery compartment counterclockwise to unlock and remove the cover.
Then, remove the battery and discard the orange battery insulator.

Charge the battery
Plug it into a power source using the provided USB cable. Once the battery's fully charged, only one light on top will glow green.

Re-insert the battery
Slide the battery back into the camera until it clicks into place.
Twist the battery compartment cover clockwise to lock it and tighten the security screw,

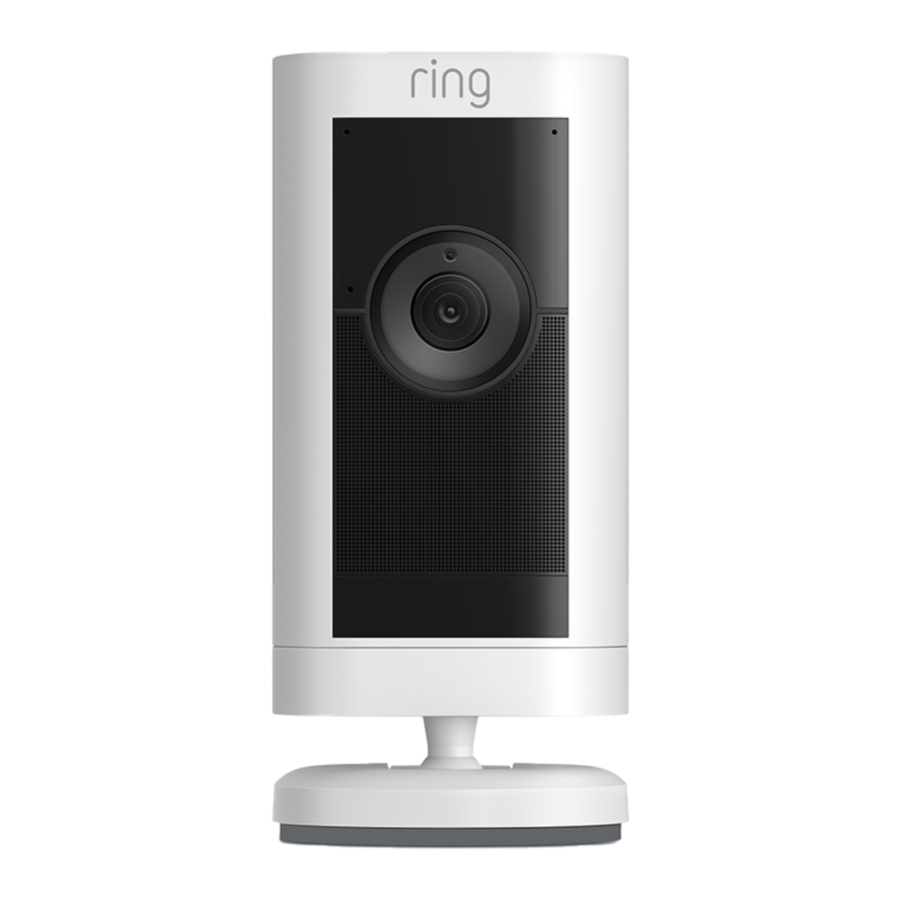
Choose a location with the view you want
Your camera can be used both indoors and outside. It can sit freestanding on a tabletop, or be mounted on a wall or ceiling.
If using on a flat surface...
Place your camera on a tabletop or shelf and look at Live View in the Ring app to make sure it's positioned correctly,
If you'd like your camera to have a downward angle, swivel the base around so that the longer side of the base is facing the front and tilt your camera so it points downward.
If installing on a wall...
Remove the decorative cover from the camera mount.

Use a standard Phillips-head screwdriver (not included) to unscrew the mount and detach it from the rest of the camera.
Install the mounting plate

Slide the mounting plate off of the camera mount.

Place the mounting plate on the wall with the UP arrow pointing up.
If installing on a wood surface, screw the plate directly into the wall.
If installing on a masonry surface, mark four screw holes using the plate as a guide.
Drill pilot holes using a 1/4" drill bit. Insert the included wall anchors, then drive the four mounting screws through the mounting plate into the wall anchors.

Only use the included mounting screws when securing the mounting plate.

DO NOT drill into your home's electrical wiring.
Mount your camera to the wall

Screw the mount onto the back of the camera.
Slide the camera with its mount onto the mounting plate.
Tighten the security screw on the camera mount so that it's firmly attached to the mounting plate.

Slide the decorative cover back onto the camera mount and click it into place.

Adjust the camera angle
Loosen the security screw on the mount arm. Rotate the camera to focus on the area of your choice. Look at Live View in the Ring app to make sure it's positioned at your desired angle. Then, tighten the security screw to lock the camera position.

If installing on the ceiling...
Remove the decorative cover from the camera mount.

Use a standard Phillips-head screwdriver (not included) to unscrew the mount and detach it from the rest of the camera.
Install the mounting plate
Slide the mounting plate off of the camera mount.

Place the mounting plate on the ceiling with the UP arrow pointing in the opposite direction from where your camera will face.

If installing on drywall, screw the plate directly into the ceiling.
If installing on a masonry surface, mark four screw holes using the plate as a guide.
Drill pilot holes using a 1/4" drill bit. Insert the included wall anchors, then drive the four mounting screws through the mounting plate into the wall anchors.
Only use the included mounting screws when securing the mounting plate.
DO NOT drill into your home's electrical wiring.
Mount your camera to the ceiling
Screw the mount onto the back of the camera.
Align the mount arm with the top of the camera.

Slide the camera with its mount onto the mounting plate.

Tighten the security screw on the camera mount so that it's firmly attached to the mounting plate. Slide the decorative cover back onto the camera mount and click it into place.

Adjust the camera angle
Loosen the security screw on the mount arm. Rotate the camera to focus on the area of your choice. Look at Live View in the Ring app to make sure it's positioned at your desired angle. Then, tighten the security screw to lock the camera position.

Free Ring Protect Plan for 30 days
Your new device comes with a free, 30-day trial of Ring Protect. This comprehensive subscription service lets you review, save, and share your video and photo history anytime so you never miss a moment.*
To continue using Ring Protect after your free trial ends, visit ring.com/protect-plans to compare plans and pricing.

*Your free trial isn't applicable for locations with an existing Ring Protect subscription. See ring.com/protect-plans to learn more about your plan's retention period.
For additional help, visit ring.com/help Or give us a call
US 1 800 656 1918
Canada 1 855 300 7289
Worldwide +1 310 929 7085
For a list of all our customer support numbers, visit ring.com/callus
Safety
IMPORTANT PRODUCT INFORMATION
 SAFETY INFORMATION: FAILURE TO FOLLOW THESE SAFETY lJ..J INSTRUCTIONS COULD RESULT IN FIRE, ELECTRIC SHOCK, OR OTHER INJURY OR DAMAGE.
Improper installation may create risk of injury or damage to your device. Follow all mounting instructions and mount only on stable surfaces. Only use mounting hardware that is appropriate for your mounting surface to mount your device.
Use caution when installing and mounting your device at an elevated position. Failure to do so may create risk of injury.
WATCH FOR SMALL PARTS. The device and accessories may present a choking hazard to small children. Keep them out of reach of small children.
Your device is water resistant and is suitable for outdoor use. However, your device is not intended for underwater use. To protect against electric shock, do not submerge or immerse your device or adapter in water or expose your device or adapter to other liquids. Do not spill any food or beverages on your device or adapter. Do not attempt to clean or polish your device or adapter with or expose your device or adapter to oil, lotion, or other abrasive substances. Do not expose your device or adapter to salt water or other conductive liquids. Do not expose your device or adapter to pressurised water, high velocity water, or extremely humid conditions (such as a steam room). If your device or adapter gets wet from immersion in water or high pressure water, carefully unplug all cables without getting your hands wet and wait for it to dry completely before plugging it in again. Do not attempt to dry your device or adapter with an external heat source, such as a microwave oven or a hair dryer. To avoid risk of electnc shock, do not touch your device or adapter or any wires connected to your device during a lightning storm while your device or adapter is plugged in. If your device or adapter appears to be damaged, discontinue use immediately. Protect your device from direct sunlight.
Only use accessories that are recommended by the manufacturer. Use of thirdparty accessories may lead to damage to your device or the accessory and may cause fire, electric shock, or injury.
Handle your device and its accessories with care. Your device or its accessories may have pointed edges which can lead to scratches, cuts, or other physical injury.
Your device does not have an on/off button. If you wish to stop power from flowing into your device, unplug the power adapter and/or remove the battery pack. Only use the specified power adapter with your device. Do not plug multiple electric devices into the same wall socket. Overloading a socket can cause it to overheat and may result in a fire. Do not plug the power adapter into an outdoor socket not designed for permanent power with the appropriate weather resistance.
Other Safety Considerations
- Do not force the adapter into a power outlet.
- Do not expose the adapter or cable to liquids.
- If the adapter or cable appears damaged, discontinue use immediately.
Install your power adapter into an easily accessible socket-outlet located near the equipment that will be plugged into or powered by the adapter.
 BATTERY SAFETY
HANDLE WITH CARE. Your device can operate with a rechargeable lithium-ion polymer battery. Only use approved Li-Ion batteries designed and manufactured to work with your Ring device. Do not disassemble, open, crush, bend, deform, puncture, or shred the device or the battery. Do not modify or remanufacture the battery, attempt to insert foreign objects into the battery, or immerse or expose it to water or other liquids, expose to fire, explosion or other hazard. Only use the battery for the system for which it is specified. Use of an unqualified battery or charger may present a risk of fire, explosion, leakage or other hazard. Do not short-circuit a battery or allow metallic conductive objects to come into contact with battery terminals. Avoid dropping the device or battery. If the device or battery Is dropped, especially on a hard surface, and the user suspects damage, do not attempt repair. Contact Ring Customer Service for assistance. Keep the battery and its power adapter in well-ventilated area and away from heat sources, especially while charging. The battery uses the USB cable provided and a USB charger or USB port that is compliant with safety standards, such as IEC 62368-1. Do not charge the battery near water or in extremely humid conditions.
Product Specifications
Device Name: Stick Up Cam Pro
Model Number: 5E72E9
Electrical Rating: Ring Battery or 5.0V DC
Adapter Model: 5F66E9
Adapter Made By: Lite-On Technology Corporation
Temperature Rating: -5' to 120"F (·20.5°C to 48.5°C)
Documents / Resources
References
Download manual
Here you can download full pdf version of manual, it may contain additional safety instructions, warranty information, FCC rules, etc.
Advertisement


Need help?
Do you have a question about the Stick Up Cam Pro and is the answer not in the manual?
Questions and answers