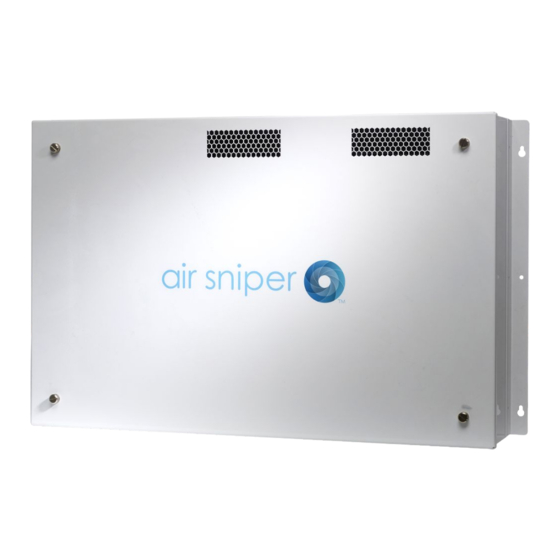
Summary of Contents for air sniper Low Pro
- Page 1 Air Sniper Low Pro Manual AIR Alpine Innovative Research Inc. 3855 – 64th Ave. S.E. Calgary, Alberta, T2C 2V5...
- Page 2 Air Sniper Low Pro Maintenance Manual Thank you for purchasing an Air Sniper Low Pro. This manual provides step-by-step instructions of how to set up and take care of your new unit. Please contact AIR or your local dealer to purchase replacement bulbs.
-
Page 3: Warranty
Return Authorization Number: 1. Return the defective Air Sniper™ unit to the dealer/distributor from whom it was purchased together with a copy of the bill of sale, or dated proof of purchase thereof and the Return Authorization Number; or 2. Ship the defective Air Sniper™ unit directly to Air Alpine Innovative Research Customer Warranty Department along with the Return Authorization Number. -
Page 4: How To Set Up Your Unit
*This can also be found on the Air Sniper Quick Start Guide* Carefully remove your Air Sniper Low Pro from the shipping carton and remove all exterior packaging. If your unit was shipped with bulbs separately, please see below for instructions before mounting. - Page 5 Initial bulb installation instructions Carefully remove your Air Sniper Low Pro from the shipping Remove the front panel and set aside. carton and remove all exterior packaging. Locate the lamp cover on the unit. Locate the 4x Air Sniper bulbs (included in box).
- Page 6 Locate and remove lamp cover screws (total of 6) set aside. Remove lamp cover and set aside face up if possible, to prevent damage to the reflective material. Locate wingnuts (total of 2) on bulb retainer. Unscrew wingnuts (total of 2) set aside. Locate bulb retainer.
- Page 7 Re-insert wingnuts (total of 2). Replace lamp cover. Re-insert screws on lamp cover. 12. Carefully slide bulb retainer over bulbs (top to bottom). Replace front cover (ensure it is the right side up). Plug unit in. Turn the unit on. AIR Alpine Innovative Research Inc.
-
Page 8: Filter Cleaning
Filter Cleaning We recommend checking the filter on your Low Pro monthly. If the room is in a high debris stage we recommend cleaning the pre-filter afterwards. Tools needed: Hot water • Air compressor (If available) • Turn off your Air Sniper Low Pro. The power button can be found on the side of the unit. -
Page 9: Bulb Change
Bulb change The bulbs in your Air Sniper Low Pro will need to be changed every 18 months. The bulb life of the units can be monitored by the bulb status monitor on the side of the unit. The unit will also produce an audible chirp when the bulbs need to be replaced. - Page 10 Locate the Lamp Cover on the unit. Remove lamp cover and set aside face up if possible, to prevent damage to the reflective material. Locate wingnuts (total of 2) on bulb retainer. Locate and remove lamp cover screws (total of 6) and set aside. AIR Alpine Innovative Research Inc.
- Page 11 9. Unscrew wingnuts (total of 2) set aside. 10. Locate bulb retainer. 11. Carefully lift the bulb retainer up and over the bulbs. 12. Set bulb retainer aside. 13. Starting with the front (front to back), remove old bulbs by gently wiggling the white base of the bulb.
- Page 12 19. Re-insert wingnuts (total of 2). Starting with the back, insert the new bulbs. 20. Replace lamp cover. Repeat with front rows. Re-insert screws on lamp cover. Carefully slide the bulb retainer back over bulbs (top to bottom). 22. Replace front cover (ensure it is the right side up). 23.
- Page 13 Bulb Timer Reset Reset bulb timer: locate reset button on unit. To stop the beeping, push the reset button once (the status indicator will remain red). Push and hold the reset button until the unit begins to beep (approximately 40 seconds). Release the reset button.


Need help?
Do you have a question about the Low Pro and is the answer not in the manual?
Questions and answers