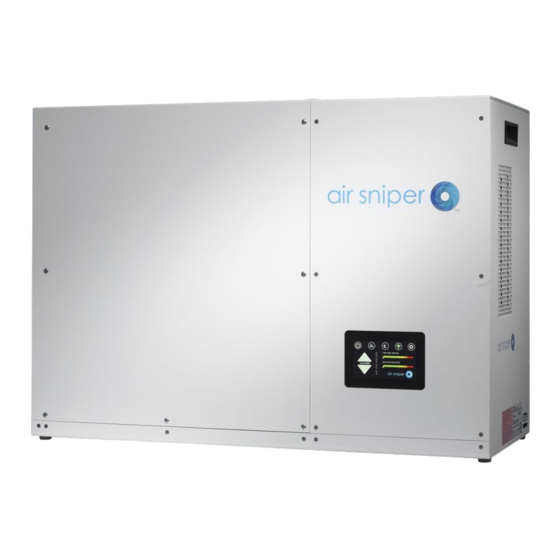
Summary of Contents for air sniper Ultra
- Page 1 Air Sniper Ultra Manual AIR Alpine Innovative Research Inc. 3855 – 64th Ave. S.E. Calgary, Alberta, T2C 2V5...
- Page 2 Air Sniper Ultra Maintenance Manual Thank you for purchasing an Air Sniper Ultra. This manual provides step-by-step instructions of how to set up and take care of your new unit. Please contact AIR or your dealer to purchase replacement bulbs.
-
Page 3: Warranty
Return Authorization Number: 1. Return the defective Air Sniper™ unit to the dealer/distributor from whom it was purchased together with a copy of the bill of sale, or dated proof of purchase thereof and the Return Authorization Number; or 2. Ship the defective Air Sniper™ unit directly to Air Alpine Innovative Research Customer Warranty Department along with the Return Authorization Number. -
Page 4: How To Set Up Your Unit
*This can also be found on the Air Sniper Quick-start guide* Carefully remove your Air Sniper Ultra from the shipping carton and remove all exterior packaging. If your unit requires wall-mounting, unwrap the wall mount bracket and securely fasten it to the wall with screws. - Page 5 Connecting the unit to Wi-Fi *Can also be found under Air Sniper Quick Start Guide* All Air Sniper Ultra’s can be connected to the local Wi-Fi network to allow for remote monitoring and control of the unit. Link to video: https://www.youtube.com/watch?v=rX2rzQnqiCM...
- Page 6 How to name and group inits in the dashboard system Air Sniper units may be named anything the customer would like with the dashboard system. *** To set up your dashboard system AIR will send you a time sensitive invite to access it initially. Please contact us to do so once the units have been connected to a Wi-Fi network.
- Page 7 To change the name of the unit simply repeat the steps and enter a different name. How to group a unit Login to your Air Sniper dashboard. If the unit is not grouped, it will appear by default in the unassigned group.
- Page 8 Expand the device by clicking on the i icon below the name and serial number. Scroll over to the Device Attributes section. Click on the box that says Group. Enter the name of the group you would like to place the unit in. Click Submit and the unit will appear in the group you have selected.
-
Page 9: Filter Cleaning
Compressed air or vacuum • Turn off your Air Sniper Ultra. The power button can be found on the touchscreen. When the unit is off the button will turn from green to white. Unplug unit from the power source. Locate the front-end panel (filter maintenance can be done while the unit is still on the wall). -
Page 10: Element Cleaning
Element Cleaning The elements of your Air Sniper Ultra are located on the inside of your unit. There is a total of 4 elements located in your Air Sniper Ultra. The elements should be cleaned approximately every 3 months. Link to video: https://www.youtube.com/watch?v=xYPSgMpipIU... -
Page 11: Bulb Change
Bulb Change The Bulbs in your Air Sniper Ultra will need to be changed every 18 Months. The Bulb life of the units can be monitored through the dashboard or via the touchscreen on the unit. To order replacement bulbs, please contact your local distributor or Air Sniper. - Page 12 Bulb Change Turn off your Air Sniper Ultra. The power button is located on the touchscreen. The button will turn from green to white when the unit is turned off. Unplug the unit from the power source (allow 20-30 minutes for the unit to cool off before touching bulbs).


Need help?
Do you have a question about the Ultra and is the answer not in the manual?
Questions and answers