Advertisement
Quick Links
NOTE:
All dimensions have
a + / - 1/32"
tolerance. We do
not recommend
drilling or cutting
any holes before
receiving a product
or a product
sample.
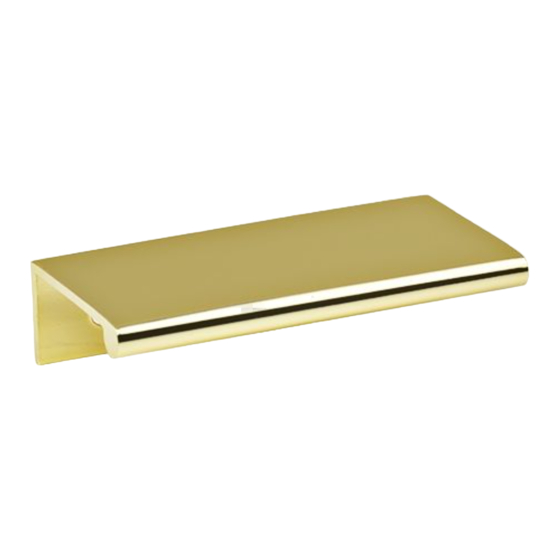
1a
SURFACE MOUNT
Determine the position and location of the part
in the work surface. Center the part on top of
the front drawer panel.
3a
2021.06.21
DP3
DP3A
DP3B
DP3C
DP3D
DP3E
DP3F
DP3G
DP3H
DP3I
DP3J
DP3K
DP3L
2a
Secure with (2) mounting screws.
(Note: Mounting holes and hardware varies by
size see chart.)
TABLE OF CONTENTS:
1
(A) Length
(B) O.C.
HOLE COUNT
5/8"
1-1/4"
3"
2"
4"
3"
6"
5"
8"
3"
10"
4"
3-5/16"
12"
14"
4"
4-21/32"
16"
5-11/32"
18"
20"
6"
22"
6-21/32"
7-11/32"
24"
2
2
2
2
3
3
4
4
4
4
4
4
4
Advertisement

Related Manuals for Mockett DP3 Series


Summary of Contents for Mockett DP3 Series
- Page 1 (A) Length (B) O.C. HOLE COUNT 5/8" 1-1/4" DP3A 3" 2" NOTE: DP3B 4" 3" All dimensions have DP3C 6" 5" a + / - 1/32" DP3D 8" 3" tolerance. We do not recommend DP3E 10" 4" drilling or cutting DP3F 3-5/16"...
- Page 2 FLUSH MOUNT 1/16" Determine the position and location of the part Install the part flushed into the routed surface. in the work surface. Rout the top of the front Secure with (2) mounting screws. drawer panel. (See page 1 chart for length.) (Note: Mounting holes and hardware varies by size see chart.) FRONT SURFACE MOUNT...
Need help?
Do you have a question about the DP3 Series and is the answer not in the manual?
Questions and answers