Table of Contents
Advertisement
Quick Links
Unpacking and Inspection
DCM-712 cable modem * 1
RJ-45 CAT 5e cable * 1
Rear Panel and Hardware Connection
This chapter describes the proper steps for connecting your cable modem. Please be sure to follow
the steps in the sequence outlined below. Failure to do so could result in improper operation or failure
of your cable modem.
Step 2
Connecting to a Network
Interface Card
Step 3
Connecting the
Telephone cord
Step 1:
Connect a cable by feeding the F-connector on the back of the cable modem. Ensure the center
conductor of the 75 ohm coaxial cable is inserted directly into the center of the F-connector. Secure
the coaxial cable by carefully threading the outer shell of the coaxial cable connector onto the
F-connector in a clockwise direction until tight. Be careful not to over-tighten the connector or you may
damage either the connector or the cable modem.
Step2: Connect the cable modem to an IEEE 802.3 10/100/1000Base-TX Network using a RJ-45
male-terminated Ethernet cable. This cable modem equips with one Ethernet ports.
Step 3: Connect the telephone sets to TEL1 and TEL2. Use RJ-11 telephone line to connect
TEL1/TEL2 port on the cable modem and telephone socket on telephone.
All manuals and user guides at all-guides.com
DCM-712 VoIP Cable Modem Quick Installation Guide
Step 1
the Coaxial Cable
15 V/1.0A Power Adaptor * 1
QIG * 1
Connecting
Step 4
Connecting to
the AC Adapter
Power On / Off
Advertisement
Table of Contents

Related Manuals for D-Link DCM-712


Summary of Contents for D-Link DCM-712
- Page 1 All manuals and user guides at all-guides.com DCM-712 VoIP Cable Modem Quick Installation Guide Unpacking and Inspection DCM-712 cable modem * 1 15 V/1.0A Power Adaptor * 1 RJ-45 CAT 5e cable * 1 QIG * 1 Rear Panel and Hardware Connection This chapter describes the proper steps for connecting your cable modem.
- Page 2 All manuals and user guides at all-guides.com DCM-712 VoIP Cable Modem Quick Installation Guide Step 4: Connect the AC Adapter to the cable modem by inserting the barrel-shaped connector into the mating power connector on the back of the cable modem. Exercise carefully to ensure the connectors are properly aligned prior to insertion and ensure the two connectors engage completely.
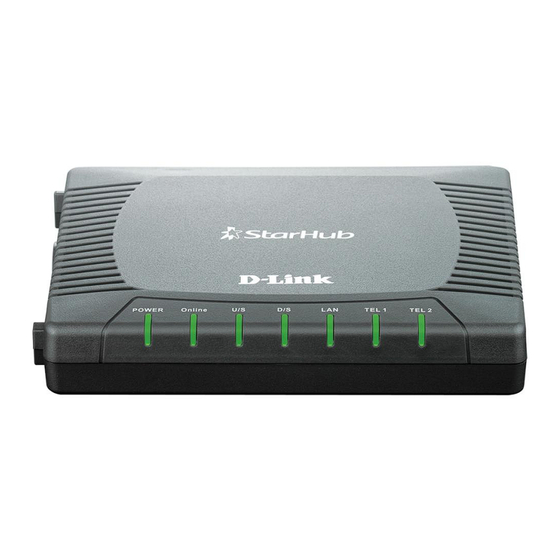
- Page 3 All manuals and user guides at all-guides.com DCM-712 VoIP Cable Modem Quick Installation Guide Front Panel & LEDs There are LEDs located on the front panel top provide status information to the user.
- Page 4 All manuals and user guides at all-guides.com DCM-712 VoIP Cable Modem Quick Installation Guide Color Behavior Status “On/Off” button On Power Green “On/Off” button Off Blinking Cable provisioning Cable provisioning finished Online Green Cable provisioning stop/failed Blinking Upstream ranging Upstream locked...
- Page 5 All manuals and user guides at all-guides.com DCM-712 VoIP Cable Modem Quick Installation Guide Technical Support You can find software updates and user documentation/manual on the D-Link website. Tech Support for customers within Singapore: D-Link Technical Support over the Telephone:...
Need help?
Do you have a question about the DCM-712 and is the answer not in the manual?
Questions and answers