Table of Contents
Advertisement
Quick Links
Advertisement
Table of Contents

Subscribe to Our Youtube Channel
Related Manuals for Tenda HG9


Summary of Contents for Tenda HG9
- Page 1 Quick Installation Guide AC1200 Dualband Wi-Fi xPON ONT Package contents • xPON ONT x 1 • Power adapter x 1 • Ethernet cable (RJ45) x 1 • Telephone cable (RJ11) x 1 • User manual x 1 For product or function details, please go to www.tendacn.com to download the user guide.
-
Page 2: Get To Know The Ont
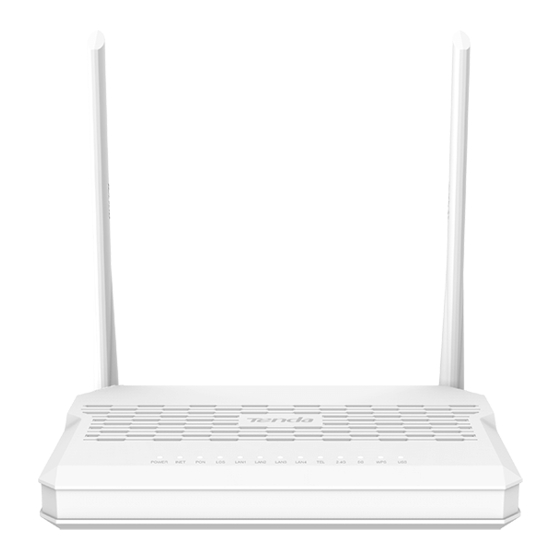
Get to know the ONT LED indicators P O WE R I NE T LAN1 LAN2 LAN3 LAN4 TE L 2.4G P O N LO S WP S US B LED indicator Color Status Description Solid on The ONT is powered on properly. POWER Green The ONT is powered off or not powered on properly. -
Page 3: Ports And Buttons
Ports & Buttons LAN4 LAN3 LAN2 LAN1 POWER ON/OFF Port/Button Description Telephone port. Used to connect to a telephone for voice service. Optical fiber port. Used to connect to a fiber cord. Gigabit LAN ports. LAN1/2/3/4 Used to connect to a router, switch, computer or IPTV set top box. Power jack. - Page 4 1. Connect and register the ONT Caution, laser DO NOT look directly at the PON port when the device is powered on, as well as the terminal of the indoor fiber cord, to prevent any harm to your eyes. Connect the ONT as shown in the figure. Wait until the PON LED indicator lights solid on, then the ONT is registered successfully.
-
Page 5: Router Mode
2. Configure the internet access Tips: Choose a desired mode to configure your internet access: Router mode: Choose this mode if your internet access type is PPPoE or DHCP. Bridge mode (default): Choose this mode if your internet access type is PPPoE. Router mode Option 1 Access internet over PPPoE Step 1: Log in to the web UI... - Page 6 Click OK when Change setting successfully is shown on the page. PON WAN This page is used to configure the parameters for PONWAN nas0_0 Enable VLAN: VLAN ID: 802.1p_Mark PPPoE Channel Mode: Admin Status: Enable Disable INTERNET Connection Type: MTU: 1492 Enable IGMP-Proxy: Enable MLD-Proxy:...
- Page 7 Option 2 Access internet over DHCP Step 1: Log in to the web UI Refer to Step 1: Log in to the web UI in Option 1 Access internet over PPPoE to log in to the web UI of the ONT. Step 2: Set up a WAN connection Choose WAN >...
-
Page 8: Bridge Mode
Done. To access the internet: Connect your wired device, such as a computer, to a LAN port of the ONT. Connect your wireless device, such as a smartphone, to the Wi-Fi networks of the ONT, using the SSID (Wi-Fi name) and Key (Wi-Fi password) on the bottom label. Tips: If you cannot access the internet after the configuration, refer to Q2 in FAQ. - Page 9 Q1: I cannot log in to the web UI by visiting 192.168.1.1. What should I do? A1: Try the following solutions: Ensure that the ONT is powered on properly (the POWER LED indicator is solid green). If you use a wireless device, such as a smartphone, to configure the ONT: - Ensure that your smartphone has disabled mobile data and is connected to the Wi-Fi network of the ONT.
- Page 10 Q3: Why cannot I find the Wi-Fi signal of the ONT? A3: Ensure that the 2.4G and 5G LED indicators light up. If not, press the WLAN button on the side panel of the ONT. The Wi-Fi networks of the ONT are enabled when the two LED indicators light up.
-
Page 11: Technical Support
Copyright © 2021 Shenzhen Tenda Technology Co., Ltd. All rights reserved. Tenda is a registered trademark legally held by Shenzhen Tenda Technology Co., Ltd. Other brand and product names mentioned herein are trademarks or registered trademarks of their respective holders. Specifications are subject to change without notice.
Need help?
Do you have a question about the HG9 and is the answer not in the manual?
Questions and answers