Advertisement
Quick Links
Congratulations on getting your new Aaronia SPECTRAN
provide you with some important initial instructions for connecting it to your PC and measurement equipment. It also
shows how to install and configure the RTSA-Suite PRO PC software for performing measurements.
Check package contents
Before your new SPECTRAN
requirements are met:
Inside the power supply box:
Below the device:
V6 can be used please verify that all necessary components are available and all
®
V6 Realtime Spectrum Analyzer. This quick start guide will
®
USB Stick with manual, application
software and other information
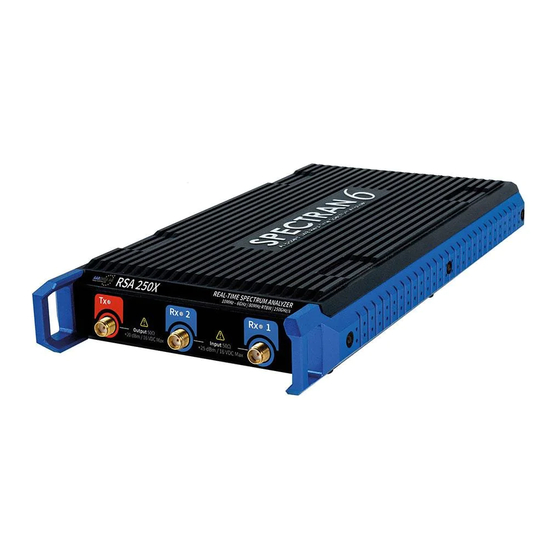
The SPECTRAN® V6 device itself
(black, USB-A to USB-C, not with RSA 250X)
Power supply box
Power Supply (USB-C jack)
Cleaning brush
Power socket adapters
Power cable
(red, USB-C connectors on both ends)
USB cable labeled „Data"
(black, USB-A to USB-C)
USB cable labeled „Boost"
Advertisement

Related Manuals for Aaronia SPECTRAN V6


Summary of Contents for Aaronia SPECTRAN V6
- Page 1 Congratulations on getting your new Aaronia SPECTRAN V6 Realtime Spectrum Analyzer. This quick start guide will ® provide you with some important initial instructions for connecting it to your PC and measurement equipment. It also shows how to install and configure the RTSA-Suite PRO PC software for performing measurements.
- Page 2 USB 2.0 limits the data rate extremely Third-party USB cables may cause problems if they do not meet the proper specifications. Attention In case of USB problems always make sure you are using the cables supplied by Aaronia before contacting support.
- Page 3 Connecting the SPECTRAN® V6 with antennas or RF devices The SPECTRAN V6 provides the following connectors for antennas and/or other RF devices: ® Two SMA inputs labeled Rx1 and Rx2 to connect antennas, generators or other measurement equipment supporting signal strengths of up to +25 dBm (Rx2 only supported on RSA 2000X).
-
Page 4: Installing The Software
The installation is similar to most other Windows applications. Read each screen carefully before clicking “Next”. In particular make sure that the “Install SPECTRAN V6 Driver” option is enabled (should be the default) on the last page of the installation process. - Page 5 “Spectran V6” tab above the Waterfall display in the lower part of the RTSA-Suite PRO application window. That action will switch the lower window section from the Histogram block to the Spectran V6 block where the device parameters can be adjusted:...
- Page 6 When the bar turns red the current configuration might be too much for your hardware to handle. Ribbon bar Above the main display area of the RTSA-Suite PRO is the ribbon bar that allows quick access to some commonly used parameters (same as described above). It includes a section labeled “Spectran V6”: Status Display Center Frequency...
- Page 7 The Calibration block output is connected to the RF input of a SPECTRAN V6 block to control the device. And finally, the Spectra 1 output of the SPECTRAN V6 block sends the measured data to a ComboView block to provide a combined display of spectrum, histogram and waterfall.
-
Page 8: Problems And Solutions
A more complex mission to monitor a large frequency spectrum with a single SPECTRAN V6 device, using the ® Spectran V6 Sweep Zoom and Wrapped Spectrum blocks. Download this base mission with all settings at https://v6-forum.aaronia.de/demo-mission-1/ Problems and solutions If starting the RTSA suite PRO...