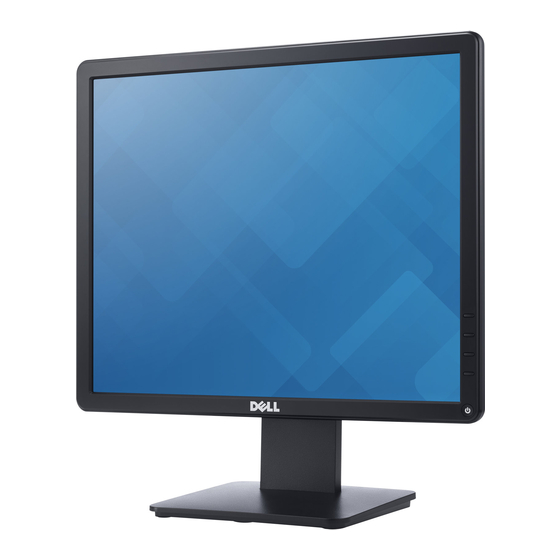
Dell E1715S Service Manual
Hide thumbs
Also See for E1715S:
- Service manual (19 pages) ,
- Disassembly (9 pages) ,
- User manual (1 page)
Table of Contents
Advertisement
Quick Links
1. General Safety Instructions....................................................................................... 2
1.1 SAFETY: General Safety ......................................................................................... 2
1.2 SAFETY: General Power Safety ............................................................................... 4
2. Exploded view diagram with list of items ................................................................ 5
3. Wiring connectivity diagram ..................................................................................... 7
4. How to connect and disconnect power cable/ connectivity cable ........................... 8
5. Mechanical Instruction .............................................................................................. 9
5.1 Disassembly Procedures: .................................................................................... 10
5.2 Assembly Procedures: ......................................................................................... 14
6. Trouble shooting instructions ................................................................................ 17
Model No.: E1715S
Regulatory model: E1715Sc
Content Index
Service Manual
Dell E1715S
1
1
Advertisement
Table of Contents

Summary of Contents for Dell E1715S
-
Page 1: Table Of Contents
4. How to connect and disconnect power cable/ connectivity cable ......8 5. Mechanical Instruction ....................9 5.1 Disassembly Procedures: ..................10 5.2 Assembly Procedures: ..................14 6. Trouble shooting instructions ................17 Model No.: E1715S Regulatory model: E1715Sc ... -
Page 2: General Safety Instructions
IMPORTANT NOTICE FOR USE IN HEALTHCARE ENVIRONMENTS: Dell products are not medical devices and are not listed under UL or IEC 60601 (or equivalent). As a result, they must not be used within 6 feet of a patient or in a manner that directly or indirectly contacts a patient 1.1 SAFETY: General Safety... - Page 3 pool or in a wet basement. Do not use AC powered equipment during an electrical storm. Battery powered devices may be used if all cables have been disconnected. Do not spill food or liquids on your equipment. Before you clean your equipment, disconnect it from the electrical outlet. Clean your device with a soft cloth dampened with water.
-
Page 4: Safety: General Power Safety
Be sure to grasp the plug, not the cable, when disconnecting equipment from an electric socket. If your equipment uses an AC adapter: Use only the Dell provided AC adapter approved for use with this device. Use of another AC adapter may cause a fire or explosion. -
Page 5: Exploded View Diagram With List Of Items
Exploded view diagram with list of items ... - Page 6 See “NOTE" NOTE: For replacement of power cord, connectivity cable and external power supply (if applicable), contact Dell: 1. Go to https://www.dell.com/support. 2. Verify your country or region in the Choose A Country/Region drop-down menu at the bottom-right corner of the page.
-
Page 7: Wiring Connectivity Diagram
Wiring connectivity diagram FFC 1 FFC 2 Wire 1 Wire 2 ... -
Page 8: How To Connect And Disconnect Power Cable/ Connectivity Cable
How to connect and disconnect power cable/ connectivity cable ... -
Page 9: Mechanical Instruction
NOTE: This “Disassembly and Assembly Procedures” is for EMEA only, not for other regions. Please note that Dell will deem warranty void if any disassembly is done on the monitors. Tools Required List the type and size of the tools that would typically can be used to disassemble the product to a point where components and materials requiring selective treatment can be removed. -
Page 10: Disassembly Procedures
5.1 Disassembly Procedures: Step Figur Remar S1. Before disassemble Turn off power, Unplug external cables from product To remove the stand: 1. Wedge your fingers Press and hold the stand release button. 2. Lift the stand up and away from the S2.Remove the monitor. - Page 11 Use a Philips-head screwdriver to remove 2 screws for unlocking mechanisms. (No.1~2 screw size=M3x4; Torque=4±1kgf. S3.Remove the REAR COVER Use Penknife to separate the bezel and rear cove follow the arrows in sequence, then you can take out rear cover. S4.Disconnect the connectors, and tear off the...
- Page 12 Use a hex screwdriver to remove 2 screws for S5.Unscrew the unlocking mainboard. hex screws (No.1~2 is Hex-screw, Torque= 4.5±0.5kgf.cm) Use a Philips-head screwdriver to remove 5 screws for S6.Unscrew the unlocking mainboard. screws to (No.1~4 screw remove the size=M4x8;Torque= Main board 6±1kgf.cm;...
- Page 13 Use a Philips-head screwdriver to S9. Remove the remove 1 screw for screw unlocking clip. (No.1 screw size=Q3x6; Torque=4±1kgf.cm) S10. The MAIN FRAME ...
-
Page 14: Assembly Procedures
5.2 Assembly Procedures: Step Figure Remark Use a Philips-head screwdriver to screw 1 screw for tighten S1. Tighten the clip the clip (No.1 screw size=Q3x6; Torque=4±1kgf.cm) Use a Philips-head screwdriver to screw 3 screws for tighten S2.Assembly the Key board. KEY BOARD (No.1~3 screw size= M2x2.5... - Page 15 Use a Philips-head screwdriver to screw 5 screws for tighten S4.Sscrew the mainboard. screws to (No.1~4 screw tighten the size=M4x8;Torq Main board ue= 6±1kgf.cm; and Power board No.5 screw size=D3x6;Torque= 6±1kgf.cm) Use a hex screwdriver to screw 2 screws for S5.Screw the tighten mainboard.
- Page 16 Use a Philips-head screwdriver to screw 2 screws for tighten S6.Assembly the mechanisms. REAR COVER (No.1~2 screw size=M3x4; Torque=4±1kgf. S7.Assembly the STAND-BASE ASS’Y ...
-
Page 17: Trouble Shooting Instructions
Trouble shooting instructions ... - Page 18 ...
- Page 19 ...
- Page 20 ...
- Page 21 ...
- Page 22 ...


Need help?
Do you have a question about the E1715S and is the answer not in the manual?
Questions and answers