Advertisement
Quick Links
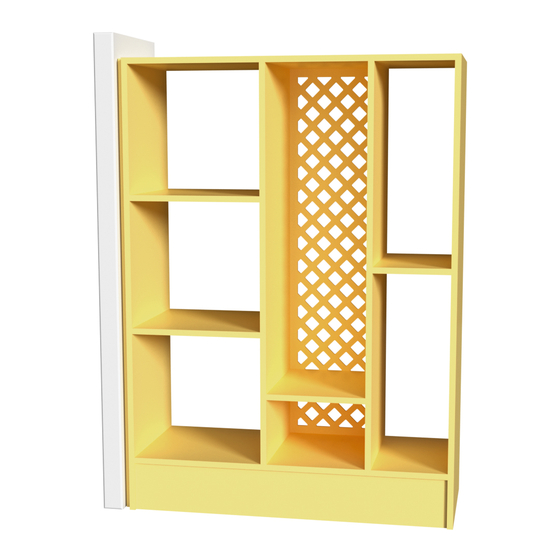
Room Divider
Assembly Instructions
•
Take great care handling and lifting parcels
•
Open parcels with care to avoid damage
•
Check the label to see the contents of each parcel
•
If you have ordered several items, keep it simple: only unpack one item at a time
•
Use the the Parts Diagram sheet to identify and distinguish between parts
Any questions: call us on 01227 833333, or email sales@jali.co.uk
•
YOU WILL NEED
5mm Pozi
Screwdriver
FIXINGS INCLUDED
White Cam
HOW DO CAM & BOLTS WORK?
1. Screw in the Cam Bolt, up to
the shoulder, into the 5mm hole
in one part.
2. Push the Cam, facing
outwards, into the corresponding
hole on the other part.
Assembly Instructions: Room Divider
EXTRA
•
You must fix your product safely in place. Depending on your
situation, you may choose to use a drill, suitable screws and wall
plugs. Your design may include a Mount Board to assist with fixing
against a wall. If possible, consider attaching the unit to the ceiling.
•
If your design does not include a plinth, you won't have any
Kickboards.
Nickel Cam
Cam Bolt
30mm CSK
Screw
3. Push the two parts together,
so that the Cam Bolts disappear
into the middle of the Cams.
4. Insert a 5mm Pozi screwdriver
– tilt back at a slight angle – and
rotate CW to lock the Cam.
Page 1 of 5
Advertisement

Related Manuals for jali Room Divider


Summary of Contents for jali Room Divider
- Page 1 If you have ordered several items, keep it simple: only unpack one item at a time • Use the the Parts Diagram sheet to identify and distinguish between parts Any questions: call us on 01227 833333, or email sales@jali.co.uk • YOU WILL NEED EXTRA •...
- Page 2 Kickboard, the Base will require Cam Bolts on the underside. If your design features Mid Dividers, the Base will also require Cam Bolts on the topside – however, these 5mm holes may be drilled all the way through. Assembly Instructions: Room Divider Page 2 of 5...
- Page 3 Assembly with Cams and Bolts. Note that if your unit does not include Mid Dividers, but does include Fretwork, you LH Side can fit the Fretwork between the Sides now. Base RH Side Assembly Assembly Instructions: Room Divider Page 3 of 5...
- Page 4 (depending on the wall type). Ensure any screws are countersunk, and therefore flush. This provides a convenient flat surface for you to attach the fitted Side to. Use 30mm CSK Screws in the holes provided. Assembly Instructions: Room Divider Page 4 of 5...
- Page 5 Mid Divider grooves as you position and lock the Mid Dividers into place Locate the remaining Shelves and lock them in place with Cams and Bolts Reverse View AND YOU’RE DONE! #jali #roomdivider #makeityours Assembly Instructions: Room Divider Page 5 of 5...