
Related Manuals for Siemens ACC AP


Summary of Contents for Siemens ACC AP
- Page 1 Access Control SiPass integrated ACC AP Technical Manual MP 2.80 A6V11367717 Smart Infrastructure 07.09.2020...
- Page 2 Edition: 07.09.2020 Document ID: A6V11367717 © Siemens Switzerland Ltd, 2020 2 | 16 A6V11367717...
-
Page 3: Table Of Contents
Table of Contents About this Document .................. 5 Details for Ordering ..................6 Safety Regulations ..................7 Standards and Guidelines ................8 Technical Specifications ................9 Battery ......................10 ACC-AP Controller Diagram ................. 10 5.2.1 Description of Numbered Items in the Diagram ......11 Installation .................... -
Page 5: About This Document
About this Document 1 About this Document This document contains information on the mounting and installation of the product. The ACC-AP, SiPass Firmware and Aperio Wireless Locks (which can be configured only on ACC-AP) work in relation to each other. Hence, it is recommended that the following documents (from SiPass integrated Software bundle) are read in conjunction: ●... -
Page 6: Details For Ordering
Details for Ordering 2 Details for Ordering Standalone ACC- The ACC-AP IP Door Controller can be ordered as a unit or as APM PSU unit in 12V/24V voltage options. Part Number Type Description S54502-C150-A100 ACC-AP ACC-AP SiPass integrated IP Door Controller S54502-C152-A100 ACC-APM-1220 ACC-APM-1220 SiPass IP Controller 12V 2A PSU... -
Page 7: Safety Regulations
Safety Regulations 3 Safety Regulations General ● Follow all warnings and instructions marked on the device. ● Keep this document for reference purposes. ● Please take into account any additional country-specific local laws, safety standards or regulations concerning installation, operation and disposal of the product. -
Page 8: Standards And Guidelines
● Directive 2014/30/EU (Electromagnetic Compatibility directive) ● Directive 2014/35/EU (Low Voltage directive) The EC Declaration of Conformity is available from your local Siemens sales office or from the address below: Siemens Switzerland Ltd Building Technologies Division Theilerstrasse 1a, CH-6300 Zug... -
Page 9: Technical Specifications
Technical Specifications Battery 5 Technical Specifications The technical data for the ACC-AP is as below: Default IP Address 192.168.251.1 Subnet mask: 255.255.255.0 Supply voltage (nom.*) 12-24 Vnom +/- 10% 1Vpp ripple Absolute voltage ratings** 9.5V DC – 29.5V DC The AP power supply input must be protected by a fuse (2A). -
Page 10: Battery
Technical Specifications Battery 5.1 Battery The “CR2032” battery type is supplied and should be mounted in the battery socket AP Controller Diagram (see item 13 in the ) with the plus (+) mounted downwards. The battery keeps the Audit Trail data intact for about 30 days during any power fail. -
Page 11: Description Of Numbered Items In The Diagram
Technical Specifications ACC-AP Controller Diagram 5.2.1 Description of Numbered Items in the Diagram Item Description Number Power supply input – Vin, 12-24V DC Power out with Vin voltage (direct connection to Vin to allow daisy chaining of power to another devices) Relay output 1. -
Page 12: Installation
When connecting Wiegand Readers, the “A-Line” of the ACC-AP Reader 1 and 2 ports has a fixed 560-ohm pullup resistor. Some reader types, such as the Siemens AR6111-MX Readers, do not have sufficient drive strength to pull the A line low enough. - Page 13 Wiegand Reader Connections Note If Wiegand readers are connected to the ACC AP DRIe, the End of Line (EOL) jumper for the readers MUST BE DISABLED. If the EOL jumpers are On (default setting), the Wiegand reader will not work.
-
Page 14: Mounting
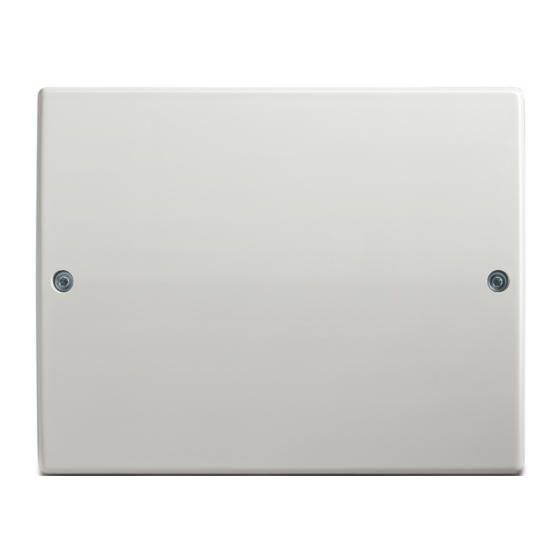
Installation Mounting 6.3 Mounting Mount the unit in such a way that the wiring and connectors can be easily applied. There must be a minimum of 10 mm free area around the housing to de-mount the lid. The dimensions of the layout are shown in the diagram below (not actual size). Figure 1: ACC-AP Controller Mounting 14 | 16 A6V11367717... -
Page 15: Tamper Function
Installation Tamper Function 6.4 Tamper Function The tamper is very important for the protection of the mounting. There are two types of tamper switches: AP Controller Diagram ● Opening the lid (see item 17 in the AP Controller Diagram ● Removing unit from the wall ( see item 25 in the The wall tamper requires that the unit is properly fixed to wall with a screw. - Page 16 Issued by Siemens Switzerland Ltd Smart Infrastructure Global Headquarters Theilerstrasse 1a CH-6300 Zug +41 58 724 2424 www.siemens.com/buildingtechnologies © Siemens Switzerland Ltd, 2020 Technical specifications and availability subject to change without notice. A6V11367717...
Need help?
Do you have a question about the ACC AP and is the answer not in the manual?
Questions and answers