Advertisement
Quick Links
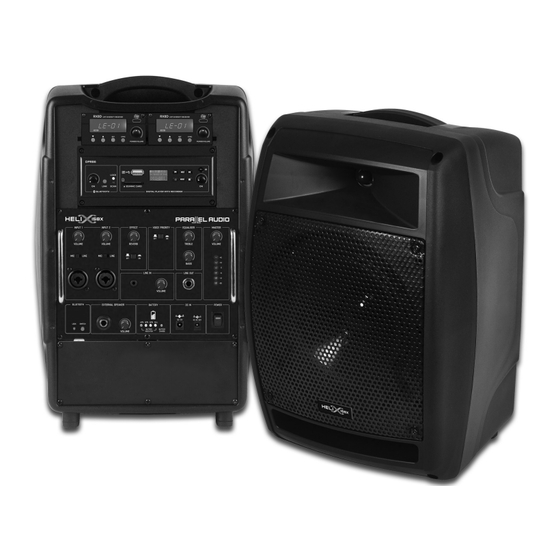
Advertisement

Related Manuals for HELIX I58X


Summary of Contents for HELIX I58X
-
Page 2: Safety Precautions
Please read and follow the instructions in this manual thoroughly to obtain optimum results from this unit. We also recommend that you keep this manual handy for future reference. Safety Precautions • Be sure to read the instructions in this section carefully before use. •... -
Page 3: Battery Compartment
The Module Compartment is user configurable and user can access the battery compartment to replace battery. In the Box 0~4 transmitters Switching power supply Helix 158X amplifier (handheld/beltpack) (plug varies from country to country) Operation manual Note: The above specifications are subject to change without prior notice. - Page 4 Parts and Functions MIC/LINE 1 MIC/LINE 2 REVERB REVERB VOICE PRIORITY TREBLE/ MASTER Volume Control Volume Control Control On/Off Button On/Off Button BASS Volume Control MIC/LINE 1 Level Switch MIC/LINE 2 Level Switch MIC/LINE INPUT 1 MIC/LINE INPUT 2 LINE IN Socket LINE IN LINE OUT MASTER...
- Page 5 Module Compartment For Receiver / Repeater / For Receiver / MP3 Module MP3 Module Sound control, eg. volume and equaliser, of audio output from HX-158x-II is controlled only by this external amplifier. OPERATION MANUAL V2.0 PAGE 5...
- Page 6 Using a Wired Microphone – INPUT 1 & INPUT 2 Plug a wired microphone with a 6.3mm or XLR connector to INPUT 1 or INPUT 2. 2. Slide MIC/LINE switch to MIC level. 3. Turn on master POWER and then adjust INPUT 1 or INPUT 2 volume control to desired level. 4.
- Page 7 Using an Electronic Instrument – INPUT 1 & INPUT 2 Plug an electronic guitar or keyboard with a 6.3mm plug or XLR connector to INPUT 1 or INPUT 2. 2. Slide MIC/LINE switch to MIC level. 3. Turn on master POWER and then adjust LINE volume control to desired level. 4.
- Page 8 Music Audio Input – Smart Phone / Tablet / MP3 Player Connect your device to the LINE IN 3.5mm jack using a 3.5mm 3-pole stereo audio cable. 2. Turn on master POWER and then adjust LINE IN volume control to desired level. 3.
- Page 9 Operating BLUETOOTH Receiver Turn on master POWER and then press the SWITCH button for 3 seconds to turn on the BLUETOOTH receiver. You will hear “POWER ON” and the pairing indicator LED will flash green. Flash POWER ON GREEN Approximately 9 seconds later you will hear “READY TO PAIR” and the pairing indicator LED will flash green and red. Flash Flash READY TO PAIR...
- Page 10 Important • BLUETOOTH automatically turns off after 5 minutes if no music is playing. • Press the SWITCH button for disconnection or to prepare for a new pairing. • BLUETOOTH memorises and automatically connects to last-paired device. EQUALISER for WIRED / WIRELESS MICROPHONE and MUSIC EQUALISER adjustment is actually used to increase or reduce the high/medium/low frequency component of the speaker’s restored sound.
- Page 11 Operating Voice Priority Voice Priority operation is only necessary when CD/USB/MP3 is playing. When the Voice Priority switch is ON, the ducking function will be activated. While the music is playing, voice input from either a Wired or Wireless Microphone will temporarily override and lower the volume of the background music and speech will be heard more clearly.
- Page 12 Using a Wireless Transmitter Parts and Functions Diversity A/B Transmitter Battery Antenna Power RF Signal Meter Channel Audio Signal Meter IR Sensor Power / Volume Control Frequency DOWN Button UP Button SET Button IrDA Synchronisation Button Channel Synchronising of the Receiver and Transmitter Align infrared areas of the receiver and transmitter within 10~30cm.
- Page 13 Channel Scanning For interference-free operation, a cleaner channel might be necessary if the current one receives too much interference. To operate scanning: Press (down) or (up) button until the frequency Hold SET button until this icon [FREQ] flashes to denote icon [FREQ] appears at the bottom of the LCD.
- Page 14 Volume and Other Settings Turn on master POWER and then adjust volume control to the desired level. 2. EQUALISER Treble/Bass (refer to Page 10) and REVERB (refer to Page 11) levels can be adjusted individually. TONE control REVERB effect PAGE 14 OPERATION MANUAL V2.0...
- Page 15 HX-158x-II operates as the MASTER unit in a wireless audio link with other HX-158x-II or HX-8 PSR active companion powered speakers. The RP5 repeater module of master HX-158x-II can transmit all audio signals, including wired/wireless microphone, music, instrument, etc. to other units installed with receiver module. HELIX-8 PSR HELIX-8 PSR HELIX-158x-II...
- Page 16 Music Audio Input – Smart Phone / Tablet / MP3 Player Connect your device to the AUX IN 3.5mm jack using a 3.5mm 3-pole stereo audio cable. 2. Use a mini screw driver to adjust the volume of the input audio. Adjusting the Internal Audio Gain Level Use a mini screw driver to adjust the volume of audio sources in the master unit.
- Page 17 Transmitting from Master to Companion Units Install an RP5 repeater module on the master HX-158x-II. Set the channel/frequency on the repeater module which will be used to transmit signals to other units. The channel/frequency must be different from other modules on all master and companion units.
- Page 18 Extra Coverage To reach wider coverage, the companion unit HX-158x-II or HX-8 PSR can serve as SUB-MASTER to transmit signals to SUB-COMPANION units. Important: Please do not set the SUB-COMPANION as next MASTER in order to guarantee best sound quality. HX-8 PSR HX-8 PSR HX-158x-II...
- Page 19 Connecting a Passive Companion Speaker Plug the passive companion speaker’s audio cable with a 6.3mm connector to the speaker input socket of HX-158x SP or another 4~8Ω load speaker. Max cable length less than 20m. 2. Turn on master POWER and then adjust its individual volume control to a desired level. OPERATION MANUAL V2.0 PAGE 19...
- Page 20 Installing or Replacing a Receiver/Repeater/MP3 Module There are four slots above the control panel and two on HX-MB module bracket for installing optional modules which includes receiver, repeater and MP3 recorder modules. Use a Phillips-head screwdriver (not included) to remove the screws of the blank cover panel or current module’s panel.
- Page 21 FAQ and Useful Operation Tips 1. How to adjust the best volume? Gradually adjust the volume of audio inputs from minimum to an appropriate level. Then adjust volume according to the surrounding environment and the required sound (microphone, MP3 ... etc.). 2.
- Page 22 5. Does the wireless PA need to be installed with a tripod? What is the ideal height for the PA to be positioned above the ground? Placing your wireless PA in a high position will help signal reception. It can be mounted on a tripod, above ear-level of the audience.
- Page 23 Maintenance-Free Lead-Acid and Lithium Batteries Cautions when using the battery Do not operate at temperatures lower than -10°C or higher than 50°C. Do not let the battery make contact with any liquid. Do not immerse the battery in water or get it wet. After the battery is exposed to water, a decomposition reaction may occur, which may cause battery self-ignition or even cause an explosion.
- Page 24 Notes PAGE 24 OPERATION MANUAL V2.0...
- Page 25 Notes OPERATION MANUAL V2.0 PAGE 25...
- Page 26 Notes PAGE 26 OPERATION MANUAL V2.0...
- Page 27 PARALLEL AUDIO WARRANTY INFORMATION – 5 Year Warranty Term Consumer Guarantees When you purchase a NAS distributed product, you have the peace of mind in knowing that your product is covered by the NAS warranty. The NAS warranty is provided by: In Australia: National Audio Systems Pty Ltd, ABN 50 085 679 894 [‘NAS’], 127 Merrindale Drive, Croydon, Victoria 3136.
-
Page 28: Warranty Exclusions
Warranty Exclusions The Warranty does not cover damage caused by; • Misuse or abuse of the product by You; • Incorrect operation or not following the operation instructions (as noted in the operating instructions); • Improper installation; • Incorrect or improper maintenance or failure to maintain the product; •...
Need help?
Do you have a question about the I58X and is the answer not in the manual?
Questions and answers