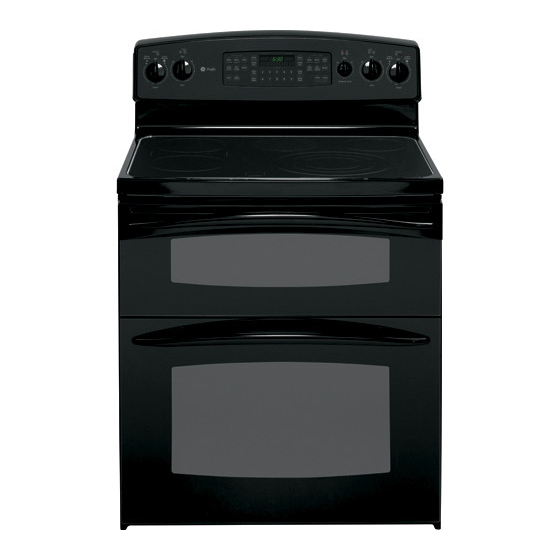
GE PB970BMBB Installation Instructions Manual
Free-standing electric ranges
Hide thumbs
Also See for PB970BMBB:
- Installation instructions (2 pages) ,
- Dimensions and installation information (2 pages) ,
- Owner's manual (48 pages)
Table of Contents
Advertisement
Quick Links
Installation
Instructions
Questions? Call 800.GE.CARES (800.432.2737) or Visit our Website at: ge.com
BEFORE YOU BEGIN
Read these instructions completely
and carefully.
IMPORTANT
•
instructions for local inspector's use.
IMPORTANT
•
governing codes and ordinances.
• Note to Installer – Be sure to leave these
instructions with the Consumer.
• Note to Consumer – Keep these
instructions for future reference.
• Skill level – Installation of this appliance
requires basic mechanical skills.
• Completion time – 1 to 3 hours
• Proper installation is the responsibility of
the installer.
• Product failure due to improper installation
is not covered under the Warranty.
WARNING
be properly grounded.
FOR YOUR SAFETY:
WARNING
installation, switch power off at service panel
and lock the service disconnecting means to
prevent power from being switched on
accidentally. When the service disconnecting
means cannot be locked, securely fasten a
prominent warning device, such as a tag, to
the service panel.
31-10652
02-07 JR
— Save these
— Observe all
— This appliance must
— Before beginning the
Free-Standing
Electric Ranges
Models PB970, PB975
ANTI-TIP DEVICE
WARNING
of tipping, the appliance must be secured by
properly installed Anti-Tip bracket packed
with this appliance.
If you pull the range out and away from the
wall for any reason, make sure the Anti-Tip
bracket is engaged when the range is pushed
back against the wall.
1
— To reduce the risk
WARNING
• All ranges can tip
• Injury to persons could result
• Install Anti-Tip bracket packed
with range
• See Installation Instructions
—
Advertisement
Table of Contents

Summary of Contents for GE PB970BMBB
-
Page 1: Before You Begin
Installation Instructions Questions? Call 800.GE.CARES (800.432.2737) or Visit our Website at: ge.com BEFORE YOU BEGIN Read these instructions completely and carefully. IMPORTANT • — Save these instructions for local inspector’s use. IMPORTANT • — Observe all governing codes and ordinances. -
Page 2: Prepare To Install The Range
If cabinet storage space is to be provided above the cooktop, the risk can be reduced by installing a range hood that protrudes at least 5” beyond the front of the cabinets. Cabinets installed above a cooktop must be no deeper than 13”... -
Page 3: Prepare The Opening
Installation Instructions PREPARE THE OPENING See illustrations for all rough-in and spacing dimensions. The range may be placed with 0” clearance (flush) at the back wall and side walls of the cabinet. Acceptable electrical outlet area. ” ⁄ Orient the electrical receptacle so the length is parallel to the floor. -
Page 4: Electrical Connections
Failure to wire your oven according to governing codes could result in a hazardous condition. If there are no local codes, your range must be wired and fused to meet the requirements of the National Electrical Code, ANSI/NFPA No. 70–... -
Page 5: Power Cord And Strain Relief Installation
Installation Instructions POWER CORD AND STRAIN RELIEF INSTALLATION Remove the terminal block cover (on the back of the range) by removing the screw, using a 1/4” nut driver. Do not discard the screw. Back of range Remove the knockout ring (1 on bracket directly below the terminal block. - Page 6 DISCARD ANY SCREWS. Insert the one ground screw into the power cord ground wire terminal ring, through the ground plate and into the frame of the range. Insert the 3 terminal screws (removed earlier) through each power cord terminal ring and into the lower terminals of the terminal block.
-
Page 7: 3-Wire Conduit Installation
Cut and discard the ground strap. DO NOT DISCARD ANY SCREWS. Insert the ground bare wire tip between the range frame and the ground plate (removed earlier) and secure it in place with the ground screw (removed earlier). Insert the bare wire (white/neutral) tip through the bottom center of the terminal block opening. -
Page 8: Install The Range
Typical installation of anti-tip bracket attachment to wall WARNING: • Range must be secured by Anti-Tip bracket supplied. • See instructions to install (supplied with bracket). • Unless properly installed, the range could be tipped by stepping or sitting on the door. -
Page 9: Level The Range
It is recommended that the clock be changed if the red lines appear. • Be sure all range controls are in the OFF position before leaving the range. - Page 10 Notes...
- Page 11 Notes...
- Page 12 Printed in the United States...


Need help?
Do you have a question about the PB970BMBB and is the answer not in the manual?
Questions and answers