Advertisement
Quick Links
Advertisement

Summary of Contents for SONIQ E55UV80A
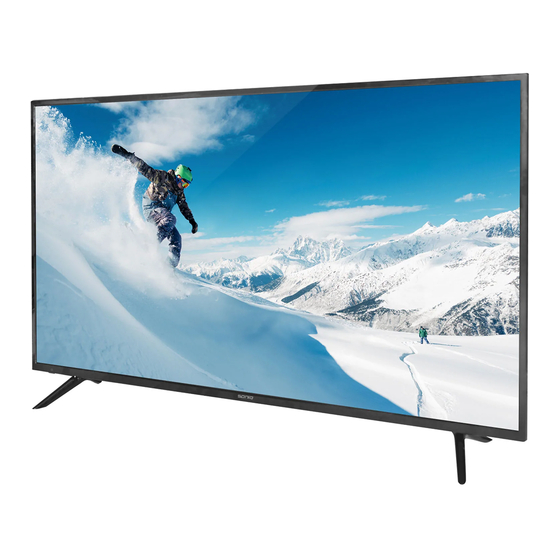
- Page 1 55 UltraHD LED LCD TV E55UV80A...
-
Page 2: Table Of Contents
CONTENTS CAUTION ....................2 ACCESSORY ....................4 STAND ASSEMBLY ..................5 CONTROL BUTTON ..................6 TERMINAL ....................7 REMOTE CONTROLLER ................8 MENU OPERATION ................10 ................14 MAIN LAUNCHER SPECIFICATIONS .................. -
Page 3: Caution
CAUTION... - Page 5 Instruction Manual 55 UltraHD LED LCD TV E55UV80A www.soniq.com printed in China 6PCS Ø4-BM 55 UltraHD LED LCD TV E55UV80A...
- Page 6 4PCS of type M6 x 10mm screws are required (the length of the screws fixed in the interior of the TV should not be longer than 12mm) Recommend to use SONIQ wall mount and install by professional people (do not operate while the TV is on).
-
Page 7: Control Button
CONTROL BUTTON... -
Page 8: Terminal
The following paragraph shows how to connect to other Audio and Video devices. Headphones Co m p o nent VHF/UHF cab le antenna RF Co axia cab l e cable TV company Optical input SONIQ does not supply these cables. HDMI cab le cable receiver/satellite box... -
Page 9: Remote Controller
REMOTE CONTROLLER The remote controller cannot be used unless it is within the receivable range. Before you use the remote control, please make sure there's no obstacle between the remote control and the receiver. Note: USB/SD/3D/DVD/TITLE/PBC/SETUP/D.DIS/ are invalid. -
Page 10: Menu Operation
MENU OPERATION Channel Selection buttons on the main unit or on the remote control repeatedly to select the channel. 0-9 buttons on the remote control to select the channel directly. VOL+/- buttons on the main unit or on the remote control to adjust the volume. - Page 11 MENU OPERATION Auto Tuning: Press the ENTER button to start Auto tuning which automatically scan and store all available programmes. ATV Manual Tuning: Manual store for ATV channels. DTV Manual Tuning: Manual store for DTV channels. Programme Edit: Press ok to enter and edit the channel according to the color suggestion function.
- Page 12 MENU OPERATION SOUND Sound Mode: You can select a sound mode to suit your personal preferences. five-stage equalization setting can be adjusted when the sound mode is set to Use r. Treble: Adjust the high frequency sounds. Bass:Adjust the low frequency sounds. Balance: Adjust the level of sound coming from the left and right speakers.
- Page 13 MENU OPERATION LOCK Press MENU button to display the main menu. Press button to select LOCK in the main menu, it will highlight the first option. Press OK button and input pasword (the default password is 0000 ) to enter the sub-title , and press to adjust OPTLON...
-
Page 14: Main Launcher
MAIN LAUNCHER The USB storage devices should beinserted into the terminal. Select the Media(or USB) source and view the multimedia. Select the multimedia and press the [ OK ] button to enter. In the play interface, according to the menu display operation (Ifthe menu has disappeared, you can press the [ OK ] button). -
Page 15: Specifications
SPECIFICATIONS ~220-240V AC , 50/60Hz 150W 480i, 480p, 576i,576p, 720p, 1080i, 1080p, 4K2K (42MHz ~ 230MHz) (474MHz ~ 862MHz) MPEG-2MP@ML Video System MPEG1, layer1 Audio System 1209.6(H) x 680.4(V) 3840x 2160 5000 RF IN RF IN AV IN AV IN x 1 USB x 2 YPbPr YPbPr x 1... -
Page 16: Simple Troubleshooting
SIMPLE TROUBLESHOOTING If the display fails or the performance dramatically changes, check the display in accordance with the following instructions. Remember to check the peripherals to pinpoint the source of the failure. If the display still fails to perform as expected, contact the dealer for assistance. - Page 18 AUSTRALIA : www.soniq.com/au/contact-us NEW ZEALAND : www.soniq.com/nz/contact-us...


Need help?
Do you have a question about the E55UV80A and is the answer not in the manual?
Questions and answers