Table of Contents
Advertisement
Quick Links
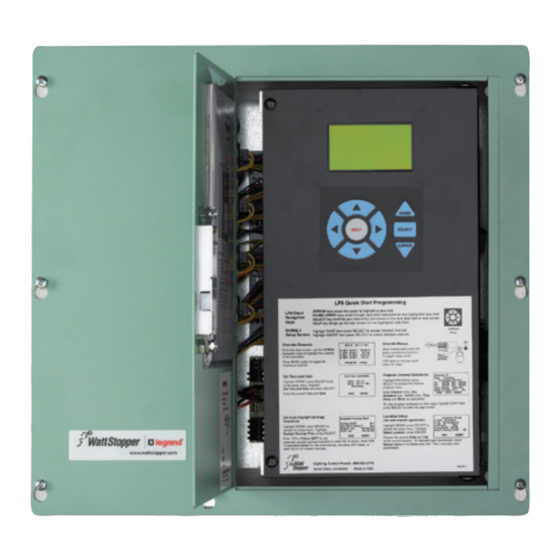
LP8
SPECIFICATIONS
Supply Voltages ..............................................per selected power supply
P115/277 Power Supply ............................................... 115 or 277VAC
P240 Power Supply ................................................................. 240VAC
P115/347 Power Supply ............................................... 115 or 347VAC
Load Ratings
@120VAC, 50/60Hz ....................................... 20A Tungsten or Ballast
@277/347VAC, 50/60Hz .....................................................20A Ballast
@250VAC .......................................................................................1HP
Accessory Power Ouput ..................................800mA @24VDC/VAC/ACR
Environmental
Maximum Ambient Temperature ................................................60°C
Maximum Humidity ........................ 5% to 90% RH, non-condensing
UL & cUL Listed for receptacle rated circuit control
LP8 & LP24
Lighting Control Panel
LP24
Advertisement
Table of Contents


Need help?
Do you have a question about the LP Series and is the answer not in the manual?
Questions and answers