
Subscribe to Our Youtube Channel
Related Manuals for CMP DEL AOP-S


Summary of Contents for CMP DEL AOP-S
- Page 1 ® DEL AOP ® INSTALLATION INSTRUCTIONS & PRODUCT MANUAL SEC-50-XX Scan for ® Step-by-step instructions C-M-P.COM/DEL OR VISIT C-M-P.COM/TECH 4-2535-01 Rev.E...
- Page 2 Failure to do so could result in serious injury or death. • The DEL AOP-S must be installed in an outdoor location, or indoors in a forced air ventilated room, and installed so that the orientation is exactly as shown in Figure 1. Install to provide water drainage of generator to protect electrical components.
-
Page 3: Table Of Contents
TABLE OF CONTENTS SECTION 1 General Information 1A. Description ......................1 1B. Specifications ......................1 SECTION 2 Installation 2A. Location .........................1 2B. Wall Mounting ....................2 2C. Plumbing ......................3 2D. Main Power ......................5 SECTION 3 Operation 3A. General ........................6 3B. -
Page 4: Section 1 General Information
Allow sufficient clearance in front for internal access, and above for service of the UV lamp and quartz tube (13 inches). The DEL AOP-S should be installed at least one (1) foot above the maximum water level. See Section 2C-3 Check Valve Assembly, for plumbing instructions based on mounting location. -
Page 5: Wall Mounting
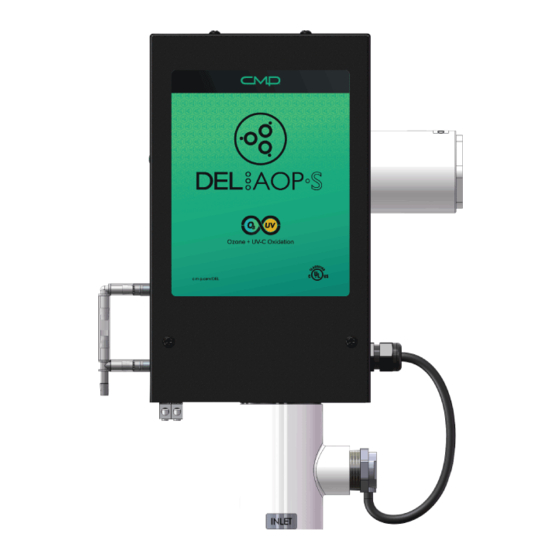
SECTION 2 Installation Mounting Holes (2x) Allow Vertical Clearance System Active for UV Lamp Removal Indicator Water Outlet Ozone Output Barb Air Intake Filter Bonding Lugs ½” Knockout Main Power Wires Water Inlet Figure 1: Mounting Location & Notations (cover removed) 2B. -
Page 6: Plumbing
20 GPM for optimal germicidal UV effectiveness. The recommended configuration is a dedicated pool return from the DEL AOP-S. If a dedicated pool return is not possible, a connection back to the main pool return may be used. NOTE: For pools equipped with a heater, the by-pass plumbing tee to the Injector should be installed BEFORE the heater. - Page 7 SECTION 2 Installation Figure 2: Typical Plumbing Arrangement (pool with heater)
-
Page 8: Main Power
2D. Main Power Connect the DEL AOP-S to the pool timing clock so that it operates simultaneously with the pool pump. The circuit must be protected by a Ground Fault Circuit Interrupter (G.F.C.I.) installed in accordance to electrical code. -
Page 9: Section 3 Operation
SECTION 3 Operation SECTION 3 Operation 3A. General To achieve optimal performance from the DEL AOP-S, the pool must be as clean as possible to start with. Backwash or clean filters one day before starting the AOP-S. Superchlorinate pool water using a chlorine based shock treatment. -
Page 10: Initial System Start-Up
Flow Switch: Activates the power relay when adequate flow is established through the AOP-S. Power Relay: Turns on the ozone module and ballast. WARNING: Before performing any maintenance, make sure the DEL AOP-S is disconnected from the power source, the pool pump is off, and water pressure is relieved. -
Page 11: System Maintenance
SECTION 4 Maintenance & Service Power Relay Ballast UV Lamp Ozone Module Flow Switch Figure 4: Components 4B. System Maintenance 4B-1. Ordering Information To locate a dealer nearest you, call 1-800-733-9060 or visit our website www.c-m-p.com. Be prepared to provide the following information: •... -
Page 12: Ozone Module Service
SECTION 4 Maintenance & Service 4B-2. Standard Replacement Parts List UV Lamp Replacement Assembly........9-1100-01 Quartz Tube Replacement Kit.........9-1204-01 Sealing O-Ring..............7-1981-01 4. Check Valve Assembly*.............9-0770-01 Ozone Module..............9-1636-01 Air Intake Filter Assembly..........9-0858-01 * Must be replaced every year. 4B-3. Flow Meter Regularly reinstall the flow meter assembly and check for proper flow. Always remove the flow meter assembly after confirming flow. - Page 13 SECTION 4 Maintenance & Service Loosen the two nuts on the ozone module backplate. 4. Remove the two nuts securing the ozone module to the backplate. Slide the ozone module and loosened backplate right to free the ozone module from the enclosure. Disconnect ozone supply tubing from ozone output barb (observe Warning in Section 4B-4).
-
Page 14: Uv Lamp And Quartz Tube Service
SECTION 4 Maintenance & Service 4D. UV Lamp and Quartz Tube Service 4D-1. UV Lamp Removal For maximum UV sanitization effect, replace the UV lamp after 13,000 hours of operation. UV Lamp Sealing O-Ring UV Lamp Retainer Quartz Tube Quartz Tube Adapter Figure 6: Lamp and Quartz Tube Removal Follow the instructions below for UV lamp replacement and... - Page 15 NOTE: Damage caused by a broken quartz tube is not covered under the DEL AOP-S limited warranty. The UV lamp is housed in a quartz tube. If the quartz tube becomes dirty, its ability to transmit rays from the UV lamp will be diminished and decrease system performance.
-
Page 16: Troubleshooting
SECTION 4 Maintenance & Service CAUTION: Follow the directions for safe use and handling of muriatic acid on the acid bottle label. When mixing, always add acid to container first then add water. After cleaning the quartz tube, wash it off with water and wipe dry with a soft towel. - Page 17 UV sunlight, will tend to deteriorate the supplied tubing. This is normal and acceptable, as long as the tubing doesn’t become cracked and leak. Because of this, CMP recommends replacing the check valve assembly every year.
-
Page 18: Support
Record Information on this System Below & Keep for Your Records Installer ______________________________________________________________ System Purchased From _____________________________________________ Installation Date _____________________________ Serial Number _______________________________ Model Number ______________________________ CMP Customer Service & Tech Support Toll Free: 1-800-733-9060 FAX: 770-632-7115 support@c-m-p.com Warranty Questions RMA@c-m-p.com... - Page 19 NOTES...
- Page 20 CMP , LLC 36 HERRING ROAD, NEWNAN, GA 30265 WWW.C-M-P .COM/DEL 0421AB...
Need help?
Do you have a question about the DEL AOP-S and is the answer not in the manual?
Questions and answers