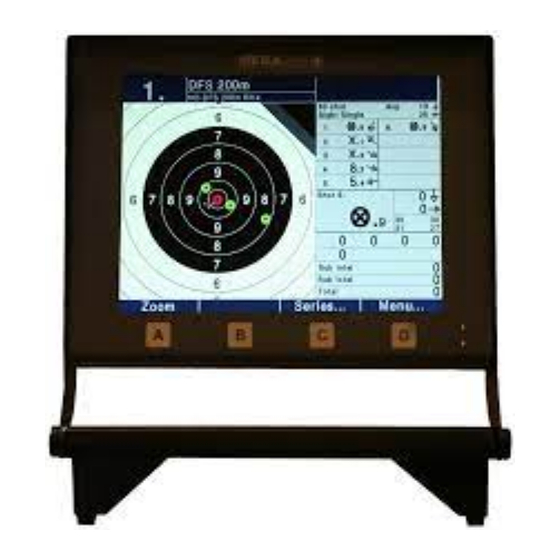
MEGAlink ML2000 User Manual
Hide thumbs
Also See for ML2000:
- User manual (39 pages) ,
- User manual (16 pages) ,
- User manual (15 pages)
Table of Contents
Advertisement
Quick Links
7
Troubleshooting ........................................................................................................................... 2
7.1
Step 1.................................................................................................................................... 2
7.2
Step 2.................................................................................................................................... 3
7.2.1
General ......................................................................................................................... 3
7.2.2
Sensor unit.................................................................................................................... 4
7.2.3
Communication towards PC ........................................................................................ 4
7.2.4
Problems with the sound pressure values .................................................................... 4
7.3
Replacement units ................................................................................................................ 5
7.3.1
Packaging and transportation ....................................................................................... 5
7.3.2
Target controller unit (electronic card) for 3U-XXX targets ....................................... 5
7.3.3
Target controller unit for 4K-XXX targets .................................................................. 5
7.3.4
Replacing the motor on 4K-300 ................................................................................... 6
7.4
Troubleshooting PC-software .............................................................................................. 6
7.4.1
Exchange between MLRange and MLRes ................................................................... 6
7.4.2
MLView ....................................................................................................................... 6
19.10.2012 - V6.01
User manual for ML2000
Troubleshooting
Table of contents
User manual for ML2000
Troubleshooting
1
Advertisement
Table of Contents

Summary of Contents for MEGAlink ML2000
-
Page 1: Table Of Contents
User manual for ML2000 User manual for ML2000 Troubleshooting Table of contents Troubleshooting ........................... 2 Step 1............................ 2 Step 2............................ 3 7.2.1 General ......................... 3 7.2.2 Sensor unit........................4 7.2.3 Communication towards PC ..................4 7.2.4 Problems with the sound pressure values ..............4 Replacement units ........................ -
Page 2: Troubleshooting
4. If only one monitor is not working, try another connector The display starts 1. The display is in PC-control mode. Se the chapter “Use of directly in the shooting ML2000” for a manual procedure to bring the display back to screen manual control. The display will not 1. -
Page 3: Step 2
User manual for ML2000 7.2 Step 2 7.2.1 General • Try to disconnect the PC-adapter • Check the indicators in the system: o The on-screen indicator on the top middle of the screen should display READY if connection is established with the target... -
Page 4: Sensor Unit
User manual for ML2000 o An active communication line will have a small DC voltage (approximately 0.3 Volts) o All communication lines should always be between 0 Volts and 5 Volts when measured between ground and the communication wires (usually close to 0 Volts). -
Page 5: Replacement Units
• Mark the package with the text ”Repair” • Insert a note with returning address, contact person and description of the symptom. Remember to do this even if the problem has been discussed with Megalink personnel. The equipment for repair is often handled by other personnel. -
Page 6: Replacing The Motor On 4K-300
User manual for ML2000 • Pull the card out of the connector for the temperature sensor. Be careful with the motor cables. • Remove the locking screws for the microphone cable and pull out the connector • Release the card completely Mounting is the exact opposite procedure.


Need help?
Do you have a question about the ML2000 and is the answer not in the manual?
Questions and answers