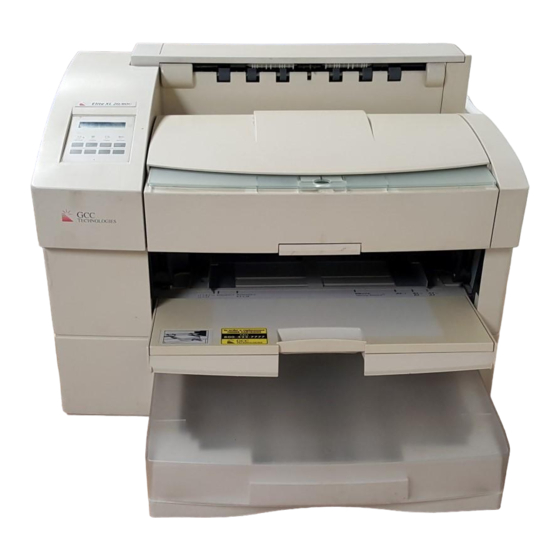
GCC Technologies Elite XL-20/1200 Software Installation
Windows 2000 software installation instructions
Hide thumbs
Also See for Elite XL-20/1200:
- Network manual (63 pages) ,
- User manual (216 pages) ,
- Ram installation manual (14 pages)
Advertisement
G
CC
T
ECHNOLOGIES
Windows 2000 Software Installation Instructions
GCC Elite XL 20 Series Printers
This document is intended to provide instructions for downloading and installing
the Windows 2000 driver software for GCC's Elite XL 20 Series of laser
printers. Please follow all instructions in this document in order to assure that
the software is properly installed and configured onto your Windows 2000 PC.
Please contact GCC Technical Support directly at (781)276-8620 or on-line at
www.gcctech.com
for assistance with this installation.
Software Download
Start by downloading the Elite XL 20 Series Windows 2000 software from
GCC's web site at the following address:
ftp://ftp.gcctech.com/pub/postscript-pcl/elite-xl/windows/Elite20Win2K.exe
This will give you a file called "Elite20Win2K.exe". This file is a self-extracting
archive. Double-click the file's icon in Windows to extract the software. When
prompted for a location to extract the files to, type in:
C:\GCC
This will place the driver files in a folder on your hard drive called "GCC". Once
this is done, proceed to the software installation instructions starting on the
next page.
1
Advertisement
Table of Contents

Summary of Contents for GCC Technologies Elite XL-20/1200
- Page 1 C:\GCC This will place the driver files in a folder on your hard drive called “GCC”. Once this is done, proceed to the software installation instructions starting on the...
- Page 2 Printer icon to start the Add Printer Wizard. Click “Next” at the Add Printer Wizard welcome screen. 2. The next window of the Add Printer Wizard will ask if the printer is connected to the local computer or to a Network Printer Server.
- Page 3 Click Have Disk. 5. This will bring up the “Install From Disk” window. Use the Browse button to select the “GCC” folder on your “C:” drive and click Open. Select the GCCE20.INF file within this folder and click on Open. Click on OK.
- Page 4 6. A list of GCC Elite XL 20 printer models will appear. Select your printer model from the list and click Next. 7. The next window will ask for a printer name. You can type in a new name, or keep the default name.
- Page 5 9. The next window allows you to specify the location of the printer. This will allow users to more easily identify the printer on a large network. You can also enter comments to specify the printer’s capabilities, etc. to users Enter information into these fields if desired, then click Next.
- Page 6 Printers window and a new icon for the printer will appear. If installing a local printer, you are now ready to print to the Elite XL 20 printer. If installing as a stand-alone ethernet network device, proceed to the next section of this document, “Windows 2000 Network...
- Page 7 Win2000 release pack in use. • Click on the Start Button. Select Settings and then Printers. • Locate the icon for the Elite XL 20 printer that you have installed. Right-click on the printer icon and select Properties.
- Page 8 Selecting a Shared Printer This section briefly describes the steps for setting up client access to a shared printer. This will allow other PCs on the network to print to the printer over the Windows 2000 server. Windows 95/98: In the Printer Properties on the Details tab. Click the Add Port button and browse the network for the shared printer.


Need help?
Do you have a question about the Elite XL-20/1200 and is the answer not in the manual?
Questions and answers