Sign In
Upload
Download
Table of Contents
Contents
Add to my manuals
Delete from my manuals
Share
URL of this page:
HTML Link:
Bookmark this page
Add
Manual will be automatically added to "My Manuals"
Print this page
×
Bookmark added
×
Added to my manuals
Manuals
Brands
Daikin Manuals
Air Conditioner
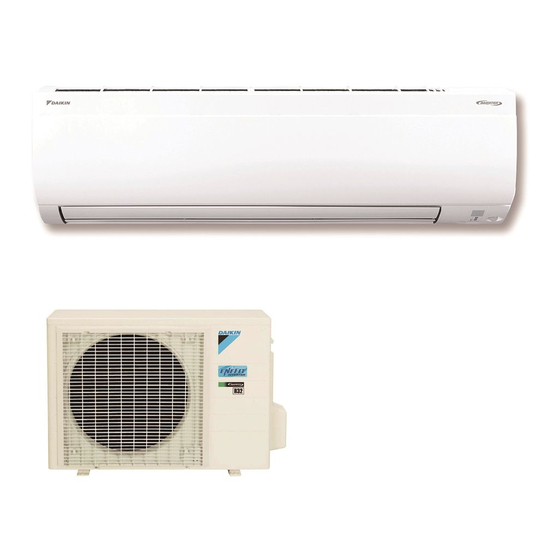
FTXV41UVLT
Operation manual
Daikin FTXV41UVLT Operation Manual
Hide thumbs
1
2
3
4
5
6
7
8
9
10
11
12
13
14
15
16
17
18
19
20
21
22
23
24
25
26
27
28
29
30
31
32
33
34
35
36
37
38
39
40
41
42
43
44
45
46
47
48
49
50
51
52
53
54
55
56
57
58
59
60
61
62
63
64
page
of
64
Go
/
64
Contents
Table of Contents
Troubleshooting
Bookmarks
Table of Contents
English
Table of Contents
Read before Operation
Safety Precautions
Names of Parts
Preparation before Operation
Basic Operation
AUTO · COOL · DRY · HEAT · FAN ONLY Operation
Adjusting the Airflow Rate
Adjusting the Airflow Direction
COMFORT AIRFLOW Operation
Useful Functions
INTELLIGENT EYE Operation
POWERFUL Operation
ECONO Operation
OUTDOOR UNIT QUIET Operation
MOLD PROOF Operation
TIMER Operation
ON/OFF TIMER Operation
Care
Care and Cleaning
When the Need Arises
Faq
Troubleshooting
漢語
安全注意事項
各部位名稱
運轉前準備
自動.冷氣.除濕.暖氣.送風運轉
調節風量
調節風向
舒適運轉
智慧眼運轉
強力運轉
省電運轉
室外機靜音運轉
防黴運轉
定時開/關機運轉
保養與清潔
Faq
故障排除
產品規格
Advertisement
Quick Links
Download this manual
變頻式空調
OPERATION MANUAL
使用說明書
DAIKIN ROOM AIR CONDITIONER
DAIKIN 空調機
MODELS
型號
FTXV41UVLT
FTXV50UVLT
FTXV60UVLT
FTXV71UVLT
Table of
Contents
Previous
Page
Next
Page
1
2
3
4
5
Advertisement
Chapters
English
3
漢語
33
Table of Contents
Need help?
Do you have a question about the FTXV41UVLT and is the answer not in the manual?
Ask a question
Questions and answers
Related Manuals for Daikin FTXV41UVLT
Air Conditioner Daikin FTXV20UVMA Operation Manual
(120 pages)
Air Conditioner Daikin FTKS09JV2S Service Manual
Removal procedure, 2.0/2.2/2.5/2.8/3.5/3.6/4.1/4.2/4.6/ 5.0 kw class, 7000/9000/12000/15000 btu/h class (22 pages)
Air Conditioner Daikin Cora FTXV20WVMA Operation Manual
(160 pages)
Air Conditioner Daikin FTXV25WVMA Operation Manual
(40 pages)
Air Conditioner Daikin FTXV20W1VMA Operation Manual
(160 pages)
Air Conditioner Daikin FTXV20W2VMA Operation Manual
(160 pages)
Air Conditioner Daikin FTXV22XVLT Operation Manual
(68 pages)
Air Conditioner Daikin FTXV22SAVLT Operation Manual
(64 pages)
Air Conditioner Daikin FTXV25AV1B Owner's Manual
R410a split series (40 pages)
Air Conditioner Daikin FTXV85LVMA Operation Manual
Inverter (40 pages)
Air Conditioner Daikin R410A Split Series Owner's Manual
(40 pages)
Air Conditioner Daikin FTXV50WVMA Operation Manual
(40 pages)
Air Conditioner Daikin FTXV28UVLT Operation Manual
(64 pages)
Air Conditioner Daikin FTXV80WVMA Operation Manual
(44 pages)
Air Conditioner Daikin FTXV12AVJU9 Operation Manual
(38 pages)
Air Conditioner Daikin FTXV50W2VMA Operation Manual
(40 pages)
This manual is also suitable for:
Ftxv50uvlt
Ftxv60uvlt
Ftxv71uvlt
Table of Contents
Print
Rename the bookmark
Delete bookmark?
Delete from my manuals?
Login
Sign In
OR
Sign in with Facebook
Sign in with Google
Upload manual
Upload from disk
Upload from URL


Need help?
Do you have a question about the FTXV41UVLT and is the answer not in the manual?
Questions and answers