Sign In
Upload
Download
Table of Contents
Contents
Add to my manuals
Delete from my manuals
Share
URL of this page:
HTML Link:
Bookmark this page
Add
Manual will be automatically added to "My Manuals"
Print this page
×
Bookmark added
×
Added to my manuals
Manuals
Brands
Sony Manuals
Stereo System
MHC-EX66
Operating instructions manual
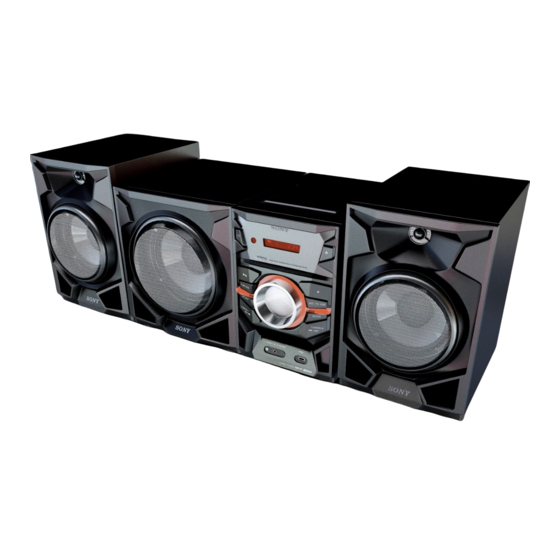
Sony MHC-EX66 Operating Instructions Manual
Mini hi-fi component system
Hide thumbs
Also See for MHC-EX66
:
Operating instructions manual
(156 pages)
1
2
3
Table Of Contents
4
5
6
7
8
9
10
11
12
13
14
15
16
17
18
19
20
21
22
23
24
25
26
27
28
29
30
31
32
page
of
32
Go
/
32
Contents
Table of Contents
Troubleshooting
Bookmarks
Table of Contents
Table of Contents
Guide to Parts and Controls
Volume Control
Remote Sensor
Enter Button
Getting Started
Hooking up the System Securely
Inserting Batteries
Setting the Clock
Operations
Playing a CD/MP3 Disc
Listening to the Radio
Before Using the USB Device
Transferring Music from a Disc to a USB Device
Playing a File from the USB Device
Creating Your Own Program (Program Play)
Using Optional Audio Components
Adjusting the Sound
Changing the Display
Changing the Illumination Brightness
Using the Timers
Additional Information
Precautions
Troubleshooting
Messages
Specifications
Main Unit
Advertisement
Quick Links
1
Table of Contents
2
Guide to Parts and Controls
3
Hooking up the System Securely
4
Using Optional Audio Components
5
Changing the Illumination Brightness
6
Troubleshooting
7
Specifications
Download this manual
Mini HI-FI
Component System
Operating Instructions
MHC-EX99/EX88/EX66
MHC-EX900/EX700/EX600
4-267-386-12(1)
Getting Started
Operations
Additional Information
Table of
Contents
Previous
Page
Next
Page
1
2
3
4
5
Advertisement
Table of Contents
Need help?
Do you have a question about the MHC-EX66 and is the answer not in the manual?
Ask a question
Questions and answers
Related Manuals for Sony MHC-EX66
Stereo System Sony DHC-EX770MD Operating Instructions Manual
Sony operating instructions mini hi-fi component system dhc-ex77md, mhc-ex66, dhc-ex770md, mhc-ex660, dhc-md77 (156 pages)
Stereo System Sony MHC-EX990 Operating Instructions Manual
(28 pages)
Stereo System Sony MHC-EX880 Operating Instructions Manual
(28 pages)
Stereo System Sony MHC-EX660 Operating Instructions Manual
(28 pages)
Stereo System Sony MHC-EX99 Operating Instructions Manual
Mini hi-fi component system (32 pages)
Stereo System Sony MHC-EX88 Operating Instructions Manual
Mini hi-fi component system (32 pages)
Stereo System Sony MHC-EX900 Operating Instructions Manual
Mini hi-fi component system (32 pages)
Stereo System Sony MHC-EX5 Operating Instructions Manual
(29 pages)
Stereo System Sony MHC-EX7 Service Manual
(103 pages)
Stereo System Sony MHC-EX9AV Service Manual
(103 pages)
Stereo System Sony MHC-EX10AV Service Manual
(103 pages)
Stereo System Sony MHC-EC69 Operating Instructions Manual
Mini hi-fi component system (44 pages)
Stereo System Sony MHC-EC919iP Operating Instructions Manual
(68 pages)
Stereo System Sony MHC-EC619iP Operating Instructions Manual
(32 pages)
Stereo System Sony MHC-EC619iP Service Manual
(42 pages)
Stereo System Sony MHC-EC619iP Operating Instructions Manual
(64 pages)
This manual is also suitable for:
Mhc-ex700
Mhc-ex600
Mhc-ex99
Mhc-ex88
Mhc-ex900
Table of Contents
Print
Rename the bookmark
Delete bookmark?
Delete from my manuals?
Login
Sign In
OR
Sign in with Facebook
Sign in with Google
Upload manual
Upload from disk
Upload from URL


Need help?
Do you have a question about the MHC-EX66 and is the answer not in the manual?
Questions and answers