Advertisement
Quick Links
Advertisement

Related Manuals for EPAK DSi9


Summary of Contents for EPAK DSi9
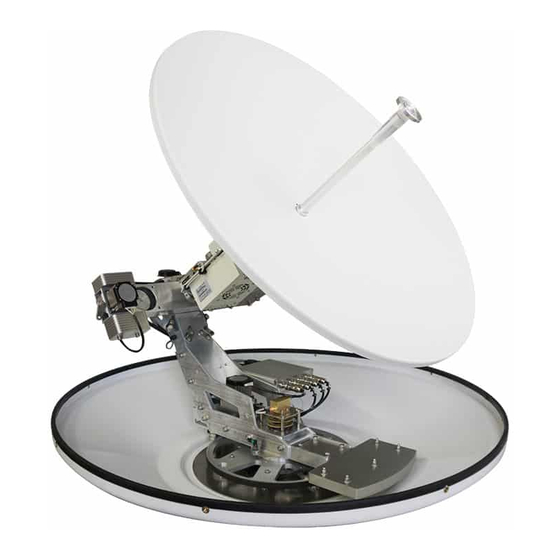
- Page 1 Conversion DSi9 Ku-Band to Ka-Band approx. 1 hour Doc ID 0348 30.03.2021...
- Page 3 Wrench size 8 Ratchet size 8 Wrench size 19 Wrench size 17 Offset Wrench size 27/30 Wrench size 24 Wrench size 30 Allen key size 4 single tilted Allen key size 3 Allen key size 5 String cutter Grease...
- Page 4 Unfasten 4 screws but do not remove them.
- Page 5 Attach an extra cable tie next to the cable clip (where the metal holder beneath makes a turn). This is a marking for later and ensures that cables do not slip when the clip is opened later on.
- Page 6 Disconnect N-connector from LNB.
- Page 7 Disconnect N-connector form BUC.
- Page 8 Disconnect all 3 connectors from Bias Box.
- Page 9 Disconnect 1 SMA connector from Bias Box (opposite side) Unclip cable and lay aside for later.
- Page 10 Take out cable harness by pushing the fir tree clips through the plate (keeping the clips closed)
- Page 11 Remove Bias Box (black) and lay aside for later.
- Page 12 Hold the Waveguide at the Hex Nut inside the Main Reflector with a size 27 offset wrench ..
- Page 13 ... and simulatiously unfastening the Locknut at the rear side of the reflector with a size 30 Wrench. Turn several rounds.
- Page 14 Now loosen the Waveguide (carefully apply some force if necessary)
- Page 15 Hold the Locknut at the rear and unscrew the Waveguide by hand, gripping the aluminium pipe and turning it counter closwise. The subreflector at the tip of the Waveguide remains untouched. Handle with utmost care and store carefully for later use.
- Page 16 Unfasten the first 2 out of 4 screws of the BUC holder plate...
- Page 17 Remove the M24 Locknut...
- Page 18 Point the antenna reflector upwards and lock. A visible red dot on the handle indicates that the handle is locked. A green dot indicates that it is open. To open or close, pull the handle towards you and turn until it locks in the new position.
- Page 19 Now remove the remaining 2 screws. Hold the BUC unit as shown to prevent it from falling.
- Page 20 ..and take out the whole BUC unit. Keep / Remember the natural form of cable strand...
- Page 21 Half way done! Now mounting the Ka components...
- Page 22 Turn the reflector 180° and lock the skew movement.
- Page 23 Attach bracket (L) with 4 pcs. M5x10 screws and toothed washers. Align exactly and tighten crosswise. Point the antenna reflector down again and lock. (Take care that the reflector does not whiz down at speed.)
- Page 24 Attach the second bracket (K) with the previously used M5x16 screws, washers and toothed washers. Align exactly (check from above that edges run parallel)..and tighten screws crosswise.
- Page 25 Form the wiring harness back into the original loop and press in the first 3 fir tree clips.
- Page 26 The 4th clip (with your cable tie next to it) is pressed in from the outside. Open the clip to give room to the cables as needed.
- Page 27 Secure bias box (black) with old washers and self-locking nuts. (hand tight, not too much).
- Page 28 Apply grease to the Waveguide as shown (only upper part of thread) Mount flange A onto the Waveguide - apply grease Apply grease also to part D and keep it within reach together with the locknut B and washer C...
- Page 29 Check that the rubber seal is still in place inside the reflector opening. Insert the Waveguide with flange (pushing or turning).
- Page 30 Keep holding the Waveguide while you fix the flange (D) + washer + locknut from the rear. Screw the locknut on a few turns but do not tighten it.
- Page 31 Despite the lock mechanism of the antenna, there is a little bit of room to wiggle the roll arm. Ensure parallel alignement as shown, before moving to the next step.
- Page 32 Mount the Ka-BUC-unit. Turn as required to pass obstacles. Advance up to the point where the Ka-Unit touches the Waveguide.
- Page 33 Carefully apply a small amount of grease to the end of the Waiveguide thread but ensure that nothing enters.
- Page 34 This part is important Now turn the Waveguide clockwise and push the Ka-unit towards the Waveguide so that the screw connection between Waveguide and Ka-unit is created. When the thread grips, the Ka-unit is pulled towards the Waveguide by the further rotation of the Waveguide.
- Page 35 Next, insert the four M6x12 screws, washer and tooth washer (2 top & 2 bottom) that hold the Ka-Unit within the cage. Don't tighten them yet. Now fasten the Waveguide firmly against the Ka flange with the offset wrench - but do not overdo it.
- Page 36 Insert weight (E) at the end of the BUC cage and fasten with M6x12 screws, washer & toothwasher from top and bottom.
- Page 37 Connect N-SMA cable between Bias Box and BUC. (Don't use too much force.) Fix in cable clip.
- Page 38 Remove the red cover from the Bias Box and connect the cable (M) to the BUC. Set switch to down position.
- Page 39 On the rear side of the Bias Box, remove the last cable clip from cable harness and connect the 3 plugs.
- Page 40 Fix the cables with cable ties and move the antenna reflector up and down to check that cables are not rubbing against other parts.
- Page 41 Carefully remove any access grease. These are the parts you should be left with.
-
Page 42: Changing The Settings
Changing the Settings... - Page 43 Main view Dashboard Activate Installation Menu by Change antenna type to "KA" typing "install" & click icon...
- Page 44 After changing the antenna type, you have to reconfigure the satellites in the "Satellites" menu. Satellites of the previous configuration are still there, but not accessible In the "Antenna" menu, select the desired beam or control mode. For more information refer to the manual or contact our support team.
- Page 45 That's it. Done! In case of questions or doubts, give us a call or send a mail. support@epak.de +49 (0) 341 - 2120260...
Need help?
Do you have a question about the DSi9 and is the answer not in the manual?
Questions and answers