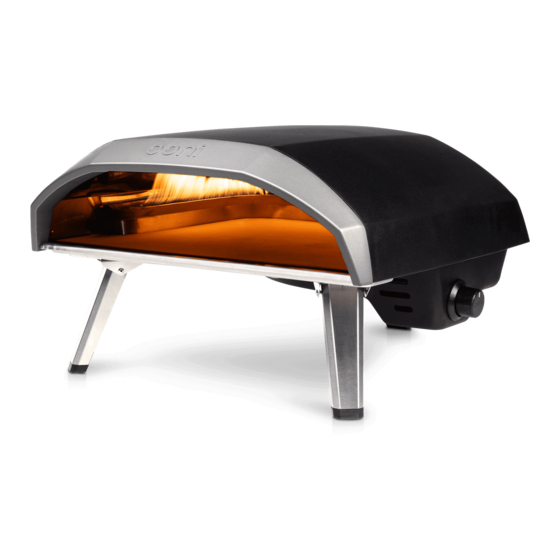
Ooni Koda 16 Manual
Fsd thermocouple replacement
Hide thumbs
Also See for Koda 16:
- Essentials manual (84 pages) ,
- Manual & safety instructions (45 pages) ,
- Manual (8 pages)
Advertisement
Quick Links
Advertisement

Summary of Contents for Ooni Koda 16
- Page 1 Ooni Koda 16 FSD Thermocouple Replacement Manual...
- Page 2 Hello awesome Ooni Koda 16 owner! It took Finlay, Pip and Kevin at Ooni HQ ages to make this guide to help you get the best results from Ooni Koda 16. We’ve poured in all of our experience of pizza and Ooni ovens, our technical knowledge and a whole lotta love to make sure this guide is as simple to follow as possible.
-
Page 3: Before You Begin
Before you begin • Switch off Ooni Koda 16 and disconnect from any gas source • Ensure that Ooni Koda 16 is completely cool • Work on a clear surface in a low-dust workspace • Gather the tools required • Remove the stone baking board from Ooni Koda 16 Tips •... - Page 4 Step by step Disconnect your propane regulator hose. US: Using a 19mm (¾”) wrench, turn You will need: US: 19mm (¾”) wrench counter-clockwise until loose and then UK: Phillips head screw driver remove. UK: Using a Phillips head screwdriver, turn counter-clockwise to loosen the jubilee clip and then twist counter-clockwise and pull the hose o of the gas terminal.
-
Page 5: Removing The Control Panel
Removing the Control Panel Carefully remove the control dial by You will need: Phillips head screwdriver pulling it o of the valve. Using a Phillips screwdriver, unscrew the fixing collar screws counter-clockwise. Set the screws aside for reassembly. Remove the collar. - Page 6 Removing the Control Box You will need: Using a Phillips head screwdriver, remove Phillips head screwdriver the black control box screws (11x 6mm ‘ ’ & 1x 10mm ‘ ’). Set the screws aside for reassembly. Gently lift o the black control box and set to one side.
- Page 7 Disconnect thermocouple from valve You will need: Using an 8mm (5/16”) wrench, 8mm (5/16”) wrench turn anticlockwise to remove the thermocouple from the valve. Feed the thermocouple through the hole on the base to remove from the oven.
- Page 8 Remove top shell Using a Phillips head screwdriver, turn You will need: Phillips head screwdriver anti-clockwise to remove 17 screws connecting the top shell to the oven base. Set the screws aside for reassembly. Screw locations...
- Page 9 Disconnect thermocouple from burner Using a 10mm (25/64”) wrench, turn counter- You will need: 10mm (25/64”) spanner clockwise to loosen the thermocouple from the housing on the burner.
- Page 10 Attach new thermocouple to burner Attach to the mount. Hand tighten You will need: 10mm (25/64”) spanner clockwise and secure using the 10mm New thermocouple (25/64”) spanner Feed the new thermocouple through the hole in the base.
- Page 11 Replace top shell Carefully lay Ooni Koda 16’s base in to You will need: Phillips head screwdriver position on the oven shell. Using a Phillips head screwdriver, turn clockwise to secure the screws (17) holding the oven base to the top shell.
- Page 12 Attach thermocouple from valve Turn Ooni Koda 16 upside-down on a soft You will need: 8mm (5/16”) wrench surface to avoid scratching the shell. Hand tighten clockwise the thermocouple to the valve and then secure with a quarter turn using the 8mm (5/16”)
- Page 13 Reassembling control box You will need: Gently place the black control box in Phillips head screwdriver position, carefully ensuring that the gas terminal and stem valve are both accessible. Align the bolt holes with the oven body. Using a Phillips head screwdriver, screw in 12 (11x 6mm ‘...
- Page 14 Adding collar and control dial You will need: Place the collar back in to position. Make Phillips head screwdriver sure that it is aligned with the Control Dial. Screw in both fixing dial screws fully until secure. Place the dial on to the stem.
-
Page 15: Attaching The Hose
Attaching the hose US: Turn clockwise using a 19mm (¾”) You will need: US: 19mm (¾”) wrench wrench until secure and tight. UK: Phillips head screw driver UK: Push the hose back on the gas terminal. The hose may be sti on the gas terminal. - Page 16 © 2020 Ooni Ooni is a registered trademark of v1.0 Ooni Limited. All rights reserved...


Need help?
Do you have a question about the Koda 16 and is the answer not in the manual?
Questions and answers