Table of Contents
Advertisement
Quick Links
Advertisement
Table of Contents

Related Manuals for Ecler WARM2


Summary of Contents for Ecler WARM2
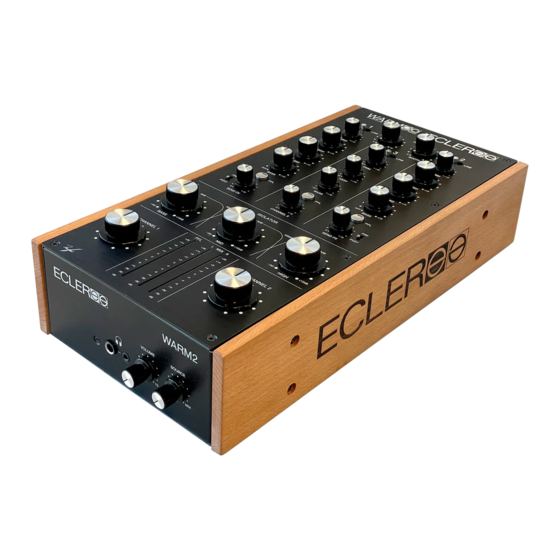
- Page 1 WARM2 DJ Mixer Two-Channel Analogue Rotary Mixer USER MANUAL v.20211222...
-
Page 2: Table Of Contents
INDEX IMPORTANT REMARK ......................4 IMPORTANT SAFETY INSTRUCTIONS ................4 IMPORTANT NOTE ........................6 WARM2 and ECLER HISTORY ....................6 INTRODUCTION ........................8 Key Features ....................... 8 FUNCTION DIAGRAM ......................9 INSTALLATION AND CONNECTION ................. 10 Audio Input Connections ..................10 Phono Inputs .................... - Page 3 12. BLOCKS DIAGRAM......................... 20 13. TECHNICAL FEATURES ......................21 14. ECLER SIGNATURE ........................ 23...
-
Page 4: Important Remark
1. IMPORTANT REMARK The lightning flash with arrowhead symbol, within an equilateral triangle, is intended to alert the user to the presence of uninsulated “ dangerous voltage” within the product’s enclosure that may be of sufficient magnitude to constitute a risk of electric shock to persons. The exclamation point within an equilateral triangle is intended to alert the user to the presence of important operating and maintenance (servicing) instructions in the literature accompanying the appliance. - Page 5 9. Do not defeat the safety purpose of the polarized or grounding type plug. A polarized plug has two blades with one wider than the other. A grounding type plug has two blades and a third grounding prong. The wide blade or the third prong are provided for your safety.
-
Page 6: Important Note
The Ecler WARM2 analogue rotary mixer come with a 3-year warranty. 4. WARM2 and ECLER HISTORY Although the origins of the company date from 1965, ECLER presented its first mixer back in the 70s: the A4, a simple 4 channel mixer oriented to Super 8 film sound edition. - Page 7 WARM2 was inspired by The Warehouse in Chicago, a place where many consider the cradle of House Music back in 1977. This place ignited the spark that eventually became the House Music scene we love and admire today. Back in the days, Frankie Knuckles, the godfather of House Music and The Warehouse first musical director, was reconstructing the soul and disco existing songs, by changing the tempo and layering different bits of percussion over them.
-
Page 8: Introduction
ECLER in Barcelona. With over 50 years of experience in professional analogue audio design and using the best components available on the market, Ecler offers a new rotary mixer with a new best in class warm and crystal clear analogue sound, its classic sharp filters, a 4 order isolator and its narrow portable format. -
Page 9: Function Diagram
6. FUNCTION DIAGRAM 1. LED indicator ON 2. Input Selector (PHONO, LINE MIC) 3. Input sensitivity adjust, TRIM 4. Treble control, HIGH 5. Midrange control, MID 6. Bass control, BASS 7. Pre-Fader listening control, PFL 8. Send switch to effect bus, PRE/POST 9. -
Page 10: Installation And Connection
7. INSTALLATION AND CONNECTION Warm2 is conceived as a portable desktop mixer with a small form factor and optimized to be placed between two turntables or two digital players. We recommend to place it in a comfortable position for the end user, without placing it in direct contact with the turntables to avoid transmitting shocks and vibrations to the styluses during use. -
Page 11: Phono Inputs
Low impedance (200 to 600) monophonic microphones must be used. For non balanced microphones we recommend monophonic jack plugs although stereo ones are also suitable if the ring is short-circuited to the sleeve. The WARM2 includes 18V Phantom power for condenser microphones. An internal jumper allows disabling the phantom power. -
Page 12: House Output
HOUSE Output This stereo output feeds the PA system through balanced XLR3 connectors (20) and an unbalanced RCA connector (21). The nominal level of HOUSE output is set to 0dBV (1Vrms) by default, but it can be set to +12dBV (4Vrms) using an internal dip-switch (look at Configuration Diagram). -
Page 13: Quick Start
8. QUICK START Install and connect the WARM2 mixer as described in the previous chapter. This “ Quick Start” guide explains a simple procedure to route and headphone monitoring a turntable. 1. Set the controllers to their initial position Set Channel 1 TRIM, HIGH, MID and BASS (3, 4, 5 and 6) rotary controls to their central position. - Page 14 Move the TRIM (3) control until the VU-meter shows 0dB. 7. Send the signal to the HOUSE Rotate the channel 1 potentiometer (10) clockwise at its maximum. 8. Monitor the output with your headphones Adjust the VOLUME controller (17) to obtain a comfortable monitoring volume. Now you should hear music with your headphones.
-
Page 15: Operation And Usage
LED ON (1) indicator will be lit in green. Even if the typical bump noise of audio devices during the start-up is minimized in the WARM2 thanks to the internal anti- bump circuits, it is always recommendable to turn on the devices using the following sequence: 1. -
Page 16: Monitoring System
Monitoring System WARM2 is equipped with a flexible and easy monitoring system that will allow the performers to finely tune PFL (Pre-fader listening) and Mix levels of each input through the VU-METER and the HEADPHONES. -
Page 17: Further Considerations
The use of active circuitry can yield, depending on the configuration, to a significant noise level. The WARM2 have been specifically designed with a very reduced noise figure. Anyway, the noise level will always depend by the correct use and installation of the mixer and by the correct gain chain. -
Page 18: Audio Connections
Audio connections As a general rule of thumb, make the signal connections as short as possible and use the best connectors and cable available. Cables and connectors are frequently held cheap, forgetting that a bad connection can result in a poor sound quality. Cleaning The control panel should never be cleaned with solvent or abrasive substances as it could become damaged. -
Page 19: Configuration Diagram
11. CONFIGURATION DIAGRAM... - Page 20 12. BLOCKS DIAGRAM...
- Page 21 13. TECHNICAL FEATURES WARM2 Audio Performances Inputs Sensitivity LINE 0dBV/50kΩ nom/Impedance PHONO -40dBV/50kΩ MICRO -50dBV/>1kΩ FX RETURN 0dBV/>6kΩ HOUSE (BAL) 0dBV/600Ω 1V *(+12dB 4V) Outputs Level/Minimum Load HOUSE (UNBAL) 0dBV/2.2kΩ 1V *(+12dB 4V) BOOTH (UNBAL) 0dBV/2.2kΩ 1V *(+12dB 4V) 0dBV/10kΩ...
- Page 22 Inputs Connectors LINE 1-2-3 RCA STEREO PHNONO 1-2 RCA STEREO MICRO 3 6.3mm TRS BAL. J ACK FX RETURN RCA STEREO Outputs Connectors HOUSE (BAL) XLR STEREO HOUSE (UNBAL) RCA STEREO BOOTH RCA STEREO FX SEND RCA STEREO RCA STEREO HEADPHONES 6.3mm/3.5mm STEREO J ACK Miscellaneous...
- Page 23 14. ECLER SIGNATURE WARM2 shows the classic Niiffics signature on the front plate. This is the historical signature of the R&D teams at Ecler during the years.
Need help?
Do you have a question about the WARM2 and is the answer not in the manual?
Questions and answers