Advertisement
Quick Links
Advertisement

Related Manuals for Cyrus aEQ7


Summary of Contents for Cyrus aEQ7
- Page 1 User Instructions Cyrus aEQ7...
- Page 2 Cyrus aEQ7 E n glish...
-
Page 3: Table Of Contents
Cyrus aEQ7. You should always adhere to the recommendations of your cartridge manufacturer. English... -
Page 4: Cautions
Ensure this voltage is the same as your mains supply, i.e. near sharp objects. Do not stand objects on the power cord. If the Cyrus aEQ7 is not to be used for a long period of 230V Products Voltage Range 220V-240V time, unplug the unit from the mains power supply. -
Page 5: Installation
CONNECTING POWER TO THE UNIT Refer to figure 1, rear panel drawing above. If a Cyrus PSX-R is to be used with the Cyrus aEQ7, connect the umbilical cord of the PSX-R to the 5-pin Plug the moulded IEC connector of the supplied mains Cannon input socket of the Cyrus aEQ7. -
Page 6: Operation
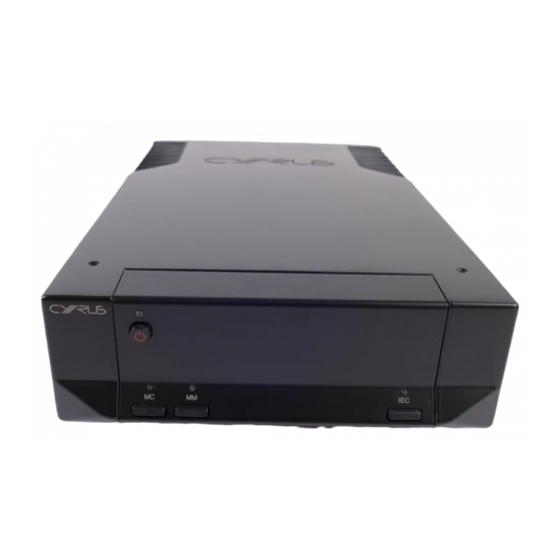
Additional Information on Page 9 for further details. require an external capacitance load. CONNECTING SOURCE INPUTS Your Cyrus aEQ7 is provided with a loading switch b so The Cyrus aEQ7 accepts Moving Coil and Moving that you can set up your MC cartridge for optimal Magnet cartridge inputs. - Page 7 Cyrus aEQ7 CONNECTING A TURNTABLE OUTPUT CONNECTIONS The output sockets e of the Cyrus aEQ7 should be Most turntables will be provided with a suitable signal cable terminated with RCA phono plugs. If, however your connected to a line level input on your pre-amplifier.
- Page 8 The STANDBY key b is used for power control. The Press the IEC key f to select the IEC response. The red Standby light c will show Red when the Cyrus aEQ7 is indicator above the key will turn on. When the IEC off and Green when operating.
-
Page 9: Additional Information
Cyrus aEQ7 provides a dedicated input for each type. these units your Cyrus aEQ7 requires initialisation. Set the Cyrus aEQ7 to Standby. Press the IEC key f. and Each input also has its own star earth to localise turntable ground returns and improve common mode rejection. - Page 10 Cyrus aEQ7 offers you the choice of both. a hum loop through the Cyrus aEQ7. If you think this is If your turntable is prone to feedback or rumble and/or the case with your turntable, ask your dealer’s help before...
-
Page 11: Troubleshooting
TROUBLESHOOTING GUIDE • Interchange left and right channels at the Cyrus aEQ7 If you suspect your Cyrus aEQ7 is not operating to input. If the missing channel switches over there is a specification, check carefully all system connections. If problem with the cartridge or the interconnect cable. -
Page 12: Specifications
Cyrus aEQ7 SPECIFICATIONS S/N ratio (ref. 5mV input, I/P shorted) AUDIO PERFORMANCE .............. -78dBA Unweighted MC Input ............... -92dBA A-weighted ...........0.01% (ref. 5mV input) Input Sensitivity ........... 210µV (Nom.) Input Impedance ....1kΩ, 100Ω, 10Ω (Switchable) Output Overall Gain ............... 60dB Output Voltage .......... -
Page 13: Guarantee
Cyrus aEQ7 PRE-AMPLIFIER MAINTENANCE GUARANTEE There are no user serviceable parts in the Cyrus aEQ7 so This guarantee only becomes effective if the guarantee card enclosed is completed by the Dealer and the purchaser and do not remove any of the panels. After disconnecting the returned to MISSION or Distributor within 8 days of purchase.
Need help?
Do you have a question about the aEQ7 and is the answer not in the manual?
Questions and answers