Table of Contents
Advertisement
Quick Links
g
Figure 1. Exploded view
Swivel mounting bracket
Two #6 x 3/4"(2cm) screws for
mounting the bracket or case
(Two #6 wall anchors are
included for sheet rock mounting)
Description
The 6150-ID (Figure 1) is an addressable PIR device that
interfaces with the PinPoint system. This system provides
flexible and reliable two-way communication between the
device and the controller.
Mounting location
Avoid false alarm sources (Figure 2)
The unit should not "see" sources of heat or cold. For
false alarm free operation, no part of an unwanted hot
spot should enter any part of a zone.
Locate for cross traffic (Figure 3)
Place the unit where intruders move across the beams,
not toward the unit. For best detection, an intruder
should cross the entire zone.
Do not block the coverage pattern (Figure 4)
The unit requires a clear line of sight. Inform end-users
not to block the coverage pattern with inventory or
furniture.
Figure 3.
Cross traffic
6150-ID SHARPSHOOTER
Installation instructions
Base
15
10
5
0
5
10
10
5
10
5
0
Mounting knockouts
#8 x 3/4"(2cm) screw
for ball joint shoe
Lens shield/circuit
Standard lens
board assembly
(Masking kit included)
Front cover
LED
Figure 2.
False alarm sources
Hot or cold air directed
onto sensor
Pets
Figure 4.
Blocking coverage pattern
™
PIR
Sliding LED cover
Sunlight or
reflected sunlight
Windows
Intermittent
heat sources
Advertisement
Table of Contents

Related Manuals for GE SHARPSHOOTER 6150-ID


Summary of Contents for GE SHARPSHOOTER 6150-ID
- Page 1 ™ 6150-ID SHARPSHOOTER installation instructions Figure 1. Exploded view Base Lens shield/circuit Standard lens board assembly (Masking kit included) Swivel mounting bracket Front cover Two #6 x 3/4"(2cm) screws for mounting the bracket or case Mounting knockouts #8 x 3/4"(2cm) screw (Two #6 wall anchors are for ball joint shoe included for sheet rock mounting)
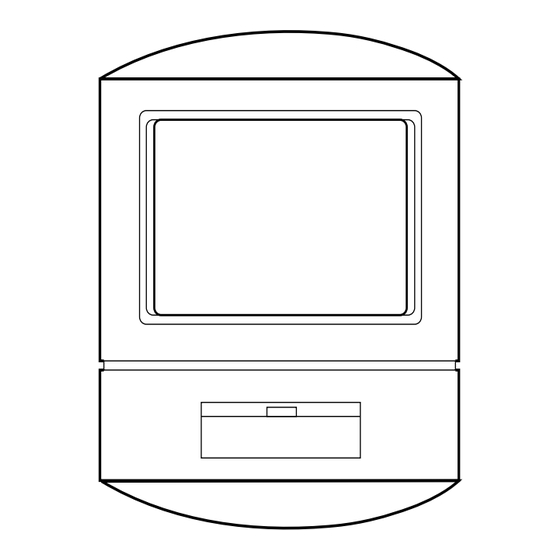
- Page 2 6150-ID Sharpshooter PIR Installation Instructions Installation Figure 7. Mounting without the swivel bracket Run the PinPoint system wiring to the unit location. Open the unit by snapping the front cover down and off the base (Figure 1). Wiring knockout CAUTION You must be free of all static electricity before handling sensor circuit boards.
- Page 3 Masking Swivel bracket mounting To avoid smudging the masking strips, make sure your The swivel bracket allows aiming and adjusting the unit hands are clean before using the masking kit. for maximum detection and avoidance of false alarms (Figure 9). To unsnap the shield from the front cover, grasp the edge of the circuit board and gently rotate the lens The swivel bracket’s snap-off tabs allow angle mounting,...
- Page 4 6150-ID Sharpshooter PIR Installation Instructions Walk test Figure 11. Dimensions A walk test mode for testing the unit operation and coverage pattern is provided. Do the following to walk test the unit: Top View Ensure the unit is enrolled in the PinPoint system. The 1.9 in.
- Page 5 Zone patterns Figure 14. Curtain Figure 12. Standard Top view Side view Top view 0° 6° 45 ft. 6'10" (13.7 m) (2.1m) 40 ft. (12.2 m) 7'6" (2.3m) (12.2m) 30 ft. (9.1 m) 20 ft. Figure 15. Pet alley (6.1 m) Top view 10 ft.
- Page 6 Pet alley lens (non-tilt), 35 ft. (10.7 m) Listings FCC, CE x 90° 6076 Single beam pet alley, 50 ft. (15.2 m) x 6° GE Security USA & Canada: 800-547-2556 12345 SW Leveton Drive Tech Support: 800-648-7424 Tualatin, OR 97062 www.gesecurity.com 503-692-4052...
Need help?
Do you have a question about the SHARPSHOOTER 6150-ID and is the answer not in the manual?
Questions and answers