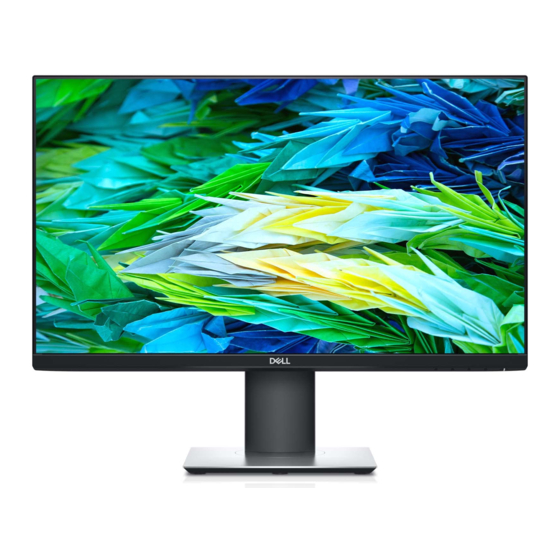
Dell P2421D Service Manual
Hide thumbs
Also See for P2421D:
- Simplified service manual (14 pages) ,
- User manual (20 pages) ,
- User manual (63 pages)
Advertisement
Quick Links
Advertisement

Summary of Contents for Dell P2421D
- Page 1 Service Manual–P2421D Version: 02 Date:2021/10/11...
-
Page 2: Table Of Contents
Content Index 1. General Safety Instructions ..................3 1.1 SAFETY: General Safety ..................3 1.2 SAFETY: General Power Safety ................5 2. Exploded view diagram with list of items ..............6 3. Wiring connectivity diagram ..................8 4. How to connect and disconnect power cable/ connectivity cable......9 5. -
Page 3: General Safety Instructions
IMPORTANT NOTICE FOR USE IN HEALTHCARE ENVIRONMENTS: Dell products are not medical devices and are not listed under UL or IEC 60601 (or equivalent). As a result, they must not be used within 6 feet of a patient or in a manner that directly or indirectly contacts a patient 1.1 SAFETY: General Safety... - Page 4 if all cables have been disconnected. Do not spill food or liquids on your equipment. Before you clean your equipment, disconnect it from the electrical outlet. Clean your device with a soft cloth dampened with water. Do not use liquids or aerosol cleaners, which may contain flammable substances.
-
Page 5: Safety: General Power Safety
Be sure to grasp the plug, not the cable, when disconnecting equipment from an electric socket. If your equipment uses an AC adapter: Use only the Dell provided AC adapter approved for use with this device. Use of another AC adapter may cause a fire or explosion. -
Page 6: Exploded View Diagram With List Of Items
2. Exploded view diagram with list of items ○ ○ ○... - Page 7 See “NOTE" NOTE: For replacement of power cord, connectivity cable and external power supply (if applicable), contact Dell: 1. Go to https://www.dell.com/support. 2. Verify your country or region in the Choose A Country/Region drop-down menu at the bottom-right corner of the page.
- Page 8 3. Click Contact Us next to the country dropdown. 4. Select the appropriate service or support link based on your need. 5. Choose the method of contacting Dell that is convenient for you...
-
Page 9: Wiring Connectivity Diagram
3. Wiring connectivity diagram... -
Page 10: How To Connect And Disconnect Power Cable/ Connectivity Cable
4. How to connect and disconnect power cable/ connectivity cable... - Page 11 5. Mechanical Instruction NOTE: This “Disassembly and Assembly Procedures” is for EMEA only, not for other regions. Please note that Dell will deem warranty void if any disassembly is done on the monitors. Tools Required List the type and size of the tools that would typically can be used to disassemble the product to a point where components and materials requiring selective treatment can be removed.
- Page 12 5.1Disassembly Procedures 1.1Disassembly Procedures Turn off power Wedge your fingers between the rear cover and the middle bezel on the corners of the top side of the monitor to release the rear cover, then use Unplug external cables from product Scraper to separate the rear cover in the below 3direction of the arrow.
- Page 13 Tear off 2 pieces of aluminum foil. Use a Hold the plastic button on the power board to Philips-head screwdriver to remove 2 screws separate the Mylar from the power board. for unlocking the mainframe (No.1~2 Screw size=M3x4, Torque: 3± 0.5kgf.cm) The Mainframe Use a Philips-head screwdriver to remove 7 screws for unlocking the main board and the...
- Page 14 Use a Philips-head screwdriver to remove 3 screws for unlocking the key board and the middle frame. (No.1~3 screw size=M2X2.5, Torque: 6± 1kgf.cm) Use a Philips-head screwdriver to remove 1 screws to remove the USB board. Disconnect the cables of the USB board (No.1 screw size=M3x6, Torque=4±...
- Page 15 5.2 Assembly Procedures Use a Philips-head screwdriver to lock 1 screws to assemble the USB board. Connect the cables of the USB board (No.1 screw size=M3x6, Torque=4± 1kgf.cm) Use a Philips-head screwdriver to lock 3 screws for locking the key board and the middle frame. (No.1~3 screw size=M2X2.5, Torque: 6±...
- Page 16 Connect all of the cables to assemble the power board and main board. Use a Philips-head screwdriver to lock 7 screws for locking the main board and the adapter board (No.1~7 screw size=D3x6, Torque: 6± 1kgf.cm) (No.9 screw size=M4x6, Torque: 6± 1kgf.cm) stick 2 pieces of aluminum foil.
- Page 17 Connect all the cable of the rear cover and put it on a protective cushion. Use a Philips-head screwdriver to lock 11 screws for locking the middle plastic bezel with the whole unit, and then assemble the middle plastic bezel carefully. (No.1~20 screw size=M3x4, Torque=3±...
- Page 18 Assemble the stand.
-
Page 19: Trouble Shooting Instructions
6. Trouble shooting instructions...


Need help?
Do you have a question about the P2421D and is the answer not in the manual?
Questions and answers