Advertisement
Quick Links
Please give us a chance to make it right and do better !
Contact our friendly customer service department for help first.
Replacements for missing or damaged parts will be shipped ASAP !
US office: Fontana
UK office: Ipswich
Contact Us !
Do NOT return this item.
US:cs.us@costway.com
UK:cs.uk@costway.com
THIS INSTRUCTION BOOKLET CONTAINS IMPORTANT SAFETY INFORMATION. PLEASE READ AND KEEP FOR FUTURE REFERENCE.
USER'S MANUAL
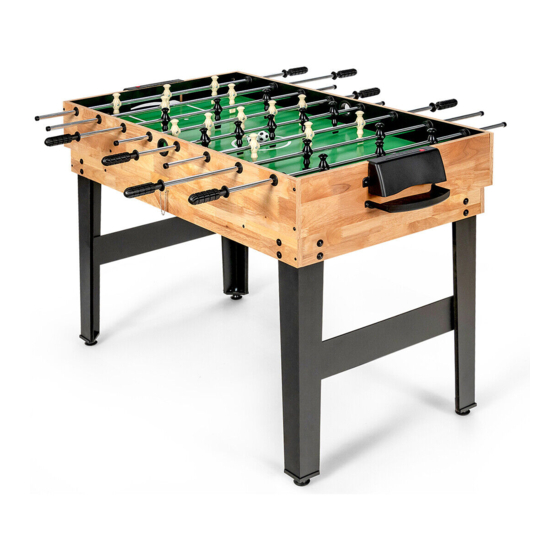
10 IN 1 MULTI-GAME TABLE
UY10001
Advertisement

Related Manuals for Costway UY10001


Summary of Contents for Costway UY10001
- Page 1 Replacements for missing or damaged parts will be shipped ASAP ! US office: Fontana UK office: Ipswich USER’S MANUAL Contact Us ! 10 IN 1 MULTI-GAME TABLE UY10001 Do NOT return this item. US:cs.us@costway.com UK:cs.uk@costway.com THIS INSTRUCTION BOOKLET CONTAINS IMPORTANT SAFETY INFORMATION. PLEASE READ AND KEEP FOR FUTURE REFERENCE.
- Page 2 WARNING: Choking Hazard--Toy contains small balls and/or small parts. Not for children under 3 years. Before You Start IMPORTANT! Please Keep Your Instructions. Before attempting assembly, please read through this instruction book to familiarize yourself with all the parts and assembly steps. We Please read all instructions carefully and keep it for future reference.
- Page 3 3 HOLES 2 HOLES 5 HOLES HOCKEY HOCKEY LEG LEVELER PLAYER ROD PLAYER ROD PLAYER ROD PUSHER PUCK FELT PAD NET & POST SET 4PCS 4PCS 2PCS 2PCS 2PCS 2PCS 2PCS 1 SET TABLE TENNIS PLAYING PLAYER IVORY PLAYER BLACK PADDLE CARD CHESS...
- Page 4 FIG.2. ASSEMBLY INSTRUCTIONS: 5) Repeat the step to attach the other End Apron to the Side Aprons (#1). We recommend that two adults work together to assemble this game. 6) Place two Support Braces (#4) on Playfield (#3) as shown in FIG.2. Attach them using two of Washer Head Screw (#10) per side.
- Page 5 FIG.3. FIG.4. 7)Attach the player rods (#14 - #16) into the side aprons as shown in FIG.3A.Attach 9) Attach Goal Boxes (#27) to End Aprons using four of Washer Head Screws (#9) per rubber bumper (#23) to the player rod, followed by the players (#18 & #19) and another Goal Box .
- Page 6 FIG.5. FIG.6. 10) Put Hand Grips (#21) and End Caps (#22) on the player rods in order. NOTE: To 11) Attach Legs (#25 & #26) to the cabinet (#24) using four of Bolts (#7) and four of make the Handles easier to attach, spray a little window cleaner on the rod ends prior to Washers(#8) per Leg.
Need help?
Do you have a question about the UY10001 and is the answer not in the manual?
Questions and answers