Advertisement
Quick Links
Advertisement

Related Manuals for GDS uGrind Nann 3409E


Summary of Contents for GDS uGrind Nann 3409E
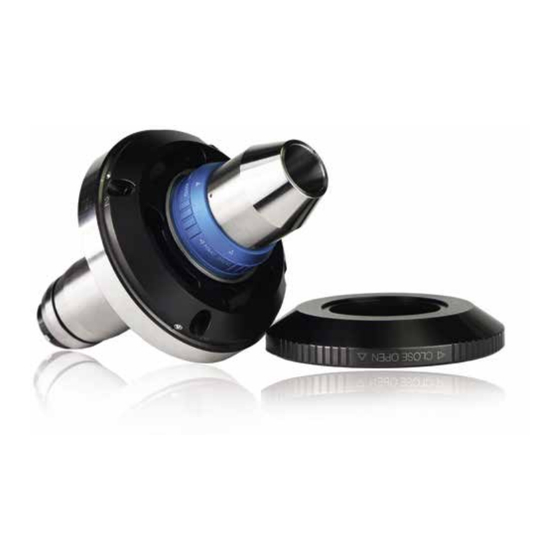
- Page 1 Commissioning // Instruction manual µGrind Nann 3409E grinding deserves SOLUTIONS...
- Page 2 For dimensions of clamping sleeves, please refer to the manufacturer’s specifications. ➁ push rod ø40,4 To use on following machine(s): ➂ adjustment hammer ➃ GDS wrench SW 5 x 150 Helitronic Mini Power ➄ QC certificate ation) (excluding Helitronic Mini Autom ➅...
- Page 3 μGrind Nann 3409E μGrind Nann 3409E Instruction manual Instruction manual Step 1: Preparation Clean all contact surfaces of the chuck. Assure cleanliness and planarity of machine interface. The µGrind chuck needs to be at room temperature. Dial gauges Wrench Test pin Step 2: Druckstange einschrauben Important:...
- Page 4 μGrind Nann 3409E μGrind Nann 3409E Instruction manual Instruction manual Step 4: Prepare for Clamping sleeve Step 6: Insert Test Pin Use machine control to move push rod into forward Insert a fitting test pin into the clamping sleeve and position.
- Page 5 Run-out and Repeatability clamping sleeve // Remove chuck Adjustment Change clamping sleeve chuck Change Remove Step 2: Run-Out first dial gauge Focus on first dial gauge. adjustment area Step 1: Step 1: Run-out is adjusted by tapping on the adjustment area with the adjustment hammer (3).
- Page 6 Available for following machine(s): Case, actuating pushrod, adjustment hammer, • Faultless functioning as well as warranty claims can only be granted when using wrench, USB flash drive with instructions original GDS-accessories. Item No. Name Helitronic Mini Power µGrind (excluding Helitronic Mini Automation)
- Page 7 µGrind Troubleshooting Check following issues: • Check locking pressure. • Check blank. • Check if µGrind chuck is soiled. • Check if blue locking ring is closed properly. • Check if mounting and adjustment screws are tightened enough. • Check if push rod is screwed in correctly. •...
- Page 8 GDS Präzisionszerspanungs GmbH Telefon: + 49 (0) 74 73 - 27 26 72 Endelbergstrasse 8 Telefax: + 49 (0) 74 73 - 27 26 49 D - 72131 Ofterdingen Email: sales@gds-praezision.de Web: www.gds-praezision.de...
Need help?
Do you have a question about the uGrind Nann 3409E and is the answer not in the manual?
Questions and answers