Table of Contents
Advertisement
Quick Links
Elite Arch [A4 label-assembly]
2/2/16
14:04
Page 1
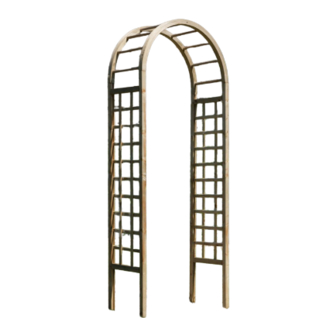
ELITE GARDEN ARCH
ELITEARCH - 250cm [H] x 100cm [W] x 44.5cm [D]
Self-Assembly required
Home Delivery available
Pre-Painted available
PLAN
44.5cm
100cm
44.5cm
paths up to 89.5cm
©2015 Grange Fencing Ltd
All rights reserved.
In line with the Company's policy of
continuous product development, the
right is reserved to change and improve
product design without prior notice.
All products and related emblems featured
are trademarks of Grange Fencing Ltd.
www.grangefen.co.uk
Advertisement
Table of Contents

Related Manuals for Grange ELITEARCH


Summary of Contents for Grange ELITEARCH
- Page 1 Elite Arch [A4 label-assembly] 2/2/16 14:04 Page 1 ELITE GARDEN ARCH ELITEARCH - 250cm [H] x 100cm [W] x 44.5cm [D] Self-Assembly required Home Delivery available Pre-Painted available PLAN 44.5cm 100cm 44.5cm paths up to 89.5cm ©2015 Grange Fencing Ltd All rights reserved.
- Page 2 Elite Arch [A4 label-assembly] 2/2/16 14:04 Page 2 ASSEMBLY INSTRUCTIONS PRESSURE TREATED GREEN ELITE GARDEN ARCH PARTS LIST Arch Side Sections Curved Roof Beams Dowling Beams HARDWARE PACK Screws 8 x 3.5cm BEFORE YOU START SITE PREPARATION • Check the pack/s and make sure that you have all of the parts listed Excavate a 30cm square hole (approx) for each post to a depth of at least 30cm.
Need help?
Do you have a question about the ELITEARCH and is the answer not in the manual?
Questions and answers