Advertisement
Quick Links
Advertisement

Related Manuals for Monitech N Series


Summary of Contents for Monitech N Series
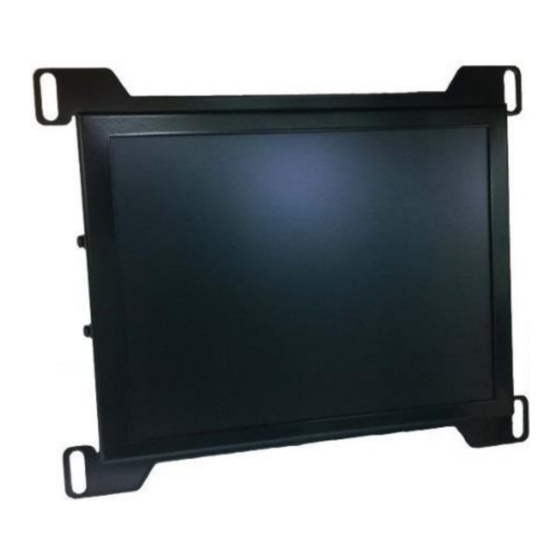
- Page 1 One touch does it! USER GUIDE N SERIES LCD...
- Page 2 WARRANTY. PLEASE RETURN TO MONITECH FOR REPAIRS. 1. Secure a video signal. Once you have mounted your new Monitech LCD into your control panel with the video and power cables attached, the monitor will power up automatically. It should also start receiving the video signal from your machine.
- Page 3 2. Press AUTO. Press AUTO on the 7-button menu found on the back of the LCD. After a few seconds, the screen will center the image and automatically adjust the image size, color, brightness and contrast. That’s all there is to it! Your LCD is ready to go.
- Page 4 3. Adjust brightness and contrast. If you do need to adjust brightness or contrast, here’s how. Press MENU and this image appears: Use the up or down arrows to move between items vertically. Use the right and left arrows to adjust values.
- Page 5 4. Adjust size and position. Choose “Image alignment” to adjust size if necessary. 5. Adjust features. If you need a language other than English, press MENU and then the arrow. This image appears:...
-
Page 6: Video Connector
Video connector This picture shows the value for six pins on the video connector at the back of the monitor. (The other pins are not used.) -
Page 7: Troubleshooting
Troubleshooting My screen is blue and says NO SYNC. The LED at the rear of the monitor is red. This means the LCD is getting no video signal from the machine. Reseat the video connector and secure it. Once the video signal is secured, the red light at the back will turn green. - Page 8 All rights reserved. No parts of this manual may be reproduced in any form without the express written permission of Monitech. Monitech makes no representations or warranties with respect to the contents of this User Manual. In addition, information contained herein is subject to change without notice.
Need help?
Do you have a question about the N Series and is the answer not in the manual?
Questions and answers