Advertisement
Table of Contents
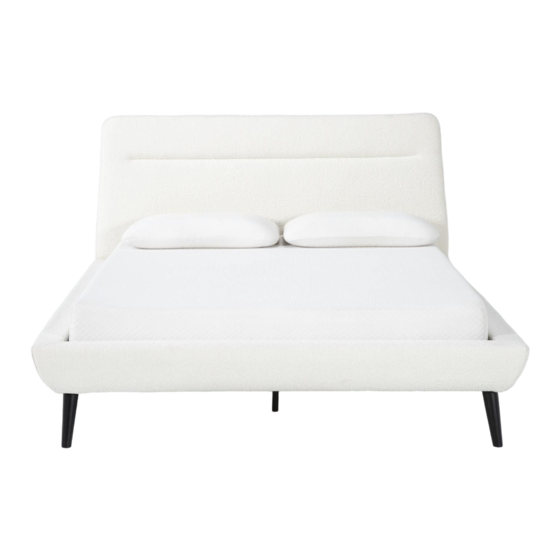
Eloise C/E King Assembly Instructions
Hardware included in side rails carton .
A
D
Φ10 MM
Φ6 MM
4PCS
6PCS
M
Φ6*40 MM
6PCS
1
Step#1
Loosen Bolts (B) and Washers (E), which are pre-fitted into edges of headboard and
footboard, clip side rail bracket over the bolt and re-tighten using Wrench (I).
CONGRATULATIONS ON YOUR NEW BED PURCHASE
~Warning:do not move bed after final assembly as it may result in damages to floor and/or bed.~
F
Φ8*70 MM
H=20CM
4PCS
O
2PCS
I
J
H=22.5CM
1PC
6PCS
P
Q
39 PCS
26 PCS
L
Φ10 MM
4PCS
Y
1 PC
*Bolt B and Washer E
are factory installed*
N
26PCS
Z
Φ10 MM
4 PCS
Advertisement
Table of Contents

Subscribe to Our Youtube Channel
Summary of Contents for Living Spaces Eloise C/E King
- Page 1 Eloise C/E King Assembly Instructions Hardware included in side rails carton . Φ10 MM Φ6 MM Φ8*70 MM Φ10 MM H=20CM H=22.5CM 4PCS 6PCS 4PCS 6PCS 4PCS 26PCS Φ6*40 MM Φ10 MM 6PCS 2PCS 39 PCS 26 PCS 1 PC...
- Page 2 Eloise C/E King Assembly Instructions Step#2 Attach wooden legs to the angle bracket using Nut (Z) ,Washer (L) and Spring washer (A) .Tighten/secure Nut (Z) using Wrench (Y) until snug. Step#3 Remove Bolt (B) & Washer (E), attach center support rail (O) to the headboard and footboard using Bolt (B) and Washer (E).
- Page 3 Eloise C/E King Assembly Instructions *Clip(Q) are factory installed* Step#4 Move/place bed into final position in bedroom. Attach curved slats support system to full length steel side rail support cleats.please put slats into end clip (Q) first,then connect with center clip (N),verify the slats are inserted properly into center clip (N) and end clip (Q).


Need help?
Do you have a question about the Eloise C/E King and is the answer not in the manual?
Questions and answers