Advertisement
Quick Links
Advertisement

Related Manuals for Ovela BAILY BUFFET OVBAILYBFBA


Summary of Contents for Ovela BAILY BUFFET OVBAILYBFBA
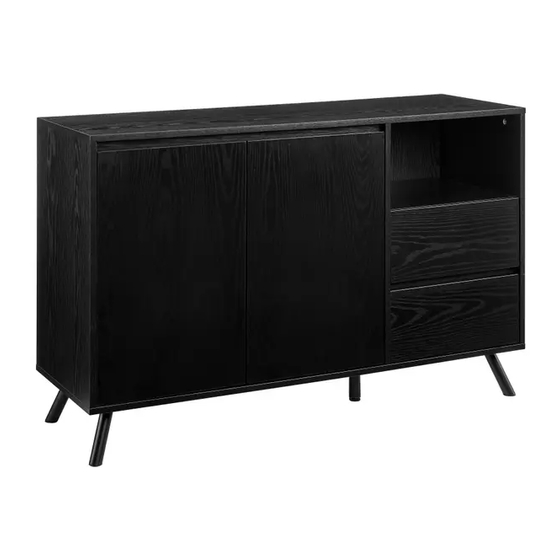
- Page 1 BAILY BUFFET BLACK OVBAILYBFBA...
-
Page 2: Table Of Contents
Safety & Warnings Components Assembly Adjustments Notes... -
Page 3: Safety & Warnings
SAFETY & WARNINGS • Read all instructions carefully before assembly. Retain this user guide for future reference. • Lay all components out on a clean floor and ensure all parts are included. If any pieces are missing, check all packaging thoroughly, then contact help.Kogan.com for assistance. - Page 4 Step 1: Extend the Slide Runners apart from the Slide Track: Step 2: Gently press the plastic release lever on the Slide Runner while pulling the Slide Runner and Slide Track apart from each other: Step 3: The Slide Runner and Slide Track should now be separated. Repeat these steps for all remaining pairs of Slide Runners and Slide Tracks: Slide Runner Slide Track...
-
Page 5: Components
COMPONENTS Lay all components out on a clean floor and ensure all parts are included. If any pieces are missing, check all packaging thoroughly, then contact help.Kogan.com for assistance. - Page 6 Fittings A Ø15x9.6 (x18) B L=35mm (x18) C Ø5.5x38 (x6) D Ø4x32 (x4) E Slide Track (x4) F Slide Runner (x4) G Ø3.5x12 (x28) H (x12) I Ø3x18 (x12) J H=120mm (x4) K Ø5x16 (x20) L H=120mm M (x4) N Ø3.4x10 (x4) O Ø35 (x4) P Ø4x15 (x24) Q Ø6x13x1...
-
Page 7: Assembly
ASSEMBLY Step 1: B L=35mm (x4) - Page 8 Step 2: F Slide Runner (x4) G Ø3.5x12 (x12) F Slide Runner (x2) F Slide Runner (x2)
- Page 9 Step 3: A Ø15x9.6 (x4) D Ø4x32 (x4) Arrow to point in the direction of end hole...
- Page 10 Step 4: B L=35mm (x6)
- Page 11 Step 5: G Ø3.5x12 (x12) E Slide Track (x4) E Slide Track (x4)
- Page 12 Step 6: B L=35mm (x6)
- Page 13 Step 7: B L=35mm (x2)
- Page 14 Step 8: A Ø15x9.6 (x6) Arrow to point in the direction of end hole...
- Page 15 Step 9: A Ø15x9.6 (x2) Arrow to point in the direction of end hole...
- Page 16 Step 10: C Ø5.5x38 (x6)
- Page 17 Step 11: J H=120mm (x4) K Ø5x16 (x20) L H=120mm Leg height is adjustable Stand up...
- Page 18 Step 12: A Ø15x9.6 (x6) T L=599mm Arrow to point in the direction of end hole...
- Page 19 Step 13: M (x4) N Ø3.4x10 (x4) U (x6) cover the exposed cams and screws holes...
- Page 20 Step 14: O Ø35 (x4) P Ø4x15 (x24)
- Page 21 Step 15:...
- Page 22 Step 16: H (x12) I Ø3x18 (x12)
- Page 23 Step 17: Q Ø6x13x1 S Ø4x16 It is strongly advised that you secure the unit to the wall using the safety strap provided to prevent the unit from toppling. TOPPLING FURNITURE WARNING: • It is strongly recommended that this product is permanently fixed to the wall. •...
- Page 24 Step 18: If you’re not confident in securing this unit to your wall, seek advice from a qualified trades person on how to attach the safety strap to your specific wall. Note: The required fittings are not included with this unit. Please use the appropriate fittings to secure the unit for the specific wall you have.
- Page 25 Step 19: • Move the buffet to the final position and attach the safety strap to the wall. • Ensure it is securely attached and has a snug fit.
-
Page 26: Adjustments
ADJUSTMENTS To adjust your doors to make the gaps more even (optional). Step 1 Open the door. Top panel Door Side panel... - Page 27 Step 2 To adjust the gap between the door panel and side panel, Loosen the screw indicated a little to adjust the hinge to the desired position (Figure 2a & 2b), then tighten the screw. Top panel Door Side panel Figure 2a: Move door in Figure 2a: Move door out Top panel gap...
- Page 28 Step 3 To adjust the gap between the doors, loosen or tighten the screw indicated a little until the desired gap is achieved (Figure 3a & 3b). Top panel Door Side panel Figure 3a: Move Door Right Figure 3b: Move Door Left Top panel too Top panel too small gap...
-
Page 29: Notes
NOTES... - Page 32 Need more information? We hope that this user guide has given you the assistance needed for a simple set-up. For the most up-to-date guide for your product, as well as any additional assistance you may require, head online to help.kogan.com...
Need help?
Do you have a question about the BAILY BUFFET OVBAILYBFBA and is the answer not in the manual?
Questions and answers