Advertisement
Quick Links
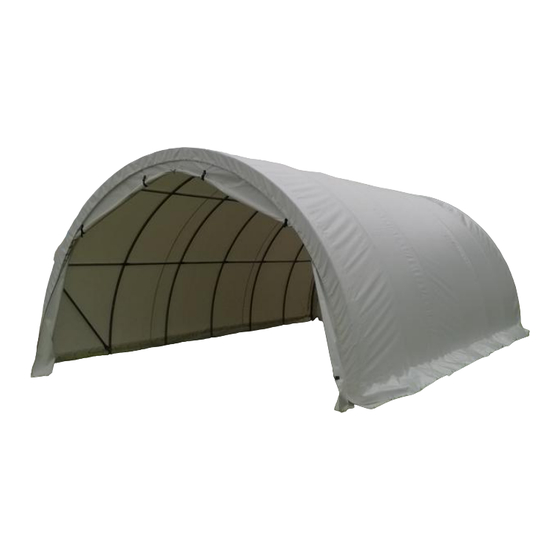
Storage Shelter
SS203012 20'x30'x12'
W6.1xL9.1xH3.66m
Assembly Instructions
RECOMMENDED TOOLS
Please read instructions COMPLETELY before assembly. This shelter MUST be securely anchored.
THIS IS A TEMPORARY STRUCTURE AND NOT RECOMMENDED AS A PERMANENT STRUCTURE.
Before you start: 4+ individual recommended for assembly, approximate time 4 hr.
Page 1
Advertisement

Related Manuals for Mytee SS203012

Summary of Contents for Mytee SS203012
- Page 1 Storage Shelter SS203012 20’x30’x12’ W6.1xL9.1xH3.66m Assembly Instructions RECOMMENDED TOOLS Please read instructions COMPLETELY before assembly. This shelter MUST be securely anchored. THIS IS A TEMPORARY STRUCTURE AND NOT RECOMMENDED AS A PERMANENT STRUCTURE. Before you start: 4+ individual recommended for assembly, approximate time 4 hr.
-
Page 2: Care And Cleaning
ATTENTION: This shelter product is manufactured with quality materials. It is designed to fit our custom fabric cover included. Our shelters offer storage and protection from damage caused by sun, light rain, tree sap, animal - bird excrement and light snow. Please anchor this structure properly. - Page 3 Parts List for Storage Shelter 203012(W6.1xL9.1xH3.66m) Part Description Code (PC) Roof Bent Joist Middle Bent Joist Lower Bent Joist Roof & Sidewall Purlin Lower Tensioning Tube Support Tube Base Plate for four corners Base Plate for interior arches Tube Clip for support tube No.6 Stake Peg Roof Cover Front &...
-
Page 4: Frame Installation
Frame Installation Step 1: base plates and stake pegs Page 4... - Page 5 Step 2: end arch No.1 and No.7 Page 5...
- Page 6 Step 3: middle arch No.2 to No.6 Page 6...
- Page 7 Step 4: purlins and support tubes Page 7...
- Page 8 Step 5: squaring up the frame and fix base plates by stake pegs Page 8...
-
Page 9: Cover Installation
Cover Installation Step 1: front and back cover with door Different Way of Rolling-up Door Note: After the zipper is pulled in place, the buckle needs to be fixed. Page 9... - Page 10 Note: In order to prevent being damaged by the wind, when the zipper is in the open state, it cannot stay in the middle position and needs to be pulled to the top. Page 10...
- Page 11 Step 2: roof cover The straps and hang tag shows for the front and back edge of the roof cover. The label of “front arch” and “back arch” is pasted to the roof cover, the “arch” mark must touch the joint of end wall arch and top purlins. Now your assembly is completed.
Need help?
Do you have a question about the SS203012 and is the answer not in the manual?
Questions and answers