Table of Contents
Advertisement
Quick Links
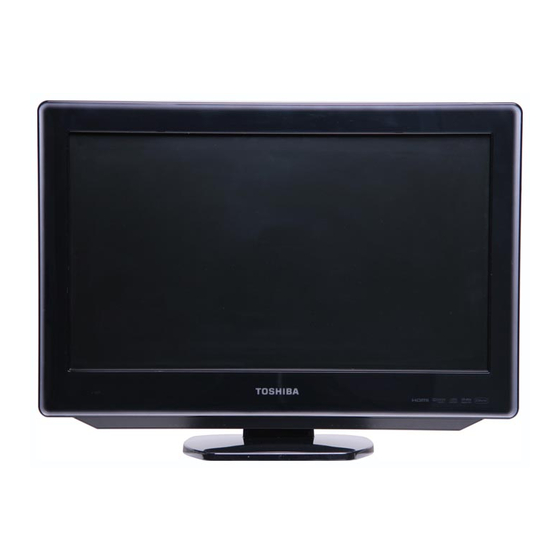
15-in, 19-in, 22-in, 26-in class
LCD TV/DVD COMBINATION
The above models are classified as green products (*1), as indicated by the underlined serial numbers.
This Service Manual describes replacement parts for the green products. When repairing these green
product(s), use the part(s) described in this manual and lead-free solder (*2).
For (*1) and (*2), see the next page.
©2009 Toshiba Corporation
15SLDT3R
19SLDT3R
22SLDT3R
26SLDT3R
DOCUMENT CREATED IN TAIWAN, SEPT, 2009 GREEN
FILE NO. 810-2009108
Advertisement
Table of Contents


Need help?
Do you have a question about the 15SLDT3R and is the answer not in the manual?
Questions and answers