
Related Manuals for 100FIT 150B


Summary of Contents for 100FIT 150B
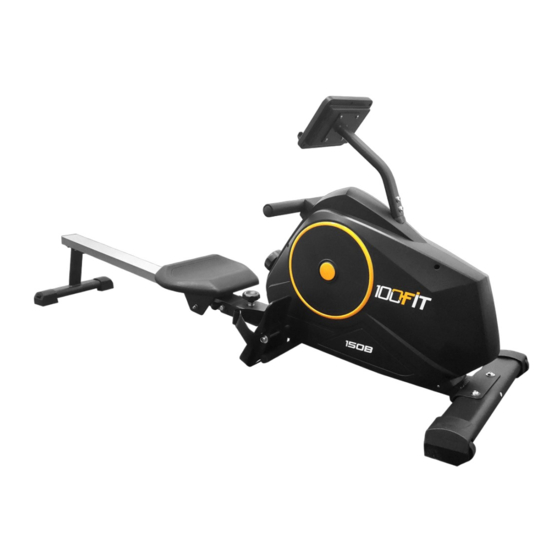
- Page 1 WWW.HUNDREDFIT.COM OWNER'S MANUAL ( 150B-manual ) CONTENTS IMPORTANT SAFETY INFORMATION -------------------- EXPLODED-VIEW ASSMEBLY DRAWING ----------------...
-
Page 2: Important Safety Information
ASSEMBLY INSTRUCTIONS --------------------------------- COMPLETE EXPLOSION DRAWING ----------------------- PARTS LIST -------------------------------------------------------- IMPORTANT SAFETY INFORMATION Please read the instructions and warnings carefully before use, to ensure safe and satisfactory operation of this product. Follow the assembly instructions carefully. Please keep this manual in a safe place for your reference when necessary. Please do not assembly or use this equipment until you read this manual thoroughly &... - Page 3 Keep your back straight whiles exercising. 12. Before using the equipment, check the handle bar, seat, and the nuts & bolts are securely tightened. 13. For adjustable parts, bear the maximum position in your mind, do not exceed the mark "stop", otherwise will cause risk.
- Page 4 EXPLODED-VIEW ASSMEBLY DRAWING...
- Page 5 ASSEMBLY INSTRUCTIONS...
- Page 6 STEP 1 : ---Attache the front stabilizer(3) to the main frame (1) , and fix it with two sets of flat washers(71) & bolts(72) by allen wrench tightly. ----screw the adjusting foot pad (56) into the main frame (1) tightly. Note: the front stabilizer is with transportation wheels.
- Page 7 --- Fix the pedal support tube (19) onto the mainframe (1) with two sets of curved washers(21)& bolts(22) by spanner tightly. --- insert the pedal pole(54) into the hole as pointed on the main frame, then fix the pedal (11) on the pedal pole (54)with flat washers (40) and lock nuts(32) by spanner tightly and rightly .
- Page 8 --- Connect the console wire(14) with the sensor wire(18) correctly ; then put the console support tube (29) onto the main frame as shown carefully, and fix it with two sets of flat washers(43)& bolts(75)by allen wrench tightly. --- Screw out the screws (76) on the console by spanner and keep them , then connect the console wire(14)-top with the wire on the console (9) correctly.
- Page 9 --- Fix the seat (5) on the seat sliding set (4) with four sets flat washers (43)& screws(68) with allen wrench tightly. ---Slide the seat sliding set(4) onto the sliding rail (7) before fixing the crash pad (28) on the sliding rail (7) with bolt (67) tightly.
- Page 10 STEP5:...
- Page 11 --- Fix the rear stabilizer(2) on the sliding rail (7) with four sets of flat washer (43) ,spring washers(69) & screws(68) by allen wrench tightly STEP6:...
- Page 12 ---Put the spacer bushes (36)into the holes on the sliding rail (7), and connect the sliding rail (7) with the main frame(1) with bolt(66), flat washer(40) and lock nut(32) by spanner tightly. --Fix the sliding rail (7) to the main frame (1) with washer (55) and knob(10) tightly. Put the plug (65) into the hole on the sliding rail (7) Now the equipment is completed assembled, if you find it not leveled on the floor, you can adjust it by the adjusting tube plug (13)&the adjusting foot pad(56).
-
Page 13: Parts List
PARTS LIST... -
Page 14: Console Instruction
NAME QTY. NAME QTY. Main frame flat gasket Rear stabilizer bolt Front stabilizer magnet plate Seat sliding set flat washer Seat revolving shaft Pulley circlip Sliding rail screw Handle bar Flywheel axle Console Bearing Knob Screw Pedal tube plug left-front stabilizer Guide pulley sleeve Adjusting tube plug-rear stabilizer Belt guide pulley... - Page 15 1. CD full screen, as shown in the follow picture: 2. Display Function: Display Item Setting range Memory Description range 1.If without setting ,time will be accumulated in cycle. 2.If user has preset the value, it will count down from 0:00~99:99 TIME ±1 minute...
- Page 16 switch display in every 5 seconds. If there is pulse signal input , it will displays the initial value after 7.4s (count from the first PULSE value.) P-30~240 b. If there is no pulse for 6s, the value will return to 0-30~240 PULSE zero.
- Page 17 When power on ( or press TOTAL RESET),LCD will full display 2s (picture 1), then the console will enter into standby...
- Page 18 mode (picture 2). 3.2 Standby mode: After power on, the console enter into SCAN- standby mode: STROKES-TIME-DIST- CAL- PULSE will display circularly 5 seconds in turn. (picture 2~picture3) In standby mode, no input of key operation or RPM signal or pulse input for 4Min, LCD will go to Sleeping mode. Picture 3 In standby mode, press MODE KEY, user can select STROKES-TIME-DIST-CAL-PULSE to set training mode.Press UP/DOWN to set target exercise value.
- Page 19 B. TIME setting range: 0:00~99:00 (press UP/DOWN to adjust,each increment is 1:00.Press RESET, all value will return to zero.)
- Page 20 C. DIST setting range: 0~99.50 (press UP/DOWN to adjust, each increment is 0.5. Press RESET, all value will return to zero.) D. CAL setting range: 0~9990 ( press UP/DOWN to adjust, each increment is 10. Press RESET, all value will return to zero.) E.
- Page 21 * If there is no signal when you pedal, please check if the cable is well connected.
Need help?
Do you have a question about the 150B and is the answer not in the manual?
Questions and answers