Table of Contents

Summary of Contents for Xview XVMIRROR
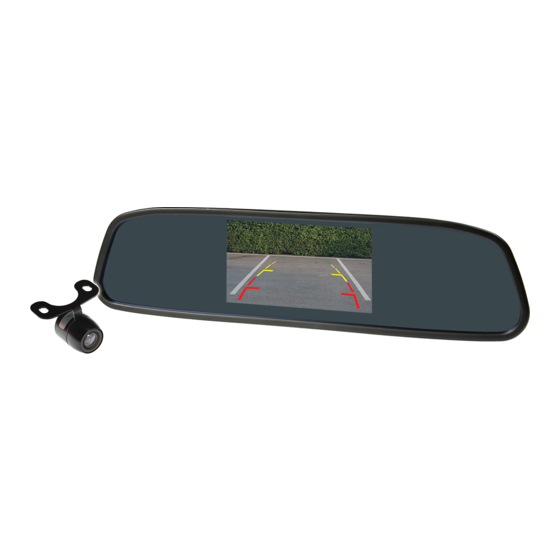
- Page 1 VIEW XVMIRROR USER MANUAL For more information on the Xview range go to our website xviewdrive.com.au INCLUSIONS: Dash Cam, GPS Power Cable, 12/24V In-Car USB Charger, Micro SD Card, Adhesive Surface Mount, Rear Camera & Rear Camera Cable.
-
Page 2: Product Features And Specifications
1. PRODUCT FEATURES AND SPECIFICATIONS Mirror Display • 4.3” 16:9 High-resolution TFT LCD Screen • Resolution 480*272 • Clip-On mount extends 53-70mm • 12V Compatible • PAL video standard • Power Supply: DC12V +/- 10% • Video Input : Yellow = Reverse Camera Input •... -
Page 3: Table Of Contents
2. TABLE OF CONTENTS Product features and specifications........2 Table of contents..............3 Installation diagram..............4 Installing the camera............5 Installation of the Mirror Display...........7 Testing the reverse camera function........7 Menu options and settings..........8 Troubleshooting guide............9 Safety information & warnings...........10 Technical assistance............11... -
Page 4: Installation Diagram
3. INSTALLATION DIAGRAM Mirror Powerwires (ACC) Moulded splitter (Optional front camera) (Red wires can 6 Metres be used for additional Moulded accessories ) splitter Powerwires (Reversing light) Camera The Clip on mirror design securely mounts on the existing rear view mirror in the vehicle by expanding the clamping arms at the back. -
Page 5: Installing The Camera
4. INSTALLING THE CAMERA In most instances, the camera is best mounted above the vehicles license plate as shown here. Hole for cable 1. Connect the RED wire of the Cameras Power Harness to the wire that supplies power to the reversing light globe (the wire that is energized only when the car is put into reverse). - Page 6 5. INSTALLING THE CAMERA CONT..module (sold separately) may need to be installed. However, just because the vehicle has a CAN BUS system does not necessarily mean that it will require such a module to work. In fact the opposite is true. Most vehicles do not require an additional module.
-
Page 7: Installation Of The Mirror Display
6. INSTALLATION OF THE MIRROR DISPLAY 4. The display has two power wires to be connected. Connect the red wire (accessories +12V) to a wire that is energized when the vehicles accessories is turned on. Connect the black wire to a ground earth wire or to the body of the car using the steel of the cars body behind the kick trim as an earth. -
Page 8: Menu Options And Settings
8. MENU OPTIONS AND SETTINGS 1. Press the Middle button for Menu access functions (see Fig.1) 2. Press the Top button repeatedly to increase value 3. Press the Bottom button repeatedly to decrease value - Brightness: Adjusts screen brightness - Contrast: Adjusts screen contrast - Saturation: Adjusts screen saturation - Zoom: Changes display mode between 4:3 &... -
Page 9: Troubleshooting Guide
9. TROUBLESHOOTING GUIDE Problem: The Mirror Display feels warm when it is operating Solution: • It is normal for the Mirror Display to feel warm to the touch during typical use. Problem: My screen image is blurry, dirty or discoloured Solution: •... -
Page 10: Safety Information & Warnings
10. SAFETY INFORMATION & WARNINGS Do not use the Mirror display in damp working conditions; the Mirror Display is not waterproof. Do not try opening the shell or trying to repair the Mirror Display by yourself. If the accessories for the Mirror Display have any problems, please take it to an authorised repair agent for repair. -
Page 11: Technical Assistance
11. USER SUPPORT If you need assistance setting up or have an issue regarding the use of your Xview product contact Xview Customer Support. Australian Agent: TEL: 03 – 8587 8898 FAX: 03 – 8587 8866 Mon-Fri 9am – 5pm AEST For more information, manuals, software or other products in the Xview range please go to our website.


Need help?
Do you have a question about the XVMIRROR and is the answer not in the manual?
Questions and answers