Sign In
Upload
Download
Table of Contents
Contents
Add to my manuals
Delete from my manuals
Share
URL of this page:
HTML Link:
Bookmark this page
Add
Manual will be automatically added to "My Manuals"
Print this page
×
Bookmark added
×
Added to my manuals
Manuals
Brands
Xview Manuals
Dash Cameras
XV20DVR
User manual
Xview XV20DVR User Manual
Hide thumbs
1
2
3
4
5
6
7
8
9
10
11
12
13
14
15
16
Table Of Contents
17
page
of
17
Go
/
17
Contents
Table of Contents
Troubleshooting
Bookmarks
Advertisement
Table of Contents
1
Installing the Dash Cam
2
Using the App
3
Using Gps Function
4
Hand Gesture Photo Function
5
Formatting Sd Card
6
Factory Reset
7
Backing up Recorded Data
8
Specification
9
User Support
10
Troubleshooting
11
Safety Information and Warnings
Download this manual
VIEW
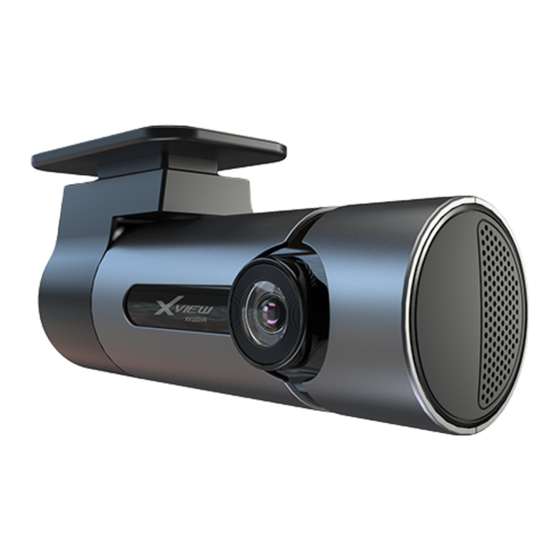
XV20DVR / XV22DVR
USER MANUAL
for more information on
the Xview range go to
our website
xviewdrive.com.au
INCLUSIONS:
Dash Cam, GPS power cable, cable, charger, memory card.
(XV22DVR model: rear camera, rear camera cable)
Table of
Contents
Previous
Page
Next
Page
1
2
3
4
5
Advertisement
Table of Contents
Need help?
Do you have a question about the XV20DVR and is the answer not in the manual?
Ask a question
Questions and answers
Related Manuals for Xview XV20DVR
Dash Cameras Xview XV22DVR User Manual
(17 pages)
Dash Cameras Xview XV4KDVR User Manual
(17 pages)
Dash Cameras Xview XVMIRROR User Manual
(12 pages)
Dash Cameras Xview XVHWC User Manual
(9 pages)
Dash Cameras Xview XV9M User Manual
(16 pages)
This manual is also suitable for:
Xv22dvr
Table of Contents
Print
Rename the bookmark
Delete bookmark?
Delete from my manuals?
Login
Sign In
OR
Sign in with Facebook
Sign in with Google
Upload manual
Upload from disk
Upload from URL


Need help?
Do you have a question about the XV20DVR and is the answer not in the manual?
Questions and answers