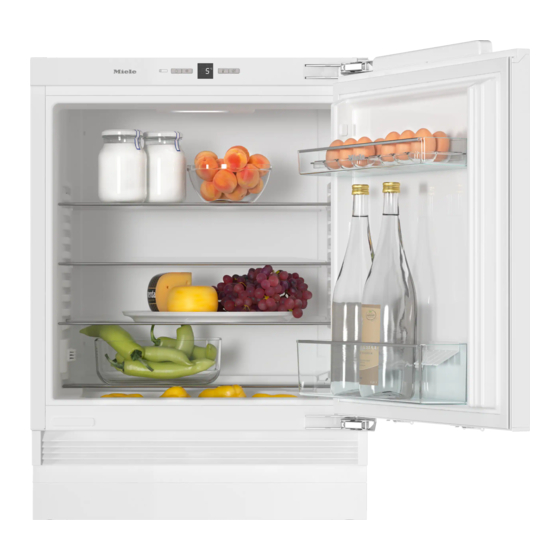
Miele K 31222 Ui Manual
Hide thumbs
Also See for K 31222 Ui:
- Operating and installation instructions (76 pages) ,
- Operating and installation instructions (68 pages) ,
- Operating and installation instructions (64 pages)
Table of Contents
Advertisement
Quick Links
Electrical connection
The appliance is supplied with a mains
cable and moulded plug ready for
connection to an AC single-phase 220–
240 V 50 Hz supply.
The fuse rating must be at least 10 A.
This appliance must be connected to a
suitable switched socket. The electrical
installation must be in compliance with
current local and national safety
regulations.
The socket must not be concealed
behind the appliance and must be
easily accessible so that the appliance
can be quickly disconnected from the
electricity supply in case of an
emergency.
If the socket is no longer accessible
after installation, an additional means of
disconnection must be provided for all
poles. Suitable means of disconnection
include switches with an all-pole
contact gap of at least 3 mm. These
include isolator switches, fuses and
relays.
The mains plug and mains connection
cable must not come into contact with
the back of the appliance as vibrations
can cause damage to these
components. This could result in a short
circuit.
Nor should other appliances be
plugged into a socket located directly
behind this appliance.
10841790-04
Do not connect the appliance to the
mains electricity supply using an
extension lead. Extension leads do not
guarantee the required safety of the
appliance (e.g. danger of overheating).
Temporary or permanent operation with
a self-sufficient or non-mains
synchronous energy supply system
(e.g. isolated networks, back-up
systems) is possible. A requirement for
the operation is that the energy supply
system complies with all current local
and national requirements that apply to
stand-alone, solar and/or battery
systems".
The protective measures provided in
the domestic installation and in this
Miele product must also be assured in
their function and operation in isolated
operation or in non-mains synchronous
operation, or replaced with equivalent
measures in the installation.
If the mains cable needs to be replaced,
this must be done by a qualified and
competent electrician.
Advertisement
Table of Contents

Summary of Contents for Miele K 31222 Ui
- Page 1 The protective measures provided in emergency. the domestic installation and in this Miele product must also be assured in If the socket is no longer accessible their function and operation in isolated after installation, an additional means of...
-
Page 2: To Install The Appliance, You Will Need The Following Tools
*INSTALLATION* 10841790-04 Installing the appliance To install the appliance, you Preparing the appliance will need the following tools: Position the appliance in front of the housing unit. Grasp the plinth cover at the side and pull it off towards the front. You have a choice of two different ways of securing your appliance: 1. - Page 3 *INSTALLATION* 10841790-04 Installing the appliance 2. Side mounting 1. Top mounting Fit the bracket in the opening in the Both ends of the bracket must be appliance lid. bent. Bend the bracket at the perforated Fit the bracket in the opening in the point.
-
Page 4: Pushing The Appliance Into Its Niche
*INSTALLATION* 10841790-04 Installing the appliance Pushing the appliance into its If the appliance is pushed too far into niche the niche, the door may not close properly once the furniture panel has When pushing the appliance into been fitted. This can cause ice to its niche make sure that the mains build up, condensate to accumulate cable does not get trapped. -
Page 5: Aligning The Appliance
*INSTALLATION* 10841790-04 Installing the appliance Aligning the appliance With furniture with door fittings (e.g. stubs, seals etc.) the dimension of When securing the appliance in the these must be taken into account niche at the top, the appliance when making sure there is a gap all should sit lightly tensioned between round of 42 mm. -
Page 6: Fitting A Continuous Furniture Plinth Panel
*INSTALLATION* 10841790-04 Installing the appliance Fitting a continuous furniture The foam ensures the airflow plinth panel is separated to prevent malfunctioning of the appliance. Ventilation takes place through a ventilation grille in the appliance plinth. The ventilation gaps must never be obstructed. -
Page 7: Securing The Appliance In The Niche
*INSTALLATION* 10841790-04 Installing the appliance Securing the appliance in the Fitting a furniture door niche If the appliance is being built into a run of units, the height of the furniture door should be aligned with adjacent kitchen units. The furniture door must be mounted plane and free of tension. - Page 8 *INSTALLATION* 10841790-04 Installing the appliance Place the furniture door with the outer side downwards on a stable surface. Useful tip: Push up the fitting aids with the furniture front. Using a pencil, lightly mark a line down the centre of the inside of the furniture door .
- Page 9 *INSTALLATION* 10841790-04 Installing the appliance Open the appliance door. Fit the side cover to the fixing bracket on the opposite side of the hinge. Turn the furniture door over and attach the handle (if needed). Hang the furniture door onto the adjusting bolts .
- Page 10 *INSTALLATION* 10841790-04 Installing the appliance Whilst counterholding the adjusting bolts with a screwdriver, tighten the nuts on the appliance door with screwdriver. Attach the appliance door and the furniture door using screws through the fixing brackets : - Drill holes in the furniture door (mark the position of the holes first).
- Page 11 *INSTALLATION* 10841790-04 Installing the appliance Fit the cover in position. To make sure the appliance is correctly installed: - The door must close properly. - The door must not touch the housing unit. - The seal at the top edge of the handle side must fit properly.


Need help?
Do you have a question about the K 31222 Ui and is the answer not in the manual?
Questions and answers