Sign In
Upload
Download
Table of Contents
Contents
Add to my manuals
Delete from my manuals
Share
URL of this page:
HTML Link:
Bookmark this page
Add
Manual will be automatically added to "My Manuals"
Print this page
×
Bookmark added
×
Added to my manuals
Manuals
Brands
Miele Manuals
Refrigerator
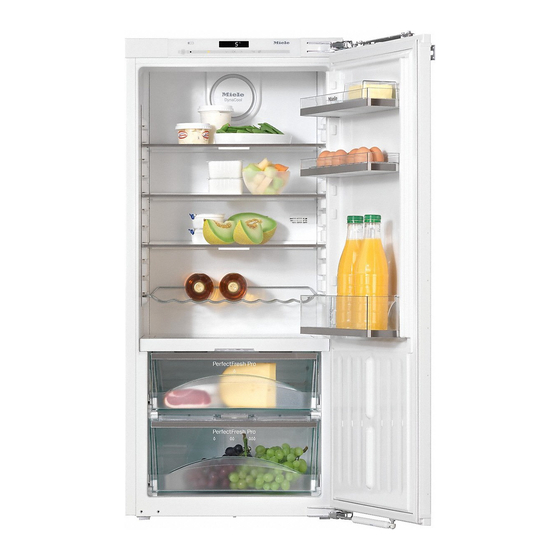
K 34673 iD
Operating and installation instructions
Miele K 34673 iD Operating And Installation Instructions
Hide thumbs
1
Table Of Contents
2
3
4
5
6
7
8
9
10
11
12
13
14
15
16
17
18
19
20
21
22
23
24
25
26
27
28
29
30
31
32
33
34
35
36
37
38
39
40
41
42
43
44
45
46
47
48
49
50
51
52
53
54
55
56
57
58
59
60
61
62
63
64
65
66
67
68
69
70
71
72
73
74
75
76
77
78
79
80
81
82
83
84
85
86
87
88
89
90
91
92
page
of
92
Go
/
92
Contents
Table of Contents
Bookmarks
Table of Contents
Table of Contents
Warning and Safety Instructions
Caring for the Environment
How to Save Energy
Guide to the Appliance
Control Panel
Symbols
Optional Accessories
Switching on and off
Before Using for the First Time
Cleaning the Appliance
Operating the Appliance
Switching on
Switching off
Switching off for Longer Periods of Time
The Correct Temperature
In the Refrigerator Section and in the Perfectfresh Pro Zone
Automatic Temperature Distribution (Dynacool)
Temperature Display
Setting the Temperature
Adjusting the Temperature in the Perfectfresh Pro Zone
Using Super Cool
Door Alarm
Switching the Door Alarm off Early
Selecting Further Settings
Safety Lock
Audible Tones
Display Brightness
Sabbath Mode
Filter Replacement Indicator
Storing Food in the Refrigerator Section
Different Storage Zones
Food Which Is Not Suitable for Storage in the Refrigerator Section
When Shopping for Food
Storing Food Correctly
Storing Food in the Perfectfresh Pro Zone
Dry Compartment
Humidity-Controlled Compartment
Adjusting the Interior Fittings
Adjusting the Door Shelf / Bottle Shelf
Adjusting the Bottle Holder
Moving the Adjustable Shelves / Adjustable Shelves with Lighting
Adjusting the Bottle Rack
Perfectfresh Pro Zone Compartments
Moving the Charcoal Filters
Defrosting
Cleaning and Care
Preparing the Appliance for Cleaning
Cleaning the Interior and Accessories
Cleaning the Door Seal
Cleaning the Ventilation Gaps
After Cleaning
Replacing the Charcoal Filters
Problem Solving Guide
Noises
Service
Contact in Case of Malfunction
Warranty
Information for Dealers
Demo Mode
Electrical Connection
Installation
Side-By-Side Combinations
Location
Climate Range
Ventilation
Furniture Door Panel
Horizontal and Vertical Gaps
Weight of the Furniture Door
Fitting Large or Divided Furniture Doors
Before Installing the Appliance
Does Your Old Appliance Have a Different Hinging Mechanism
Stainless Steel Front
Building-In Dimensions
Limiting the Opening Angle of the Door
Changing the Door Hinging
Installing the Appliance
Fitting the Furniture Door
Advertisement
Quick Links
1
Table of Contents
2
Control Panel
3
Guide to the Appliance
4
Installing the Appliance
Download this manual
Operating and installation instructions
Refrigerators
To avoid the risk of accidents or damage to the appliance it is essential
to read these instructions before it is installed and used for the first time.
en-GB
M.-Nr. 10 949 920
Table of
Contents
Previous
Page
Next
Page
1
2
3
4
5
Advertisement
Table of Contents
Need help?
Do you have a question about the K 34673 iD and is the answer not in the manual?
Ask a question
Questions and answers
Related Manuals for Miele K 34673 iD
Refrigerator Miele K 34272 iD Operating Instructions Manual
Refrigerator with perfectfresh zone and dynamic cooling (72 pages)
Refrigerator Miele K 34272 iD Operating And Installation Instructions
(72 pages)
Refrigerator Miele K 32222 i Operating And Installation Instructions
(76 pages)
Refrigerator Miele K 32222 i Operating And Installation Instructions
(76 pages)
Refrigerator Miele K 32222 i Operating And Installation Instructions
(80 pages)
Refrigerator Miele K 32223 i Operating And Installation Instructions
(80 pages)
Refrigerator Miele K 3402 S ed Operating And Installation Manual
(36 pages)
Refrigerator Miele K 3414 SD Operating And Installation Manual
With dynamic cooling (28 pages)
Refrigerator Miele k 37472 id Operating And Installation Instructions
(92 pages)
Refrigerator Miele K 34472 iD Operating And Installation Instructions
(92 pages)
Refrigerator Miele K 34472 iD Operating And Installation Instructions
(84 pages)
Refrigerator Miele K 34273 iD Operating And Installation Instructions
(72 pages)
Refrigerator Miele K 32122 i Operating And Installation Instructions
(64 pages)
Refrigerator Miele K 34142 iF Operating And Installation Instructions
(64 pages)
Refrigerator Miele KS 35222 iD Operating And Installation Instructions
Refrigerator with dynamic cooling (68 pages)
Refrigerator Miele K 3211 S Operating And Installation Manual
(28 pages)
This manual is also suitable for:
K 35672 id
K 35673 id
K 37672 id
K 37673 id
Table of Contents
Print
Rename the bookmark
Delete bookmark?
Delete from my manuals?
Login
Sign In
OR
Sign in with Facebook
Sign in with Google
Upload manual
Upload from disk
Upload from URL


Need help?
Do you have a question about the K 34673 iD and is the answer not in the manual?
Questions and answers