KitchenAid KRSC703HPS Manual
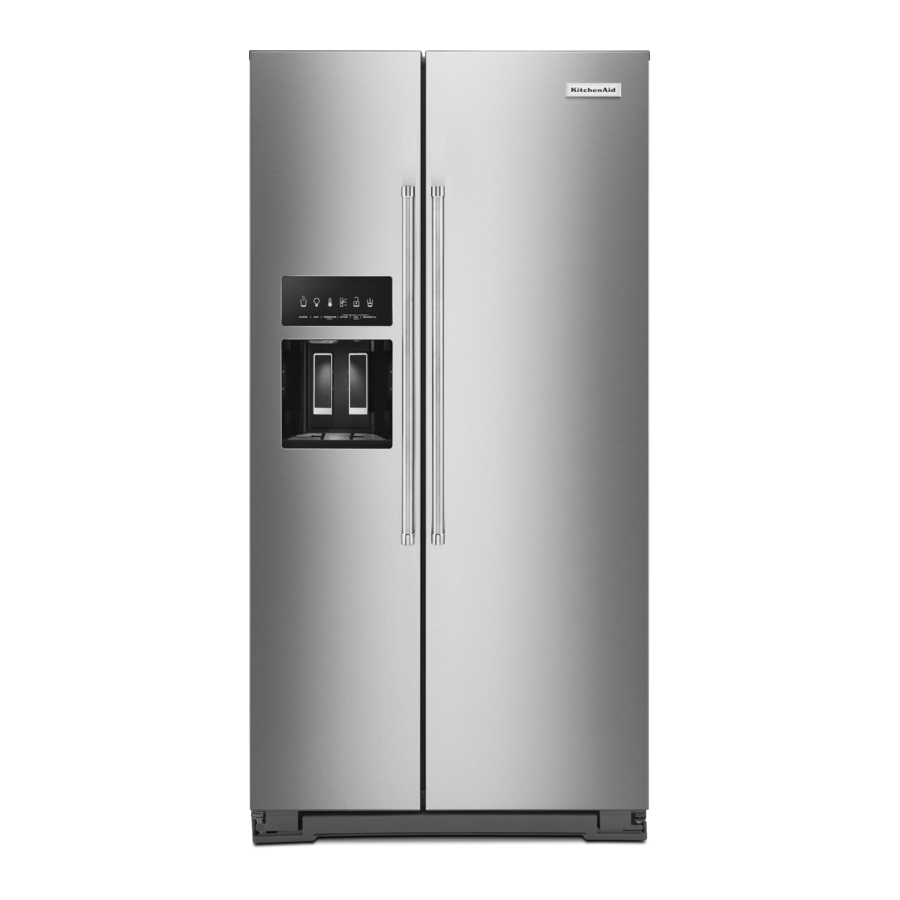
Side-by-side water and ice dispensing
Hide thumbs
Also See for KRSC703HPS:
- Getting started (2 pages) ,
- Owner's manual (59 pages) ,
- Owner's manual (65 pages)
Advertisement
Available languages
Available languages
S S i i d d e e - - B B y y - - S S i i d d e e W W a a t t e e r r a a n n d d I I c c e e D D i i s s p p e e n n s s i i n n g g G G u u i i d d e e
TO DISPENSE WATER (STANDARD):
1. Press a sturdy glass against the water dispenser paddle. Hold
the glass close to the water dispenser spout to ensure that the
water dispenses into the glass.
NOTE: While dispensing water and for 3 seconds after
dispensing has stopped, the digital display will show how much
water has been dispensed.
2. To stop dispensing, remove the glass from the dispenser
paddle.
TO DISPENSE WATER (MEASURED FILL):
Measured Fill allows you to dispense a specified amount of water
with the touch of a few buttons.
NOTE: Household water pressure may affect the accuracy of the
Measured Fill feature. For optimum performance of your water
dispenser, you must first calibrate Measured Fill.
Calibrate Measured Fill
IMPORTANT: Flush the water system before calibrating Measured
Fill. See "Flush the Water System" in the Owner's Manual.
1. Place a sturdy measuring cup (1 cup [237 mL] size) on the
dispenser tray, centered in front of the water dispenser pad.
NOTE: Depending on your model, a measuring cup may be
provided.
2. Press and hold the Options and Lock buttons at the same time
for 3 seconds. The words "Back" and "1 Cup" will appear on the
display screen.
3. Using your hand (not the measuring cup), press and release
the water dispenser paddle in order to dispense water to the
1 cup fill line.
NOTE: If overfilling or spilling occurs, discard the water and
press "Back" to restart the calibration process.
4. When 1 cup of water has been correctly dispensed into the
measuring cup, press the Measured Fill button under the word
"Confirm" to confirm the calibration.
When Measured Fill calibration has been confirmed, the display will
return to the home screen.
1. Press Measured Fill to turn on the feature. When the feature is
on, the Measured Fill screen appears on the display.
IMPORTANT: Low water pressure may affect the accuracy of
this feature.
NOTE: The amount of water you select will be dispensed. Be
sure that the container is empty and can hold the entire
volume. If ice is in the container, you may need to adjust your
selection.
Press Ice Mode to manually turn off the Measured Fill feature.
NOTE: The dispenser will automatically turn off Measured Fill after
1 minute of inactivity. When Measured Fill is turned off, any
changes you have made will be lost and all defaults will be
restored.
2. You can dispense water by the ounce, cup, or liter. The default
unit is ounces. To switch to cups or liters, press the Light
button. Default, minimum, and maximum volumes are listed
below.
Units
Default
Ounces
8
Cups
1
Liters
0.25
3. Press the Lock and Options buttons to adjust the volume as
desired. The Lock button increases the volume, and the
Options button lowers the volume.
NOTES:
� When increasing or decreasing the volume, the control may
stop responding if an adjustment button is held for
approximately 10 seconds or longer. Release the button for
approximately 2 seconds; then continue making
adjustments.
� Most coffee cups (commonly 4 to 6 oz. [118 to 177 mL] per
cup) are not the same size as a measuring cup (8 oz. [237
mL]). You may need to adjust the volume to avoid
unintentionally overfilling coffee cups.
4. To dispense water, press a sturdy glass against the water
dispenser paddle or place the glass below the water dispenser
and press the Measured Fill button. Hold the glass close to the
water dispenser spout to ensure that the water dispenses into
the glass.
A. Water dispenser spout
Minimum
Maximum
1
128
1/4
16
0.05
4.00
1
Advertisement
Table of Contents

Related Manuals for KitchenAid KRSC703HPS


Summary of Contents for KitchenAid KRSC703HPS
- Page 1 S S i i d d e e - - B B y y - - S S i i d d e e W W a a t t e e r r a a n n d d I I c c e e D D i i s s p p e e n n s s i i n n g g G G u u i i d d e e TO DISPENSE WATER (STANDARD): 1.
- Page 2 NOTE: While dispensing water, the digital display will count down 3. Remove the glass from the dispenser paddle to stop how much water remains to be dispensed, according to the volume dispensing. you selected. The flow of water will automatically stop once the NOTE: Ice may continue to dispense for several seconds after desired volume has been dispensed.
- Page 3 G G u u i i d d e e d d e e s s d d i i s s t t r r i i b b u u t t e e u u r r s s d d ’ ’ e e a a u u e e t t d d e e g g l l a a ç ç o o n n s s c c ô ô t t e e à à c c ô ô t t e e 4.
- Page 4 3. Appuyer sur les boutons Lock (verrouillage) et Options pour régler le volume comme désiré. Le bouton Lock (verrouillage) AVERTISSEMENT augmente le volume, et le bouton Options réduit le volume. REMARQUES : � Lorsqu’on augmente ou diminue le volume, il est possible que le tableau de commande cesse de réagir si l’on maintient un bouton de réglage appuyé...
- Page 5 G G u u í í a a d d e e d d e e s s p p a a c c h h o o d d e e a a g g u u a a y y d d e e h h i i e e l l o o p p a a r r a a r r e e f f r r i i g g e e r r a a d d o o r r e e s s d d e e d d o o s s p p u u e e r r t t a a s s Cuando se haya confirmado la calibración del llenado medido, PARA DESPACHAR AGUA (ESTÁNDAR): volverá...
- Page 6 Cuando cambie de hielo picado a hielo en cubos, caerá un poco de hielo picado junto con los primeros cubos. ®/™ ©2020 KitchenAid. All rights reserved. Used under license in Canada. Tous droits réservés. Utilisé sous licence au Canada. W11398736A...
Need help?
Do you have a question about the KRSC703HPS and is the answer not in the manual?
Questions and answers