
Related Manuals for Kruger KVS Series


Summary of Contents for Kruger KVS Series
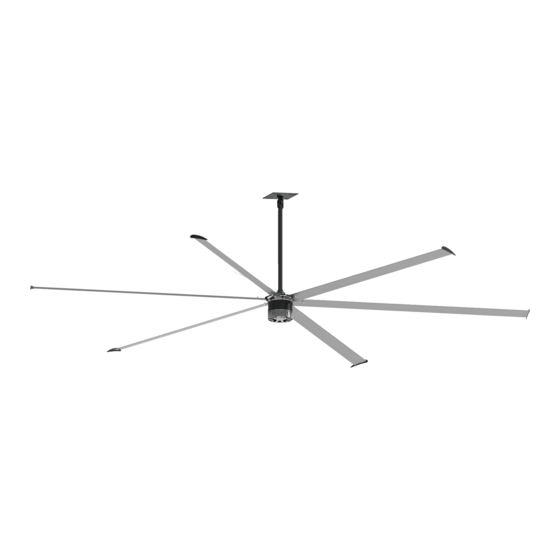
- Page 1 KRUGER Ventilation Group General Instructions KVS Series Diameter 3,700mm ~ 7,300mm IGB057.E0/2201...
-
Page 2: Table Of Contents
Contents User Manual Content ..............Summary ..............Structure ..............Packing ..............Installation ..............Operation ..............Trouble shooting ............Safety protection ............Maintenance ............. Warranty .............. -
Page 3: Summary
Summary User Manual Structure User Manual 1.4 Working Condition 1. Summary · Indoors, no corrosive gas, flammable gas, oil mist, water vapor, dripping water or salty air · Working temperatu~re: -35℃ ~ +50℃ · Relative humidity: 0%~95% · Altitude: <2000m ·... -
Page 4: Packing
Packing User Manual Installation User Manual 4. Installation 3. Packing 4.1 Technical Requirement 4.1.1 Ceiling Structure 78*70*70cm 370*41*33cm Motor Carton Blade Carton I-BEAM / H-BEAM CONCRETE BEAM 4.1.2 Ensure building structure supports fan weight as shown in table 1-1 Blades 4.1.3 Ensure input voltage in accordance with product rated voltage Motor Control Box... - Page 5 Installation User Manual Installation User Manual 4.2.2 Installation equipment I Beam Bottom Mounting Locate the installation position. Place mounting plate onto bottom beam. Fix clips with M16*60 bolt kits. * Ensure the mounting plate is levelled and aligned with the beam. * Ensure the connection point (for universal joint) is at the middle of the I-beam.
- Page 6 Installation User Manual Installation User Manual 4.3.6 Motor Wiring 4.3.2 Install Universal Joint Fix the universal joint with M16X130 bolt kit. Connect ground - ground, live - live wiring respectively. * BLACK - Ground wires. * OTHER COLOR - Live wires. 4.3.7 Install Steel Wires 4.3.3 Install Extension Pipe &...
- Page 7 Installation User Manual Installation User Manual 4.4 Debug 4.3.10 Install Heat Sink 4.4.1 Push the isolation switch upwards to connect the power supply. Fix heat sink with 8 pieces of M6*20 screws. 4.4.2 Turn selector switch to "Run" position and start the fan. 4.4.3 Slowly increase the speed control to 1/3 position and observe the fan's rotating direction.
-
Page 8: Operation
Operation Trouble Shooting User Manual User Manual 5. Operation 6. Trouble Shooting If the product fails during the product warranty period, please contact manufacturer or 5.1 Inspection Before Operation local distributor. · Check power supply voltage meets the fan’s requirement. Please do not try to troubleshoot without the presence of professional or the warranty might be voided. -
Page 9: Safety Protection
7. Safety Protection & Accident Handling 9. Warranty & After Sales Kruger KVS Fans are produced in strict accordance with the quality of international, This product enjoys 2 year full warranty since the date of shipment. national and industry standards, and have passed international certification and testing.
Need help?
Do you have a question about the KVS Series and is the answer not in the manual?
Questions and answers