Advertisement
www.SpikePowerSports.com
888-769-2295
Prior to installation, please verify if a revised version
of this instruction sheet is available on Knowledge
Center.
The following symbols may be used in this document.
WARNING
Indicates a hazardous situation which, if not avoided, could
result in death or serious injury.
CAUTION
Indicates a hazard which, if not avoided, could
result in result in minor or moderate injury.
NOTICE
Indicates an instruction which, if not followed, could
severely damage vehicle components or other property.
WARNING
This kit is designed for specific applicable models
-
only It is not recommended for units other than the
one (those) for which it was sold.
-Torque wrench tightening specifications must
strictly be adhered to.
-Always wear EYE PROTECTION AND APPROPRIATE
GLOVES when using power tools.
-Unless otherwise specified, engine must be OFF
when performing any operation on the vehicle.
-Always be aware of parts that can move, such as
wheels, transmission components, etc.
-Some components may be HOT. Always wait for
engine to cool down before performing work. To
reduce the risk of severe injuries or death, read the
safety labels and follow these rules. Door is not
intended to retain and/or protect occupants.
ALWAYS
Fasten your seat belt.
-
Fasten lateral net.
-
-
Keep your entire body inside the cockpit.
-
Latch the door before riding.
Transport this vehicle facing forward.
-
NEVER
Put your elbow on the door while riding
USE AND CARE INFORMATION:
-
Completely read and understand the instructions
before installing this accessory.
-
To clean, sponge with mild soap and cold water, rinse
with a hose and allow it to drip-dry.
Do not machine wash or dry.
-
Use mild detergent to remove stubborn stains.
-
-
When not in use, the window roll up webbing strap
can be tucked into the Velcro pocket.
The zipper should be cleaned using a toothbrush with
soap and water and rinsed as needed to keep it free of
dust and dirt. Once the zipper is cleaned, the teeth
should be lubricated using beeswax.
NOTE: The illustrations/photos in this document show
typical construction of the different assemblies and may
not reproduce the full detail or exact shape of the parts;
however, they represent parts that have the same or
similar functions.
NOTE: Installation time is approximately 1 hour.
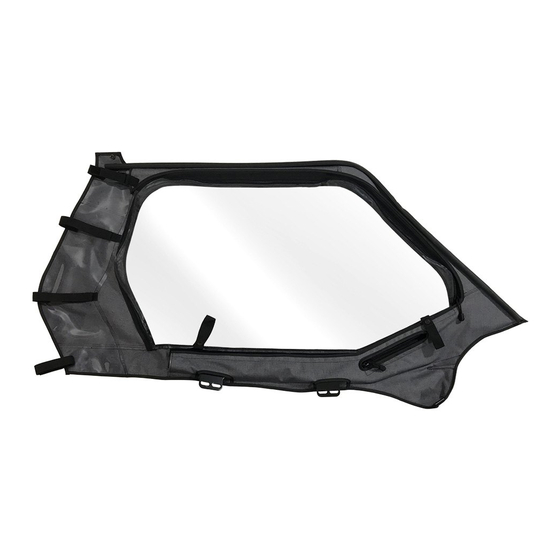
Contents of Box
Left Hand Door
Right Hand Door
Upper Left Hand Plastic Triangle
Upper Right Hand Plastic Triangle
Rubber Handles
M8 Washers
M8 x 20MM Screw
Flange Nut
Hose Clamp
Button Head Screw
Locknut
Hinge Bracket
M6 Washer
Two hole spacer
Clevis Pin
Cotter Pin
Instruction Sheet
Quantity
1
1
1
1
2
10
10
10
6
4
4
4
4
2
2
2
1
Advertisement
Table of Contents

Related Manuals for Spike 58-4250


Summary of Contents for Spike 58-4250
- Page 1 www.SpikePowerSports.com 888-769-2295 Prior to installation, please verify if a revised version USE AND CARE INFORMATION: of this instruction sheet is available on Knowledge Completely read and understand the instructions Center. before installing this accessory. The following symbols may be used in this document. To clean, sponge with mild soap and cold water, rinse with a hose and allow it to drip-dry.
- Page 2 1) Install Upper Hinge Brackets with Spacer then center. Install clevis pin top down to ensure parts are aligned. 6) Install molded handle with provided hardware. 2) Nest Upper Door Sill Assembly Assembled in Step 1 against ROPS 3) Ensure sill assembly is tight against plastic roof 4) Tighten 3 hose clamps starting with the rearward most first, the tail of...
- Page 3 TIP: Front corner of upper door can be bent to seal better 11) Loosely Install Bolts, Washers and Nuts. Nuts should be towards the outside of the vehicle. Washers 13) Tighten all hardware should be on the bolt side of the 14) Open door and engage snap on top frame.
- Page 4 19) At lower front portion of the Upper Door install J-Channel by clipping it to the lower door TIP: For a better seal install ball seal or trim lock as desired around OEM Door...
Need help?
Do you have a question about the 58-4250 and is the answer not in the manual?
Questions and answers