Table of Contents
Advertisement
Quick Links
N A O M I
K I D S
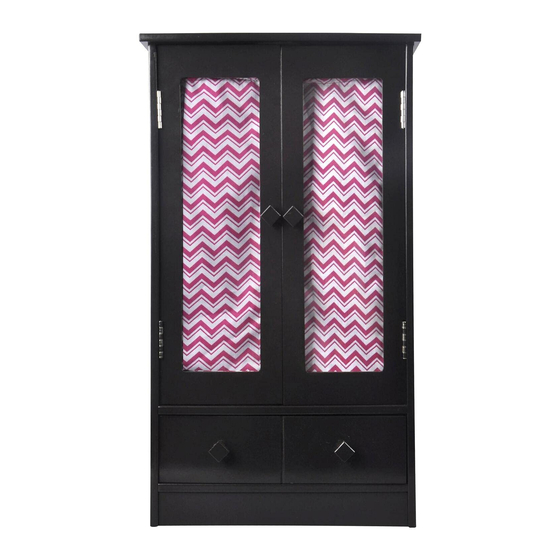
Doll Armoire
Product Dimensions:
12.5" W x 8.5" D x 21.5" H
Please take a moment to read through the entire instruction booklet before assembly to
familiarize yourself with this product. Once you feel ready to start, follow the instructions
step by step and this should make this process as easy as we could make it for you.
If you need help or have damaged or missing parts, contact customer service at
www.NaomiHome.com.
© 2016 Naomi Home Inc. - All Rights Reserved.
Page 1 of 8
Advertisement
Table of Contents

Related Manuals for Naomi Kids Doll Armoire


Summary of Contents for Naomi Kids Doll Armoire
- Page 1 N A O M I K I D S Doll Armoire Assembly Instructions Product Dimensions: 12.5” W x 8.5” D x 21.5” H Please take a moment to read through the entire instruction booklet before assembly to familiarize yourself with this product. Once you feel ready to start, follow the instructions step by step and this should make this process as easy as we could make it for you.
- Page 2 Keep unassembled parts away from children under 3 years of age, & animals. • If used improperly, your doll armoire may be pulled over or fall, creating risk of injury or damage. Children should not be permitted to climb or pull on the doll armoire.
- Page 3 COMPONENT PARTS Please check that you have all the parts listed below Drawer Left Side Drawer Back Drawer Front Drawer Bottom Panel Bottom Panel Drawer Right Side Wardrobe Left Panel Middle Panel Clothing Rod Toe Kick Wardrobe Right Panel Wardrobe Back Panel Top Panel Left Door Right Door...
- Page 4 ASSEMBLY INSTRUCTIONS Select parts 1 – 4. Posi- tion 1 (left), 2 (back), 3 (front). With the grooves on 2 & 3 inward and down, insert D pin to top hole of 1 & 2. Insert B bolts into holes of 1, with screwdriver a x 1 to 2 and 3.
- Page 5 ASSEMBLY INSTRUCTIONS Select Side Panel – Part 6, and posi- tion it with the groove side toward the back. Insert A bolts (x4) into holes on 6 and a x Part 7 - Middle Panel and Part 8 - Bottom Panel to 6.
- Page 6 ASSEMBLY INSTRUCTIONS Select Side Panel – Part 11. Align the D wood pins of 10 with the bottom front holes of 11, also while aligning 11 with the clothing rod and insert it into the inner top hole in 11. Gently press 11 into place snug to the assembly.
- Page 7 ASSEMBLY INSTRUCTIONS Select Doors – 14 & 15 and place on at sur- face. Attach hardware E - Hinges with C screws. With the inner metal latch upwards, a x 9 on the left of the armoire assembly. Repeat on the right for part 10.
- Page 8 ASSEMBLY COMPLETE CONGRATULATIONS, YOUR NAOMI KIDS DOLL ARMOIRE IS COMPLETE! Product Packaging Information Model #: ________________________________ N A O M I Color: __________________________________ K I D S Shipment Ref. #: _________________________ www.NaomiHome.com Date: __________________________________ MADE IN CHINA Page 8 of 8...
Need help?
Do you have a question about the Doll Armoire and is the answer not in the manual?
Questions and answers