Toto USWN900 Series Installation Manual
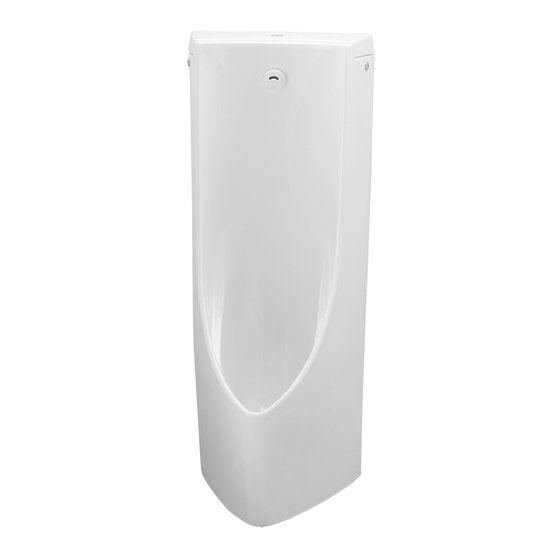
Auto-cleaning urinal
Hide thumbs
Also See for USWN900 Series:
- Instruction manual and warranty (28 pages) ,
- Instruction manual with warranty (14 pages) ,
- Work instructions (4 pages)
Table of Contents
Advertisement
Quick Links
CKH6754
Install the product properly according to these Work Instructions, to ensure that its functions perform sufficiently.
Safety Precautio
Read these "Safety Precautions" prior to construction, and install the product correctly. These
Instructions include a variety of safety indications. These are provided so that the product can
be used safely, to prevent harm to customers or others, and to prevent damage to property.
These indications and their meanings are as follows
Indication
Ignoring the text accompanying this indication and handling the
WARNING
product incorrectly could result in death or serious injury.
Ignoring the text accompanying this indication and handling the
CAUTION
product incorrectly could result in serious injury or property damage.
* "Property damage" refers to damage extending to the home/household property and domestic animals/pets.
Types of safety precautions that must be followed are classi ed using the two following symbols for explanatory purposes.
indicates a prohibited use of the product.
The symbol to the l e ft i n di c ates that "use i s prohi b i t ed i n bathtubs and shower stal l s ."
Do not install in locations of high humidity such as bathrooms
Doing so may cause a malfunction or current leak.
Use pr o hi b i t e d near wat e r
People other than repair technicians should never disassemble,
repair, or alter the product.
Doing so may cause a malfunction, electric shock, or injury.
Di s assembl y prohi b i t ed
Always carry out construction work with at least two people
Otherwise, the installer may injure his or her lower back, or drop the porcelain and damage it.
After construction, be sure to give the product a test run and
check that there are no water leaks in any part.
REQUIRED
Not installing the product properly may cause water leaks that could result
in ooding damage to property, such as household belongings.
Precautions prior to Installation
Do not install in locations of high humidity such as bathrooms
Doing so may cause a malfunction or current leak.
Use pr o hi b i t e d near wat e r
Be sure to install an overcurrent breaker and earth leakage
circuit breaker in order to prevent danger
Electric wire: Use a 600V plastic shielded electric wire or cable
(A ø1.6 mm or ø2.0 mm single wire, or 2.0 mm stranded wire)
Insulate and waterproof the power wire connector
REQUIRED
Do not insert the power wire connector inside the device
Doing so may cause electric shock, a current leak, or a re.
・Thoroughly discuss the relevant procedures before performing water and
electrical work.
・The power wire is to be provided on-site. (AC type only)
・A grounding wire is not needed, so use a two-core power wire. (AC type only)
・Water supply pressure ranges from 0.07 MPa (9 L/min [dynamic]) at minimum to
0.75 MPa at maximum. Use the product within this pressure range.
・Be especially careful not to damage the surface of the sensor.
・This product is an electrical appliance. Be careful not to spray water on it.
The exposure angle and detection distance of the sensor are as shown in the
diagram. When installing a handrail or the like in front of the urinal, do so in a way
that does not obstruct the detection areas (both the stable detection area and
unstable detection area) of the photoelectric sensor. Urinal sensors may mal-operate
affected by reflective objects such as mirrors and stainless steel. Cases also happen
when ground reflection caused by these items installed vertically even beyond 3m.
・The product may not function in environments exposed to strong sunlight.
・Inverters or other devices that use infrared light could cause malfunctions.
・A water supply inspection has been conducted prior to packaging. There may be
some water remaining inside the product, but this is normal.
Sensor surface
Stable detection area
Unstable detection area
Exposure angle and detection area
* For a 300 x 300 mm blank white paper
Auto-cleaning Urinal (USWN900 Series・USWN902 Series)
After installation, provide the customer with a clear explanation of how to use the product.
ns
(be sure to read to ensure safety)
:
Meaning
indicates a required step in the use of this product.
The symbol to the left indicates the action is "REQUIRED."
WARNING
CAUTION
WARNING
Detection distance exposure
angle 650mm
Pointing down 15°
15°
Installation Manual
Refer to the following and confirm that no parts are missing.
Upper lid
* e water+ type with sponge
Urinal
(1)
Included Parts
(1)
Water supply fixture
Others
DC Dry
Battery only
Shutoff valve
(1)
Battery box (1)
Installation Manual
(1; this document)
Quick fastener
Alkaline batteries(2)
(1)
*For Malaysian Type,
please procure locally.
Draining Flange
M8 nuts
(2)
Drainage
Bolt
Washer
flange unit
(1)
[small] (1)
(1)
Washer [large]
P seal
Back hangers
(1) (for urinal)
(1)
(2)
Parts Names
USWN900 Series・USWN902 Series
Upper lid
Conduit E19
(provided on-site)*
Switch box
(provided on-site)*
Controller
Back hanger
Shutoff valve
Decorative bolt
Photoelectric
sensor
Main unit
Drainage flange
Drain cover
* is for AC type only
2019.10
Drain cover
(1)
Hand this over
to the customer
Instruction
Manual
(1)
Tapping
Installation
screws (4)
Manual
(1)
Wood screw set
(6 wood screws,
2 washers)
Advertisement
Table of Contents

Related Manuals for Toto USWN900 Series


Summary of Contents for Toto USWN900 Series
- Page 1 Installation Manual CKH6754 2019.10 Auto-cleaning Urinal (USWN900 Series・USWN902 Series) Install the product properly according to these Work Instructions, to ensure that its functions perform sufficiently. After installation, provide the customer with a clear explanation of how to use the product.
- Page 2 As- tted Drawing USWN900 Series USWN902 Series Water supply position (Unit: mm) (Unit: mm) Water supply position AC type only AC type only Water supply position Water supply position Center line of discharge pipe Center line of discharge pipe 50 50...
- Page 3 Install the switch box and backfill the foundation wall Install the urinal unit ①Connect the power wire and switch box Install the back hanger to the location shown in the diagram. Screwless conduit Ø19 to the conduit connector, pass the power (provided on-site) *1 (size) *2 (size)
- Page 4 Check for water leaks in the water supply connections Insert battery (DC Dry Battery type only) After confirming that there are no pipe connection problems, supply water through the piping, and confirm that there Remove the waterproof cover. are no water leaks in the connections between the piping and shutoff valve, and between the shutoff valve and valve. Insert the alkaline battery into the battery box, then connect the controller connector and battery box connector.
Need help?
Do you have a question about the USWN900 Series and is the answer not in the manual?
Questions and answers