Advertisement
Quick Links
Advertisement

Related Manuals for ZALMAN ZM-Z1


Summary of Contents for ZALMAN ZM-Z1
- Page 1 ATX Mid Tower PC Case English / 한 글 / Français / Español Ver.160627...
- Page 2 8. Avoid inserting objects or hands into the system while it is in operation to prevent product damage and injuries. 9. Zalman Tech Co., Ltd. is not responsible for any improper use. 10. Product design and specifications may be revised to improve quality and performance.
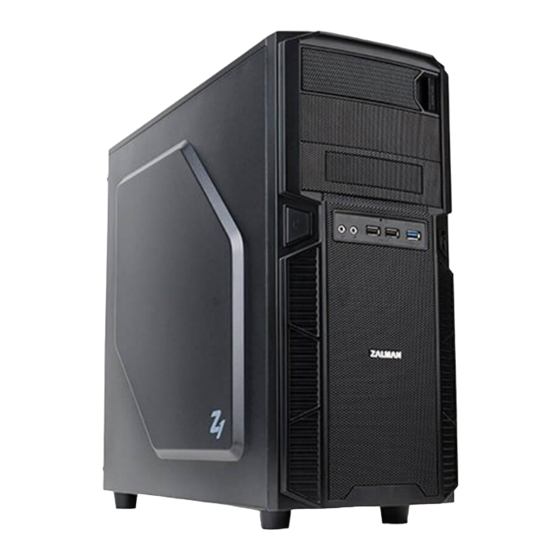
- Page 3 2. Front I/O Ports / 상면 I/O 포트 ⑤ ⑥ ⑦ ① ② ③ ④ Part / 명칭 Part / 명칭 ① Power Button / 전원 ② Reset Button / 리셋버튼 ③ USB 2.0 ④ USB 3.0 ⑤ Headphones / 헤드폰 ⑥...
- Page 4 3) VGA Card Installation / 그래픽 카드 설치 A Bolt ① Unfasten the Hand Screw holding the PCI Cover and disassemble the cover. ② Remove the PCI Slot Cover. ③ Install the VGA Card and fasten with a fixing screw. ①...
- Page 5 5) 3.5" HDD Installation / 3.5” HDD 장착 - Use the HDD Guide to install 3.5" HDD. ※ 조립 후 시스템을 이동할 때는 - HDD GUIDE를 이용하여 3.5" HDD를 장착합니다. 해당위치에 C 나사로 HDD를 고정해 주시기 바랍니다. ※ When transporting an assembled system, please secure the HDD with Bolt C as shown above.
- Page 6 7. 품질보증 및 A/S 안내 1. 품질 보증기간 : 제품 구입일로부터 1년 (단, 구입영수증이 있을 때) 2. 무상 A/S : 품질 보증기간 내에 제품 자체 성능상의 하자 및 불량 발생시 3. 유상 A/S : 품질 보증기간 이후에 제품 사용상의 문제 발생시. 단, 아래와 같은 사항에 대해서는 품질...
- Page 7 Français / Español Précautions 1. Assurez-vous d'être bien informé du manuel du produit avant son installation. 2. Assurez-vous de vérifier l'état des composants et des produits, et s'il vous plaî consulter votre revendeur quand il y a une erreur. 3. Assurez-vous de porter des gants pour éviter les blessures ou les accidents lors de la manipulation de ce produit.
-
Page 8: Installation
2. Top IO ports / Puerto de IO en superficie ⑤ ⑥ ⑦ ① ② ③ ④ Part Name Part Name ① Bouton d'alimentation / Botón de Potencia ② Bouton de réinitialisation / Botón de Reinicio ③ USB 2.0 ④ USB 3.0 ⑤... - Page 9 3) Assemblage de la carte graphique / Ensamblaje de tarjeta grafica Vis A / Tornillo A ① Desserrer la vis à la main qui fixe le couvercle de PCI et séparer le couvercle. ② Retirer le couvercle du logement PCI. ③...
- Page 10 5) Montage de HDD de 3.5” - Use the HDD Guide to install 3.5" HDD. ※ Lorsque vous déplacez le - Ver la guía del HDD para la instalación. système à l'ensemble à sa place Vis C pour sécuriser le disque dur s'il vous plaît. ※...
Need help?
Do you have a question about the ZM-Z1 and is the answer not in the manual?
Questions and answers