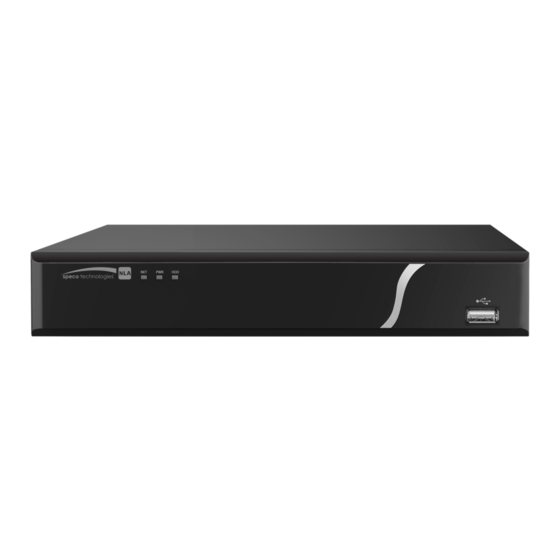
Summary of Contents for Speco N Series
- Page 1 NLA Quick Start Guide N8NLA shown Version 1.0.1 Features and specifications are subject to change, please check www.specotech.com for firmware updates.
- Page 2 Email: techsupport@specotech.com Important Safeguards and Warnings Speco Technologies assumes no liability or responsibility for any fires or electrical shock caused by improper handling or installation. Speco Technologies is not liable for any problems caused by unauthorized modifications or attempted repair.
- Page 3 1.2 Connections To quickly get started, connect the following to your recorder in the following order, please refer to Figure 1-2 shown for reference). 1. Connect IP cameras to the PoE ports of the recorder. 2. Connect a monitor to the recorder via VGA or HDMI cable (not included). 3.
- Page 4 2. Set Password and Security Questions 2.1 Enter a password and Unlock Pattern Note: You will be prompted to set a Password and security questions upon initial bootup. see Fig 2-1 The default login ID and administrator username is: admin The password strength indicator can be used as a reference.
- Page 5 3. Update Firmware (if necessary) Speco will continuously make improvements, please check the website to ensure you are running the latest firmware version. 3.1 Check firmware version on recorder Go to Main menu->System Info->System->Version, shown in Figure 3-1. Please note the build date on your recorder.
-
Page 6: Updating Firmware
Figure 3-2 Figure 3-3 If the web has a more recent firmware version than your recorder’s build date, then please update your device to the latest firmware. 3.3 Updating Firmware 3.1 Download the firmware from the website onto a USB disk. Insert USB disk into available USB port on the recorder. - Page 7 Figure 3-4 After firmware is updated, the unit will restart. You can now remove the USB disk from the unit.
- Page 8 4. EZ Setup After the system boots up, the EZ Setup wizard is displayed. See Figure . If not, right click, and select EZ Setup. Figure 4 Tip: Check the “Startup” box to display the EZ Setup wizard every time the device is rebooted. 4.1 General Settings –...
-
Page 9: Camera Setup
4.2 Camera Setup The NVR supports plug and play for IP cameras through the built-in PoE ports. If desired, you can can scan for IP cameras that are on the same local network through the EZ Camera feature. To add cameras, right click and then click on Main menu->Setup->Camera->Site Locate. See Figure 4-2. Figure 4-2 Click Device Search to find cameras on the local network. - Page 10 Week day: There are eight options: ranges from Saturday to Sunday and all. Holiday: Special schedules can be set for holidays if needed. Holidays must be added manually. To add a holiday, go to Main Menu->Setup->System->General->Holiday. This option will not be shown if no holidays have been added. ...
-
Page 11: Motion Recording
4.4 Motion Recording 1. Go to Main Menu->Setup->Event->Video->Motion. See Figure Figure 4-4 2. Select a channel from the dropdown list and then check the Enable box to enable motion detection. 3. Select the Region Setup button to set up the motion detection zone. Click and drag to identify the desired zones. Multiple areas within the window can be highlighted. - Page 12 Figure 4-5 4.5 Playback Right click and select Main Menu->Search to bring up the playback interface as shown in Figure 4-6. From this screen, you can access EZ Search as well as searching by timeframe. To use EZ search, perform the following: 1.
-
Page 13: Remote Web Access
5. Remote Web Access 1. Open Internet Explorer and enter the NVR’s IP address in the address bar. 2. Follow the instructions to install the plug-in. 3. After installation, the login interface is shown as below. See Figure 4. Please enter the user name and password. Figure 5-1 For detailed operation information, please refer to the user’s manual.


Need help?
Do you have a question about the N Series and is the answer not in the manual?
Questions and answers