Advertisement
1
2
3
Design protection USA / EU / INDIA: DM/203947 & 79612
Trademark USA / EU / INDIA / CHINA: Pending
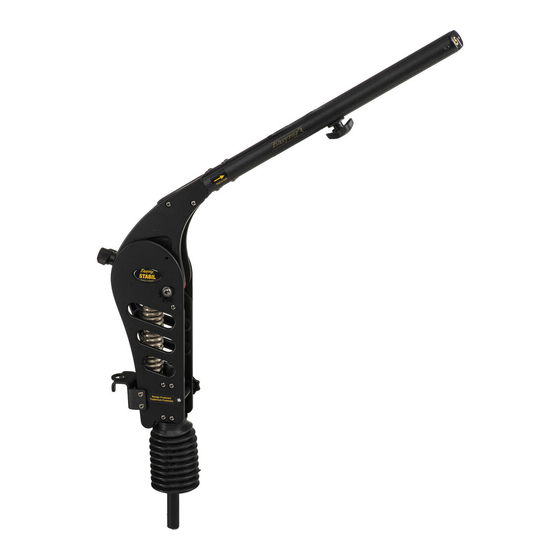
Easyrig STABIL G2
Setup
Lift the loose end of the STABIL upwards
until it self-locks into position. Keep hands
clear of the connection joint to avoid injury.
Compacting the arm for transport:
1. Set the Vario 5 power pack to the lowest
tension for easier disassembly.
2. Hold the base of the STABIL with one
hand and pull the end of the arm
outwards.
3. Fold the arm against the base of the
STABIL and then fold the whole arm
into the vest.
Adjusting the tension on the Vario 5
If you have a Vario 5, adjust the power
pack to match your camera setup.
While adjusting the tension of the power
pack make sure to lock the arm or
hold it at the lowest position to avoid
interference from the STABIL.
For further details please read the Vario
5 user manual.
Adjusting the tension on the STABIL
Increase the tension of the spring by turning
the knob clockwise. The knob will make a
clicking sound to indicate your new setting.
Decrease the tension by turning the knob
counter-clockwise. The Easyrig STABIL can
take weights between 5-25 kg (11-55 lbs).
The Easyrig STABIL is adjusted correctly if
the arm is resting between the lowest and
highest position.
Note that the operational weight will be
limited to the powerpack / lower arm.
Turn page
Advertisement
Table of Contents

Related Manuals for Easyrig STABIL G2


Summary of Contents for Easyrig STABIL G2
- Page 1 Decrease the tension by turning the knob counter-clockwise. The Easyrig STABIL can take weights between 5-25 kg (11-55 lbs). The Easyrig STABIL is adjusted correctly if the arm is resting between the lowest and highest position. Note that the operational weight will be limited to the powerpack / lower arm.
- Page 2 Press the arm downwards when removing the screw. For more info go to www.easyrig.se -> Design protection USA / EU / INDIA: DM/203947 & 79612 Support -> Service Videos & Manuals Trademark USA / EU / INDIA / CHINA: Pending...
Need help?
Do you have a question about the STABIL G2 and is the answer not in the manual?
Questions and answers