Table of Contents
Advertisement
Quick Links
USE AND CARE GUIDE
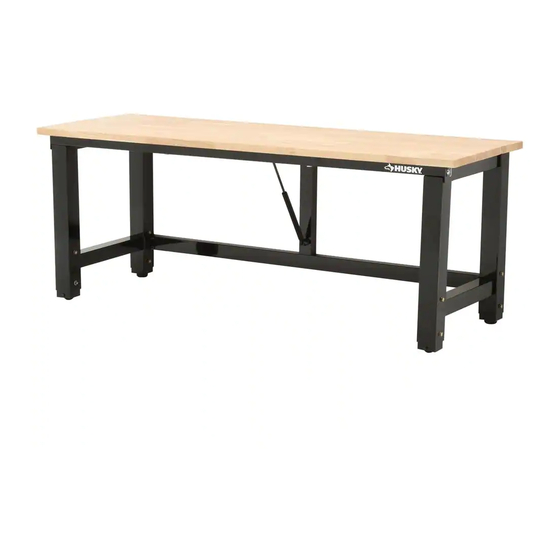
Husky Folding Workbench
Questions, problems, missing parts?
Before returning to the store, call
Husky Customer Service
8 a.m. – 7 p.m., EST, Monday-Friday
9 a.m. – 6 p.m., EST, Saturday
1-888-HD-HUSKY
HUSKYTOOLS.COM
We appreciate the trust and confidence you have placed in Husky through the purchase of this Husky Folding Workbench. We
strive to continually create quality products designed to enhance your home. Visit us online to see our full line of products
available for your home improvement needs. Thank you for choosing Husky!
THANK YOU
Item # 1002718711
Model # WSH72FWB
Advertisement
Table of Contents

Related Manuals for Husky WSH72FWB


Summary of Contents for Husky WSH72FWB
- Page 1 THANK YOU We appreciate the trust and confidence you have placed in Husky through the purchase of this Husky Folding Workbench. We strive to continually create quality products designed to enhance your home. Visit us online to see our full line of products...
-
Page 2: Table Of Contents
This warranty gives you specific legal rights and you may have other rights which vary from state to state. Contact the Customer Service Team at 1-888-HD-HUSKY or visit www. HUSKYTOOLS.COM. -
Page 3: Pre-Installation
Unpack the unit and compare all parts with the Hardware Included and Package Contents list. If any part appears missing or damaged, do not assemble this product and contact the Customer Service Team at 1-888-HD-HUSKY or visit www. HUSKYTOOLS.COM. -
Page 4: Installation
Installation Adjusting the height □ Loosen the hex bolt (JJ), the flat washers (SS) and the hex nut (WW) with a wrench. □ Adjust each leg to the achieve desired height. □ Tighten the hex bolt (JJ), the flat washers (SS) and the hex nut (WW) with the wrench. - Page 5 □ Mark the mounting holes for the mounting plate (BB) portion of the workbench using a pencil (not included) as shown. 16” Mounting holes 23 1/2” ~ 37 1/2” Floor HUSKYTOOLS.COM Please contact 1-888-HD-HUSKY for further assistance.
- Page 6 Installation (continued) Attaching the mounting plate Wood stud □ Drill a 3/16 in. pilot hole at the marked locations over each wall stud. □ With the beveled edge facing up, attach the mounting plate (BB) to the wall using the M8 wood screws (AA). 16”...
-
Page 7: Care And Cleaning
□ Check bolts/screws periodically and tighten them if necessary. Troubleshooting PROBLEM POSSIBLE CAUSE CORRECTIVE ACTION The workbench is tilted. The workbench is not level. Adjust the feet leveler. HUSKYTOOLS.COM Please contact 1-888-HD-HUSKY for further assistance. -
Page 8: Service Parts
Service Parts Part Description Quantity Wood screw M8*60mmL 2 + 1 extra Mount plate Air pressure rod Lock Lock-tongue ∅50mm Leveler Caster Black plastic gasket Magnet Hex bolt M8x85mmL Hex flange bolt M6x80mmL Bolt M6x75mmL Hex bolt M10x30mmL Bolt M6x20mmL Bolt M4x12mmL Screw M4x15mmL Screw M4x30mmL... - Page 9 Questions, problems, missing parts? Before returning to the store, call Husky Customer Service 8 a.m. – 7 p.m., EST, Monday-Friday, 9 a.m. – 6 p.m., EST, Saturday 1-888-HD-HUSKY HUSKYTOOLS.COM Retain this manual for future use.
Need help?
Do you have a question about the WSH72FWB and is the answer not in the manual?
Questions and answers