Table of Contents
Advertisement
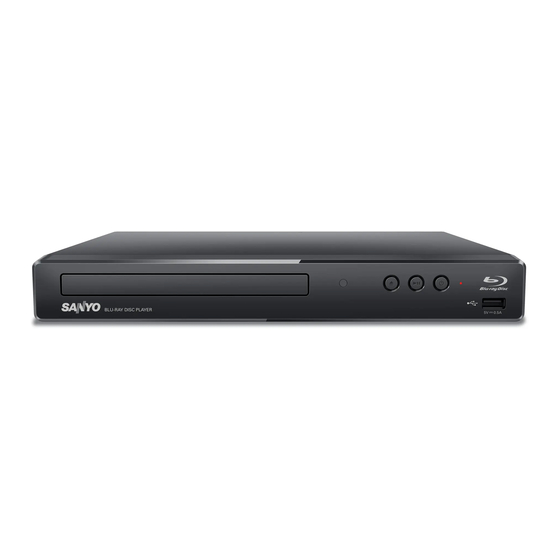
Blu-ray Disc™ / DVD
Player
Owner's Manual
INSTRUCCIONES SIMPLIFICADAS
INCLUIDOS EN ESPAÑOL.
FWBP507FF / FWBP505F Q
To obtain a more detailed electronic copy of this
manual or much further contents, go to
Para obtener una copia electrónica más detallada de este manual o mucho otras
contenido, visite
Need help?
Please call toll free
¿Necesita ayuda?
www.sanyo-av.com
1 866 212 0436
Llame por favor sin costo al 1 866 212 0436 ó visite nuestro sitio web en:
or visit our web site above:
Advertisement
Table of Contents


Need help?
Do you have a question about the FWBP507FF and is the answer not in the manual?
Questions and answers