Walker Edison W48FPCR Assembly Instructions Manual
Hide thumbs
Also See for W48FPCR:
- Assembly instructions manual (15 pages) ,
- Assembly instructions manual (34 pages) ,
- Assembly instructions manual (18 pages)
Advertisement
Quick Links
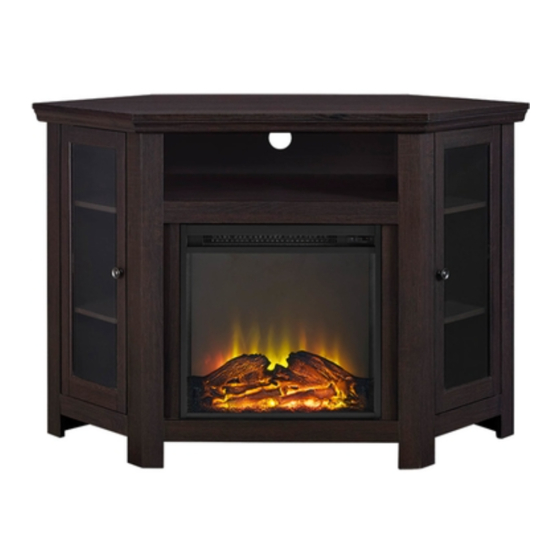
Item # : W48FPCR
Assembly Instructions
Please visit our website for the most current instructions, assembly tips, report damage,
or request parts. www.walkeredison.com
Revised 06/14/2018
Copyright © 2016, by Walker Edison Furniture Co., LLC. All rights reserved.
P.1
Advertisement

Related Manuals for Walker Edison W48FPCR


Summary of Contents for Walker Edison W48FPCR
- Page 1 Item # : W48FPCR Assembly Instructions Please visit our website for the most current instructions, assembly tips, report damage, or request parts. www.walkeredison.com Revised 06/14/2018 Copyright © 2016, by Walker Edison Furniture Co., LLC. All rights reserved.
- Page 5 TWO ASSEMBLY OPTIONS Option A σhe knob) To assemble this option陪fe「to step 19A-22A Option B (The handle ) To assemble this option refe「to step 198-228 。 PY『ight ©20俑, by Walker Edison Furniture Co., LLC. All rights reserved.
- Page 6 Insert the cam bolts (C) and door stopper (F) into the top panel (1) by using screws (G). Insert the wooden dowel (A) to the bottom panel (2). Insert the cam bolts (C) to the front panel (10,11,13,15,16). Insert the wooden dowel (B) to the front panel (10)(11) and wooden dowel (A) to middle panel (5).
- Page 7 Insert the wooden dowel (A) into the side panel (3,4,6,7). Insert the cam bolts (C) into the side panel (3,4) and front panel (8)(9). Attach the side panel (3)(4) to the bottom panel (5) and secure it with the cam locks (D).
- Page 8 Attach the bottom panel (2) to the side panel (3)(4) and secure it with screw (H) and Hex Key (W). Attach the support slats (12) to the front panel (10)(11) and secure it by using screw (S).
- Page 9 Attach the front panel (10)(11) to the side panel (3)(4) and secure it by using cam locks (D). Attach the front panel (13)(15)(16) to the bottom panel (2) and middle panel (5) by using cam locks (D).
- Page 10 Attach the front panel (8)(9) to the side panel (6)(7) and secure it by using cam locks (E). Attach the side panel (8)(9) to the bottom panel (2) and secure it by using cam locks (D).
- Page 11 Attach the side panel (6)(7) to the bottom panel (2) and secure it by using screw (H) and Hex Key (W). Insert the back panel (21) into the slot of side panel (6)(7). Place the top panel (1) on top of the side panel (6)(7), support panel (3)(4) and secure it by using cam locks (D)(E).
- Page 12 Secure the back panel (14) by using the plastic wedge (T) and screw (U).Put the fireplace insert (Z) carefully into the stand and secure it by using screw (V). Use stickers (Y) to cover the cam locks.
- Page 13 Be sure the fire place insert is positioned all the way forward in place.Use screw (AA) to secure the L-shape bracket (BB) to the side panels (4). Position the adjustable L-bracket to hold the Fireplace insert in place. Be sure the fire place insert is positioned all the way forward in place.Use screw (AA) to secure the L-shape bracket (BB) to the side panels (3).
- Page 14 Insert the shelf support pin (R) into the stand and place the shelf (17)(18) on top. Insert the plastic pivot (Q) as shown as the diagram.
- Page 15 Attach the door hinge (P)(N) to the glass doors (19)(20) and secure it by using screw (J).
- Page 16 Insert the door hinge (P)(N) into the plastic pivot (Q). Insert the doors (19)(20) as shown in diagram and secure it with screw (J).
- Page 17 Attach the door hinge (P)(N) to the glass doors (19)(20) and secure it by using screw (J).
- Page 18 Insert the door hinge (P)(N) into the plastic pivot (Q). Insert the doors (19)(20) as shown in diagram and secure it with screw (J).
Need help?
Do you have a question about the W48FPCR and is the answer not in the manual?
Questions and answers