
Related Manuals for Velocity VRT9X


Summary of Contents for Velocity VRT9X
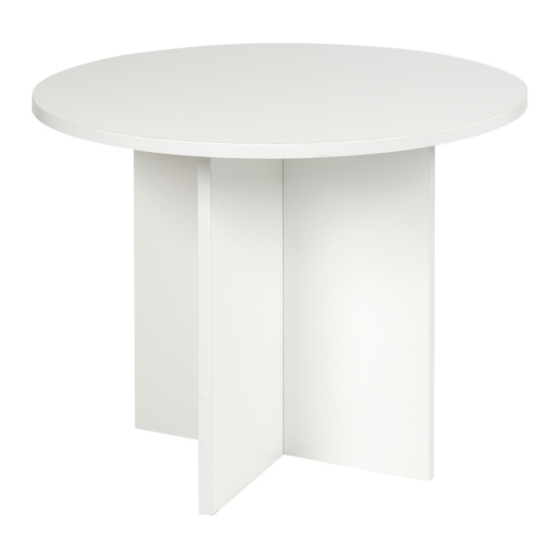
- Page 1 Assembly Instructions Velocity Round Table 1 CARTON MANUFACTURER CODE: VRT9X OW CODES: CPVELRT90B, CPVELRTGR, CPVELRTWH, CPVELRT90W manufactured by designtec www.designtec.com.au 1 / 5...
- Page 2 NOTE Please check you have all hardware before assembling. If you are missing any hardware, please contact the store of purchase. Please ensure you have the name of the item, required hardware part and quantity. Please retain your receipt as proof of purchase to validate your warranty. CAUTION Do not tighten screws before all screws are in the right place.
- Page 3 STEP 1 Take one HALF LEG panel and align the central pre-drilled hole with the pre-drilled holes on the FULL LEG. Insert two (2) CONRIFMAT SCREWS (C) through the face of FULL LEG and tighten with your screwdriver until the HALF LEG panel is secure. HALF LEG FULL LEG STEP 2...
- Page 4 STEP 3 HALF LEG Align PINS (B) with the pre-inserted CAM HOUSING on the full leg. Tighten CAM HOUSING FULL LEG by rotating the screw to the right hand side with HALF LEG your screwdriver. Forming your table base. CAM HOUSING STEP 4 Insert four (4) PINS (B) into pre-drilled holes as shown on drawing.
- Page 5 STEP 5 Rotate base around and align the PINS (B) with pre-inserted CAM HOUSING on the underside of the top. Tighten by rotating the cam screw to right hand side with your screw driver. Then insert four (4) ADJUSTABLE FOOT (A) into pre-inserted threaded sleeve on base.
Need help?
Do you have a question about the VRT9X and is the answer not in the manual?
Questions and answers